Introduction
This guide is suppose to help you open up the device. Do not do this unless certain that you need to check something.
What you need
-
-
-
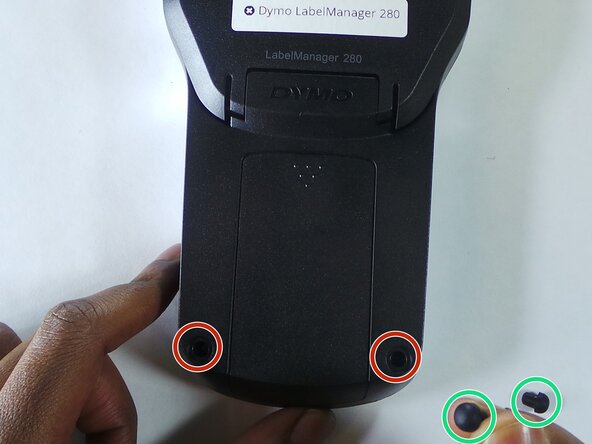
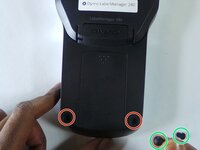
Remove the two rubber feets
-
Remove the 6 screws in the indicated places. These particular screws are 2mm x 8mm Phillips #0 head
-
-
-
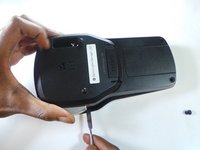
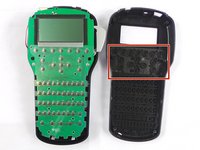
Use the spudger to take apart the device by insterting it as shown in the picture and twisting it. This should be done all around the device to ensure the two parts split correctly.
-


Conclusion
To reassemble your device, follow these instructions in reverse order.
Team

USF Tampa, Team 6-5, Eyestone Spring 2016 Member of USF Tampa, Team 6-5, Eyestone Spring 2016
USFT-EYESTONE-S16S6G5
3 Members
4 Guides authored