Free Shipping on Domestic Orders $75+

DualShock 4 L2/R2 Rubber Components Replacement/Adjustment

Archived Guide
This guide is retained solely for historical purposes. Use the updated version of the guide to perform your repair.

What you need

    1. DualShock 4 L2/R2 Rubber Components Replacement/Adjustment, Remove the rear panel screws: step 1, image 1 of 2 DualShock 4 L2/R2 Rubber Components Replacement/Adjustment, Remove the rear panel screws: step 1, image 2 of 2
      • Use a Phillips screwdriver to remove the four 6.4 mm-long screws from the rear panel.

      Ask FixBot

      Add Comment

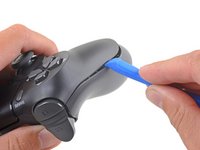
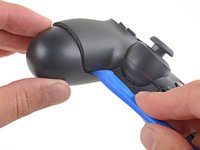
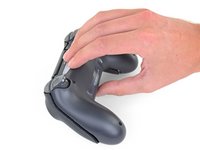
    2. DualShock 4 L2/R2 Rubber Components Replacement/Adjustment, Separate the rear panel: step 2, image 1 of 2 DualShock 4 L2/R2 Rubber Components Replacement/Adjustment, Separate the rear panel: step 2, image 2 of 2
      • Four fragile plastic clips hold the panels together. You can see their locations more clearly in this guide.

      • The clips help hold the seams together. If you break these clips, the controller will still work.

      • Insert an opening tool into the crease where the front and rear panel meet, starting from the outside edge of either handle.

      • Gently pry the rear panel off of the front panel until they become partially separated.

      Ask FixBot

      Add Comment

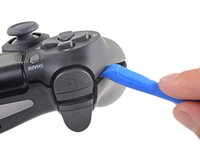
    3. DualShock 4 L2/R2 Rubber Components Replacement/Adjustment, Release the plastic clips: step 3, image 1 of 3 DualShock 4 L2/R2 Rubber Components Replacement/Adjustment, Release the plastic clips: step 3, image 2 of 3 DualShock 4 L2/R2 Rubber Components Replacement/Adjustment, Release the plastic clips: step 3, image 3 of 3
      • Use the opening tool to separate the panels by releasing the plastic clips around the perimeter of the controller.

      Ask FixBot

      Add Comment

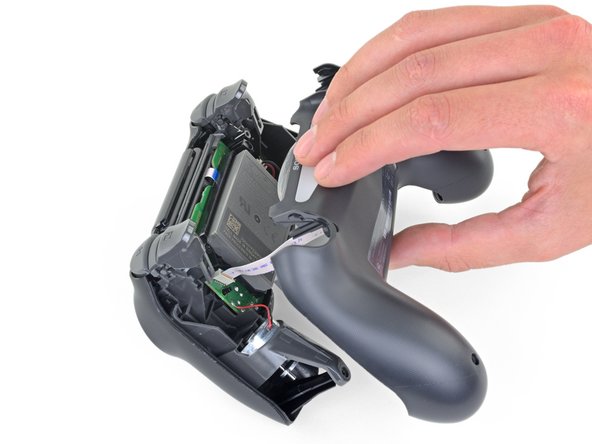
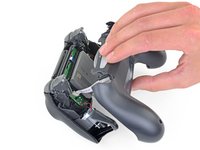
    4. DualShock 4 L2/R2 Rubber Components Replacement/Adjustment, Remove the rear panel: step 4, image 1 of 2 DualShock 4 L2/R2 Rubber Components Replacement/Adjustment, Remove the rear panel: step 4, image 2 of 2
      • Lift the rear panel directly away from the controller.

      • Do not completely remove the rear panel. It is still attached to the controller by a ribbon cable.

      Ask FixBot

      Add Comment

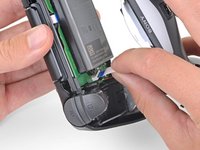
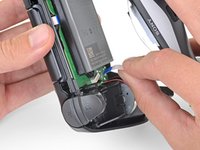
    5. DualShock 4 L2/R2 Rubber Components Replacement/Adjustment: step 5, image 1 of 2 DualShock 4 L2/R2 Rubber Components Replacement/Adjustment: step 5, image 2 of 2
      Tool used on this step:
      Tweezers
      $4.99
      Buy
      • Use your fingers to gently pull the ribbon cable straight out of its connector on the motherboard.

      • Since this cable's pull tab is too small to grab with fingers or tweezers, grab the cable itself. Otherwise utilize pull tabs whenever possible.

      • During reassembly, grab the ribbon cable by the blue tab and gently press the cable straight into the connector. Push the blue tab rather than the ribbon cable itself.

      Ask FixBot

      Add Comment

    6. DualShock 4 L2/R2 Rubber Components Replacement/Adjustment: step 6, image 1 of 3 DualShock 4 L2/R2 Rubber Components Replacement/Adjustment: step 6, image 2 of 3 DualShock 4 L2/R2 Rubber Components Replacement/Adjustment: step 6, image 3 of 3
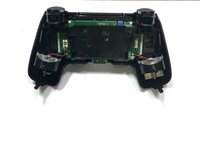
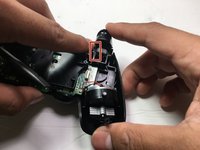
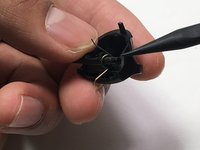
      • Disconnect the connector that is connecting the battery to the motherboard. Remove the battery.

      • Next pull away the L2/R2 buttons from their positions. L2/R2 should be removed by carefully pulling vertically. Note There are two stubs on the side of it use a prying tool and gently pop them out.

      • Two springs will come out with the triggers.

      Ask FixBot

      Add Comment

    7. DualShock 4 L2/R2 Rubber Components Replacement/Adjustment: step 7, image 1 of 2 DualShock 4 L2/R2 Rubber Components Replacement/Adjustment: step 7, image 2 of 2
      • Examine the controllers rubber guards to see if it needs to be replaced or simply needs to be readjusted. If it is damaged, replace the rubber guard with a new one for the correct model, then, proceed to the next step. If not, proceed to the next step.

      • Carefully slide the rubber guard with the area that sticks out more going down into the slot (The crater part of the rubber guard should be in place for the R2/L2 slots; see picture for directions). Once in place, ensure it is snugged and secure.

      Ask FixBot

      Add Comment

    8. DualShock 4 L2/R2 Rubber Components Replacement/Adjustment: step 8, image 1 of 3 DualShock 4 L2/R2 Rubber Components Replacement/Adjustment: step 8, image 2 of 3 DualShock 4 L2/R2 Rubber Components Replacement/Adjustment: step 8, image 3 of 3
      • Place the R2 and L2 trigger following R2 for the right side and L2 for the left side.

      • There is a spring that makes the trigger reset to its original place when pressed. Ensure it is placed properly during reassembly.

      Ask FixBot

      Add Comment

    9. DualShock 4 L2/R2 Rubber Components Replacement/Adjustment: step 9, image 1 of 1
      • The buttons should reset to normal position as it is being depressed.

      • Reconnect the battery.

      • Connect the strip back into the connector then close the shell starting from the triggers to the handles.

      • Screw all screws back into place.

      Ask FixBot

      Add Comment

Conclusion

To reassemble your device, follow these instructions in reverse order.

Cancel: I did not complete this guide.

0 Guide Comments

Add Comment

View Statistics:

Past 24 Hours: 0

Past 7 Days: 1

Past 30 Days: 12

All Time: 116