This translation was generated by a machine and has not been reviewed by a person yet. Speak this language? Review it.
What you need
-
-
-
Remove the five 7.2 mm Phillips screws securing the rear cover to the controller.
 Ask FixBot
-
-
-
Press on the rear cover between the analog sticks and slightly lift the lower edge of it away from the rest of the controller.
-
-
-
Push the rear cover slightly toward the top edge of the controller to clear the front edge of the #2 triggers.
-
Pull the rear cover away from the rest of the controller, being careful not to pop off the #2 triggers.
-
-
-
-
-
Lift the battery off the motherboard for enough clearance to access the battery connector.
-
-
Tool used on this step:Tweezers$4.99
-
Carefully pull the battery connector away from its socket on the motherboard.
-
-
-
-
-
Remove the single 7.2 mm Phillips screw securing the motherboard to the front cover.
-
-
-
-
Slide the trigger button retainers slightly away from the front cover.
-
Remove the #1 button on both sides.
-
-
-
Pull the vibration motor retainers away from the front cover to dislodge the motherboard assembly.
-
-
-
-
-
Carefully push the two vibration motors out of the input board frame.
-
-
-
-
-
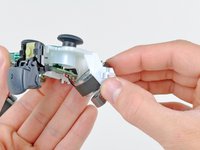
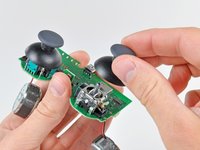
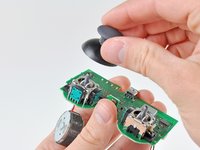
Pull both analog stick covers straight up off their joystick posts attached to the motherboard.
-
-
-
Use a soldering iron to de-solder both vibration motor wires from the motherboard.
-
-
-
-
-
Depending on the controller model, the thumbsticks may have a different number of pins.
-
There are models with 4 pins
-
and models with 3 pins.
-
Additionally, the thumbsticks come in different sizes. The smaller thumbsticks seem to be used only in models where the thumbstick is not soldered.
-
-
-
Depending on the controller model, it may be necessary to desolder the thumbsticks from the PCB.
-
The first image shows the soldered version, and the second image shows the unsoldered version.
-
-
-
The pins of the thumbsticks are inserted through the PCB. Turn the PCB over so that the USB port is facing you.
-
Depending on whether you want to replace one or both thumbsticks, you must now desolder the following points.
-
For the 4-pin version, desolder the points marked in red in image 1.
-
For the 3-pin version, desolder the points marked in blue in image 2.
-
-
-
Remove the rubber that presses the pins of the thumbstick against the input board.
-
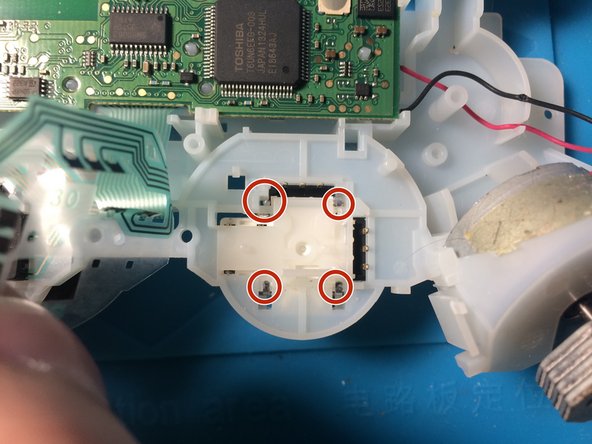
The thumbstick is held in place by four legs. Try to straighten these legs as much as possible to release them from the plastic.
-
-


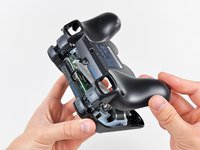


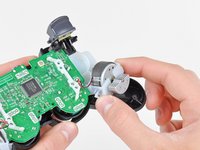
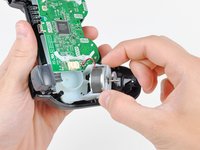


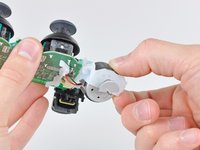






Follow these steps in reverse order to reassemble your device.
Cancel: I did not complete this guide.
One other person completed this guide.

