Introduction
For the official iFixit guide to replacing your DualShock 3 battery, click here. The version you are currently viewing is retained solely for historical purposes.
What you need
-
-
-
-
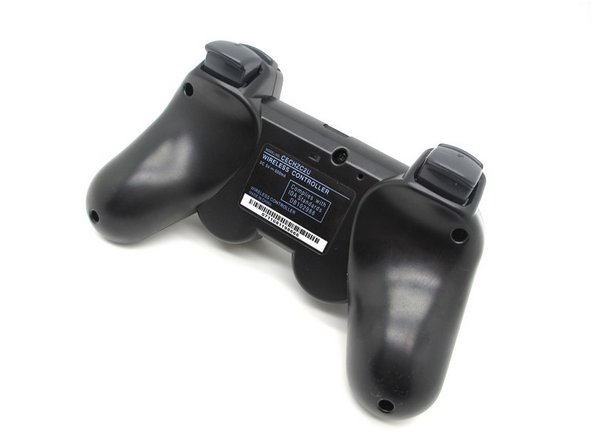
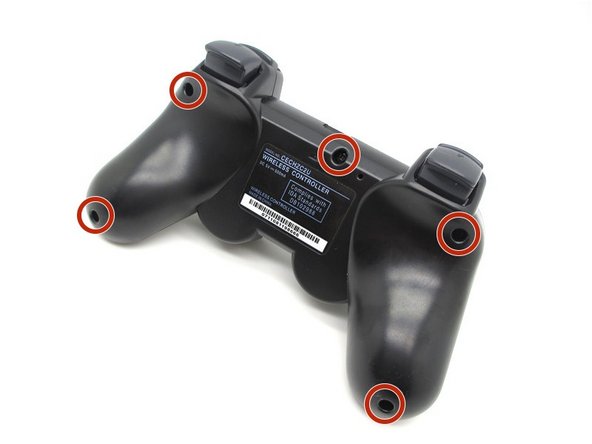
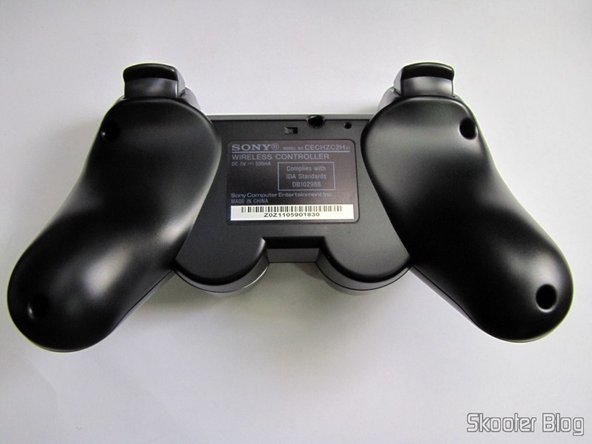
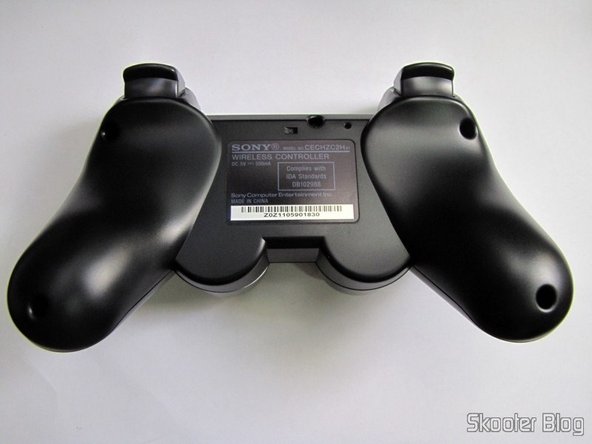
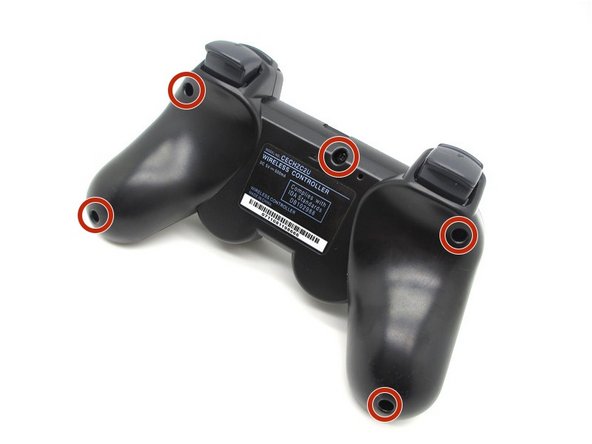
The screws are located in the holes of the in the back of the controller. (The holes are located on the left, and right controller hand grip, and the other hole is located between the left and right triggers)
-
-
-
If you have already taken out the screws the back-plate will lift up easily, whilst lifting gently push towards the triggers of the controller, to bypass them.
-
-
-
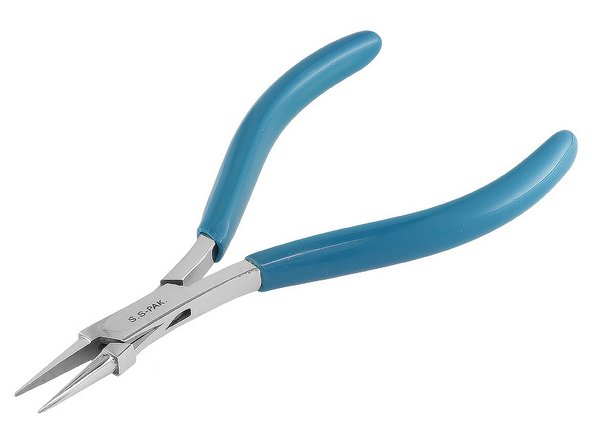
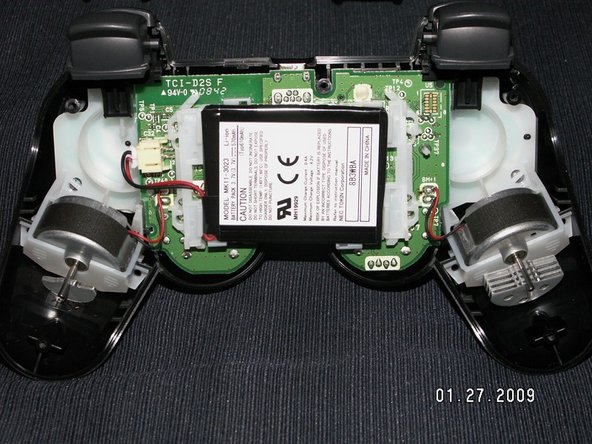
Lift up the battery, and move it away from the motherboard(the green board). Next you need to grab your pliers, and grip onto the piece of plastic that the wires lead to, be sure not to grab the socket that holds this plastic piece, and don't grab the wires. Once you have it you should slowly wiggle the plastic piece out of the socket.
-
-
-
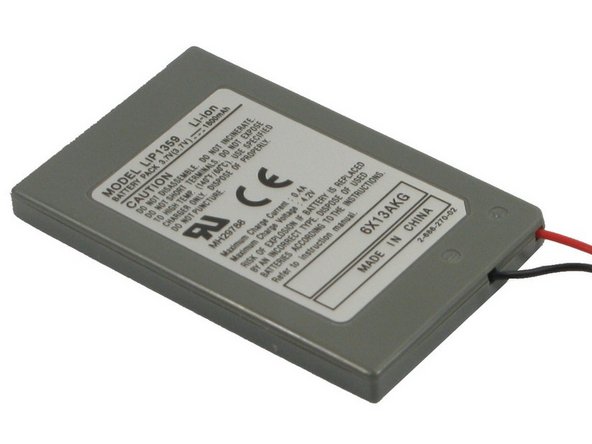
To install the new battery, all you need to to do is grab the plastic part of the battery with your pliers and insert it into the socket that the old battery was in, make sure that the plastic piece is in all the way.
-
-
-
It is a little hard to put back on, but not impossible. You need to put it on over the R2, and L2 triggers, then you should push down on the back plate till' is snaps into place.
-
-
-
Once the 5 Screws are tightly screwed in you are done with the replacement of the battery.
-
 Ask FixBot



To reassemble your device, follow these instructions in reverse order.
Cancel: I did not complete this guide.
3 other people completed this guide.

