Introduction
This guide will teach you how to replace the screen on your Motorola Droid Ultra XT 1080. The screen of the device will physically detach, and you will be left with back camera still attached to the front screen.
What you need
-
-
After SIM card tray is removed press the spudger between the plastic case and the frame of the device until you hear a snap.
-
Work your way around the device until all the clips are undone.
-
-
-
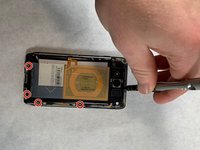
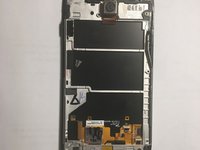
Remove the five screws on top of the device with a T5 Torx.
-
Remove the single screw holding the camera with a T4 Torx.
-
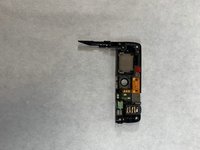
Remove the two screws on the bottom of the device with a T5 Torx.
-
-
-
-
Once the screws are removed, use a nylon spudger and lift up on the two plastic pieces that were secured by the screws.
-
-
-
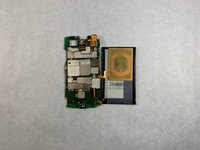
Once motherboard is removed you have successfully removed the screen from the device.
-


To reassemble your device, follow these instructions in reverse order.
Team

UMass Dartmouth, Team S3-G8, Peak Fall 2018 Member of UMass Dartmouth, Team S3-G8, Peak Fall 2018
UMASSD-PEAK-F18S3G8
3 Members
10 Guides authored