
Droid Ultra XT1080 Power Button Replacement

knoyes and 2 other contributors
Last updated on May 16, 2024
Views: 775
View statistics:
- Past 24 Hours:
- 1
- Past 7 Days:
- 13
- Past 30 Days:
- 69
- All Time:
- 775
Comments: 0
No one has left comments on this guide. Will you be first?
Go to guide commentsCompleted: 0 1
No one has marked this guide "completed." Will you be the first?
1 person has marked this guide "completed." It's you — great job!
Favorites: 0 1
No one has favorited (and subscribed to) this guide. Will you be the first?
1 person has favorited (and subscribed to) this guide — and that's you!
Introduction
Go to step 1 ↓This guide will show you how to properly replace the power button on your Motorola Droid Ultra XT 1080
What you need
Tools
-
Spudger4.9


-
-
-
Gently remove the SIM card tray from the device using a spudger.
 Ask FixBot
-
-
-
After SIM card removal press the spudger between the plastic case and the frame until you hear a snap.
-
Work your way around the device until all the clips are released.
-
-
-
Remove the five screws on top of the device with a T5 Torx.
-
Remove the single screw holding the camera with a T4 Torx.
-
Remove the two screws on the bottom of the device with a T5 Torx.
-
-
-
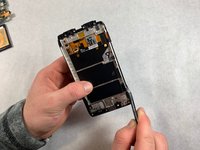
Once the screws are removed, use a nylon spudger and lift up on the two plastic pieces that were secured by the screws.
-
-
-
Tool used on this step:Tweezers$3.99
-
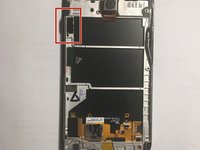
Once motherboard is removed you have gained access to the power button.
-
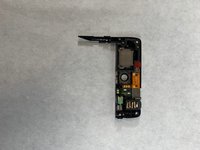
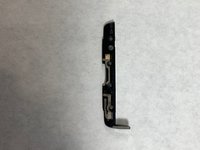
Gently, using a pair of angled tweezers pull on the power button to remove it.
-
-




To reassemble your device, follow these instructions in reverse order.

Team

UMass Dartmouth, Team S3-G8, Peak Fall 2018 Member of UMass Dartmouth, Team S3-G8, Peak Fall 2018
UMASSD-PEAK-F18S3G8
3 Members
60 Guides authored
