Introduction
The internal fan keeps your machine from overheating. A faulty fan can also cause smoking. To remedy these problems, use this guide to replace your fan.
What you need


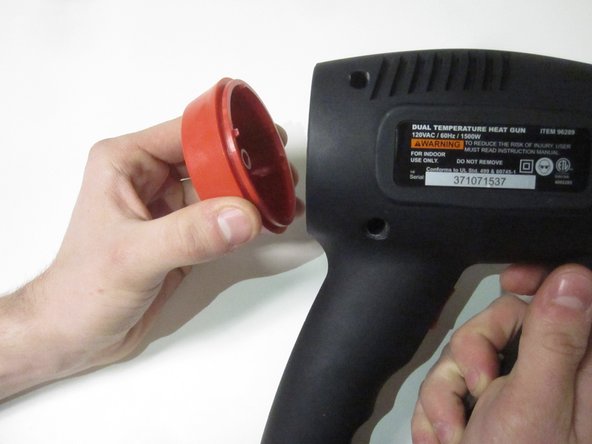


Almost done!
To reassemble your device, follow these instructions in reverse order.
Conclusion
To reassemble your device, follow these instructions in reverse order.
Team

University of North Texas, Team 1-2, Campbell Spring 2017 Member of University of North Texas, Team 1-2, Campbell Spring 2017
UNT-CAMPBELL-S17S1G2
3 Members
10 Guides authored