Introduction
When a Dreamcast ask for time and date every time you power on your system, your CMOS battery is dead. This guide shows how to replace the CMOS battery.
Please note this guide is outdated and I am going to be updating this guide.
What you need
-
-
Locate and remove all four black 12mm Phillips #02 screws from the underside of the console.
-
-
-
Turn the console right side up.
-
Remove the top cover by gently lifting the upper portion of the console.
-
-
-
Disconnect the white controller cable by gently pulling the the cable while wiggling it back and forth until it detaches from the controller board.
-
-
-
-
Note where the positive and negative terminals go.
-
Desolder the old CMOS battery from the controller board.
-
-
-
Solder the replacement battery holder to two electrical wires.
-
Solder the opposite ends of the wires to the controller board. Make sure to match corresponding points on the board with where the previous positive and negative terminals were.
-
-
-
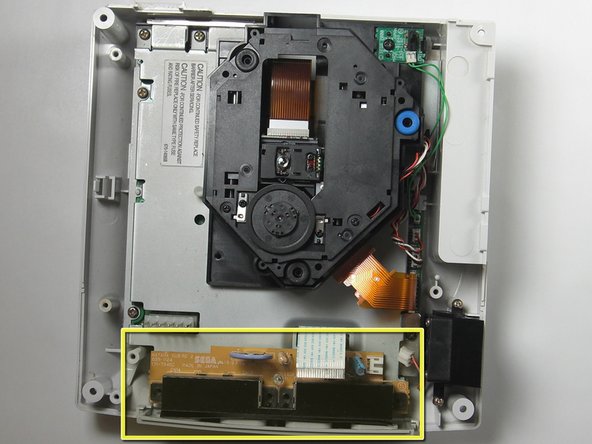
Reinsert the controller board.
-
Attach the battery holder inside with a self adhesive substance, such as double sided foam tape.
-
Insert the battery into the battery holder.
-
Reverse the disassembly directions to reassemble your Dreamcast.
-
Once your Dreamcast is reassembled, go ahead and connect the Dreamcast to your TV or monitor and power, and reset the clock.
-