
Doov v15 Screen Replacement

Hoang Nguyen and 3 other contributors
Last updated on Dec 29, 2023
Views: 687
View statistics:
- Past 24 Hours:
- 1
- Past 7 Days:
- 16
- Past 30 Days:
- 63
- All Time:
- 687
Comments: 0
No one has left comments on this guide. Will you be first?
Go to guide commentsCompleted: 1 2
1 person has marked this guide "completed." Will you be next?
2 people have marked this guide "completed." Including you — great job!
Favorites: 0 1
No one has favorited (and subscribed to) this guide. Will you be the first?
1 person has favorited (and subscribed to) this guide — and that's you!
Introduction
Go to step 1 ↓A guide on how to replace the Screen of a smartphone Doov v15.
Before
Make sure you have a replacement Screen compatible with the Doov v15.
Work in a clean, well-lit area.
Use appropriate tools like a opening tool, Ifixit opening picks, Marko Driver KIT, and Jimmy.
Ensure you have the necessary safety gear to protect your eyes and hands.
Back up your data and power off the phone before you start. For additional help please the step by step guide.
What you need
Parts
Tools


-
-
-
Use the Jimmy to crack open the phone's back cover. Slide it under an edge of the phones back cover and carefully loosen the edge. The casing should pop open slightly.
-
Use an ifixit opening tool to slide around the phones back cover, loosening it and allowing for an easy removal. It should easily separate from the chassis. Make sure to trace it around the entire phone.
 Ask FixBot
-
-
-
Disconnect the Battery: Once the back casing is removed, the battery will be visible. Use the ifixit opening tool to remove the battery. Place the ifixit opening tool at the top of the battery and pull it back, or simply use your hand to remove it.
-
-
-
-
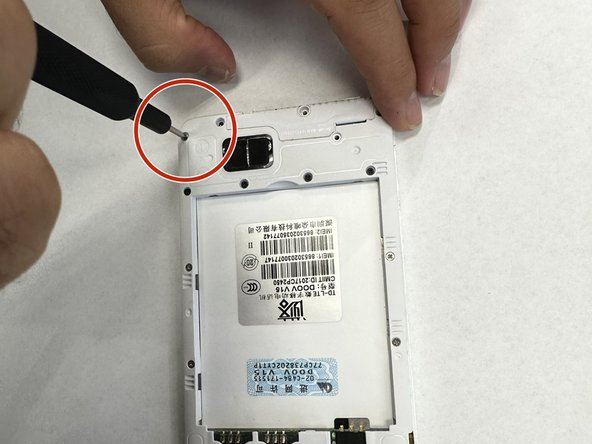
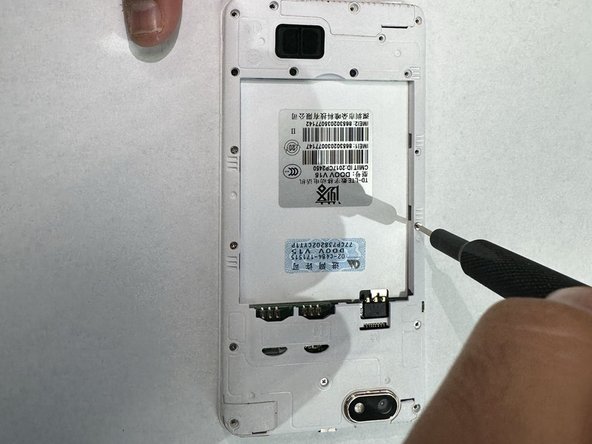
Once you disconnect the battery, use the iFixit Precision Bit Driver and iFixit Precision 4 mm Screwdriver Oval Drive Bit (0.5). Start unscrewing each screw clock wise until they come out. Repeat the steps and unscrew all the screw.
-
Make sure to keep the screws together in a bag or magnetic mat to ensure they aren't lost or misplaced.
-
-
-
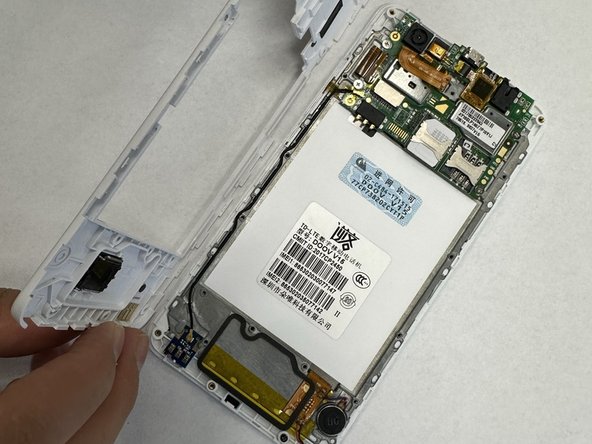
After all screws are removed, use the iFixit opening tool to gently pry open and seperate the chassis.
-
Be cautious to avoid damaging internal components. Slide it around the phone to loosen it and gently remove the chassis.
-
-
-
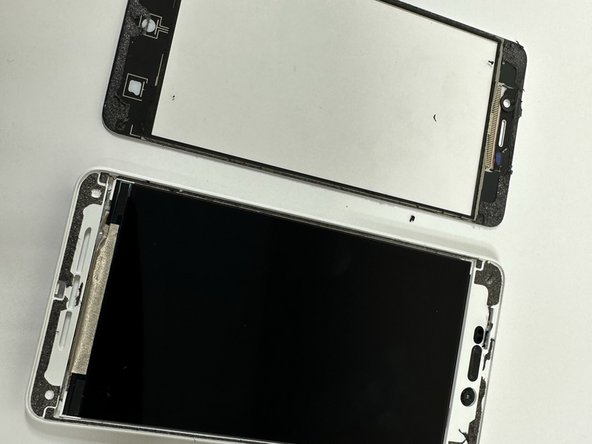
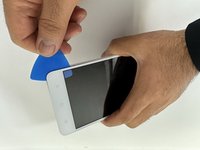
Use ifixit opening picks to slide around the screen, seperating it from the chassis. Prepare your replacement screen as well as adhesive and place it on the phone.
-
Prepare your replacement screen as well as adhesive and place it on the phone.
-
-








To reassemble your device, follow these instructions in reverse order.
Cancel: I did not complete this guide.
One other person completed this guide.

Team

University of New Orleans, Team 5-3, McDonald Fall 2023 Member of University of New Orleans, Team 5-3, McDonald Fall 2023
UNO-MCDONALD-F23S5G3
4 Members
60 Guides authored
