
Disassembling Unbranded Robot Vacuum (full disassembly)

  1. Disassembling Unbranded Robot Vacuum (full disassembly), Full disassembly: step 1, image 1 of 3 Disassembling Unbranded Robot Vacuum (full disassembly), Full disassembly: step 1, image 2 of 3 Disassembling Unbranded Robot Vacuum (full disassembly), Full disassembly: step 1, image 3 of 3
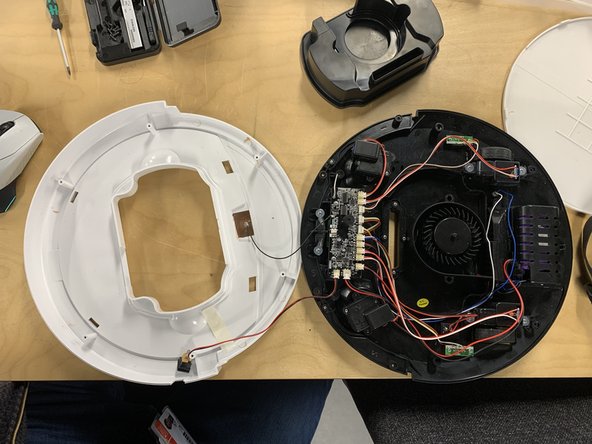
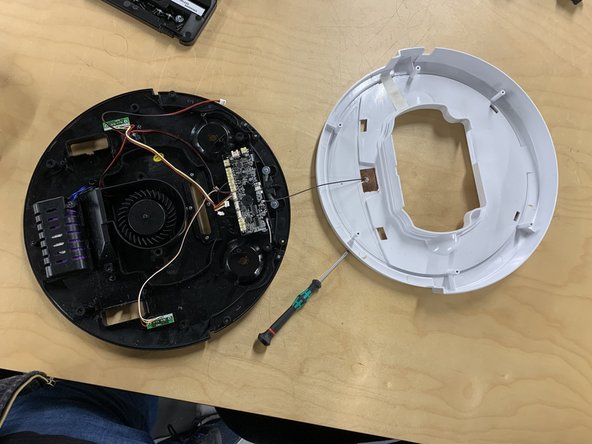
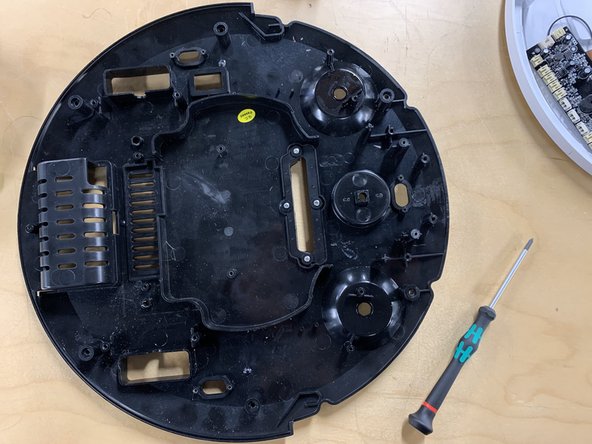
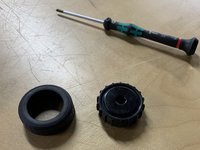
    • You will need a PH0 screwdriver.

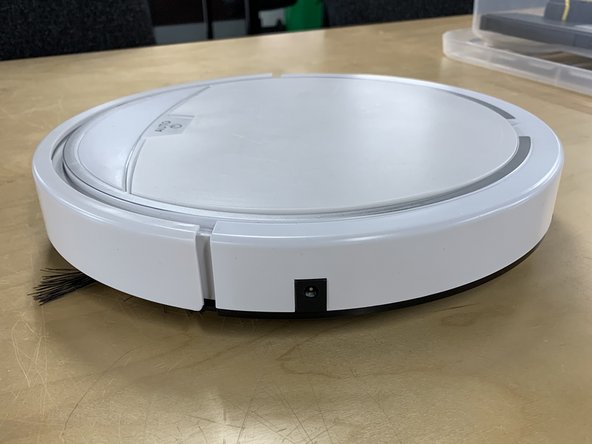
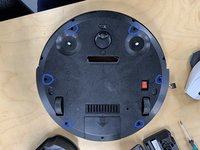
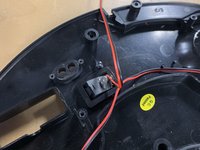
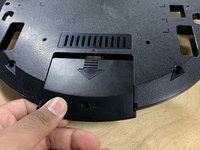
    • First make sure the power is turned off. (this is the red switch on the bottom.)

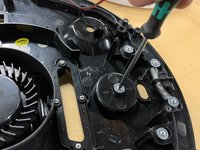
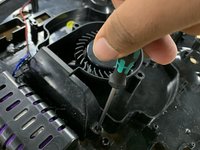
    • This then can be followed by removing the side brush.

  2. Disassembling Unbranded Robot Vacuum (full disassembly): step 2, image 1 of 2 Disassembling Unbranded Robot Vacuum (full disassembly): step 2, image 2 of 2
    • Next remove the screws connecting the top of the bumper to the bottom.

    • Then remove the top of the bumper. By lifting and pulling the plate towards yourself.

  3. Disassembling Unbranded Robot Vacuum (full disassembly): step 3, image 1 of 3 Disassembling Unbranded Robot Vacuum (full disassembly): step 3, image 2 of 3 Disassembling Unbranded Robot Vacuum (full disassembly): step 3, image 3 of 3
    • Remove the top white plate.

    • Remove the fan housing part.

    • Remove the filter from the part by popping the lid off the part. (this can be done with your hands.)

  4. Disassembling Unbranded Robot Vacuum (full disassembly): step 4, image 1 of 2 Disassembling Unbranded Robot Vacuum (full disassembly): step 4, image 2 of 2
    • After Unscrew the rest of the plates from the base.

    • Next remove the base from the top as shown. (make sure to be careful as the lid and the base are attached by a wire.

  5. Disassembling Unbranded Robot Vacuum (full disassembly): step 5, image 1 of 3 Disassembling Unbranded Robot Vacuum (full disassembly): step 5, image 2 of 3 Disassembling Unbranded Robot Vacuum (full disassembly): step 5, image 3 of 3
    • Now unplug the battery.

    • After unplug all the components MAKING SURE TO KEEP TRACK OF WHAT GOES WHERE!

    • Once done unscrew the motors and remove them from the chasis.

  6. Disassembling Unbranded Robot Vacuum (full disassembly): step 6, image 1 of 3 Disassembling Unbranded Robot Vacuum (full disassembly): step 6, image 2 of 3 Disassembling Unbranded Robot Vacuum (full disassembly): step 6, image 3 of 3
    • Now the motherboard must be removed. Unscrew the motherboard and remove so that other components can be removed.

    • Once removed all of the IR sensors can be removed.

    • Unscrew and remove the IR sensors followed by popping out the power switch (this will require some force.)

  7. Disassembling Unbranded Robot Vacuum (full disassembly): step 7, image 1 of 3 Disassembling Unbranded Robot Vacuum (full disassembly): step 7, image 2 of 3 Disassembling Unbranded Robot Vacuum (full disassembly): step 7, image 3 of 3
    • Remove the IR sensors casing and place the 2 parts next to the IR sensors.

    • Next unscrew the universal directional wheel.

    • Next unscrew the lower bumper and remove it.

  8. Disassembling Unbranded Robot Vacuum (full disassembly): step 8, image 1 of 3 Disassembling Unbranded Robot Vacuum (full disassembly): step 8, image 2 of 3 Disassembling Unbranded Robot Vacuum (full disassembly): step 8, image 3 of 3
    • Now unscrew the lower fan housing and remove.

    • Flip over the product and unscrew the back panel. Then remove the battery.

  9. Disassembling Unbranded Robot Vacuum (full disassembly): step 9, image 1 of 3 Disassembling Unbranded Robot Vacuum (full disassembly): step 9, image 2 of 3 Disassembling Unbranded Robot Vacuum (full disassembly): step 9, image 3 of 3
    • Sub assembly of Motor and Wheel.

    • First unscrew the wheel from the motor.

    • Next remove the tyre from the wheel.

    • After unscrew the motor and open it.

  10. Disassembling Unbranded Robot Vacuum (full disassembly): step 10, image 1 of 2 Disassembling Unbranded Robot Vacuum (full disassembly): step 10, image 2 of 2
    • Disassembly of fan and holder.

    • First remove the fan. (This will require some force.)

    • Next unscrew the motor and remove.

  11. Disassembling Unbranded Robot Vacuum (full disassembly): step 11, image 1 of 2 Disassembling Unbranded Robot Vacuum (full disassembly): step 11, image 2 of 2
    • Disassembly of lower bumper.

    • Unscrew the plates and remove.

Conclusion

To reassemble your device, follow these instructions in reverse order.

Jonty Bhumbra

Member since: 11/05/24

193 Reputation

1 Guide authored

0 Guide Comments

Add Comment

View Statistics:

Past 24 Hours: 0

Past 7 Days: 2

Past 30 Days: 17

All Time: 142