
Disassembling Sonos Play 1 Rear Housing Cover

Prerequisite Only
This guide is only intended to be used as a prerequisite for other guides. It's incomplete by itself.

What you need

  1. Disassembling Sonos Play 1 Rear Housing Cover, Disassembling Sonos Play 1 Rear Housing Cover: step 1, image 1 of 2 Disassembling Sonos Play 1 Rear Housing Cover, Disassembling Sonos Play 1 Rear Housing Cover: step 1, image 2 of 2
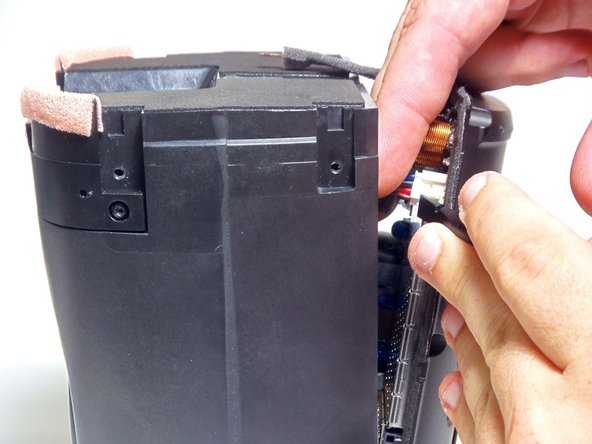
    • Using a plastic opening tool, remove the grey tape from both sides of the device.

  2. Disassembling Sonos Play 1 Rear Housing Cover: step 2, image 1 of 2 Disassembling Sonos Play 1 Rear Housing Cover: step 2, image 2 of 2
    • Remove the six 9 mm Torx #9 screws.

    • Using a plastic opening tool, detach the rear housing cover from the housing.

    • Try not to jerk the rear housing cover, as its wires are still connected to delicate electronics.

  3. Disassembling Sonos Play 1 Rear Housing Cover: step 3, image 1 of 2 Disassembling Sonos Play 1 Rear Housing Cover: step 3, image 2 of 2
    Tool used on this step:
    Tweezers
    $4.99
    Buy
    • Using tweezers, grip the connector fixed to the motherboard's audio cable.

    • While pulling on the connector, detach the cable by pressing the connectors release.

  4. Disassembling Sonos Play 1 Rear Housing Cover: step 4, image 1 of 1
    • Using your fingers, grip the connector fixed to the motherboards power cable and detach it.

    • You will now be able to remove the rear housing cover.

Conclusion

To reassemble your device, follow these instructions in reverse order.

Adan Camerino Macias

Member since: 08/31/15

491 Reputation

3 Guides authored

Team

USF Tampa, Team 8-4, Eyestone Fall 2015 Member of USF Tampa, Team 8-4, Eyestone Fall 2015

USFT-EYESTONE-F15S8G4

4 Members

16 Guides authored

0 Comments

Add Comment

View Statistics:

Past 24 Hours: 0

Past 7 Days: 2

Past 30 Days: 3

All Time: 108