Introduction
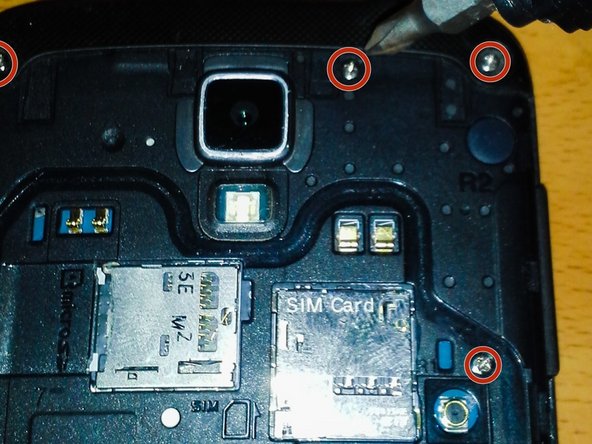
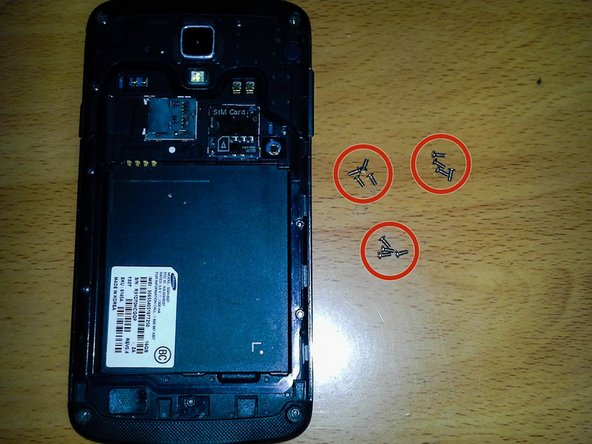
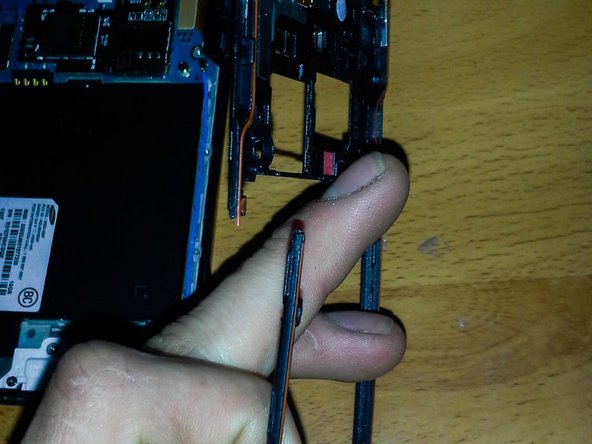
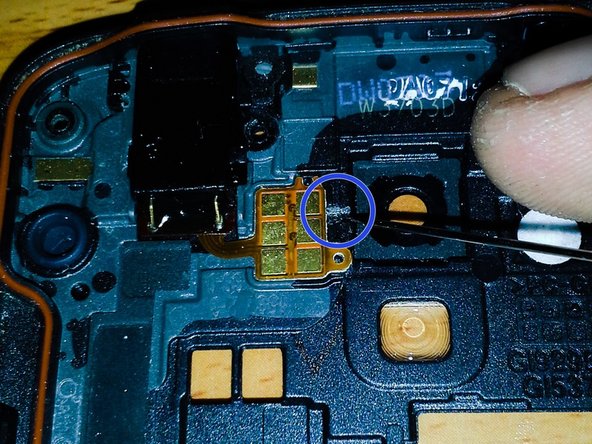
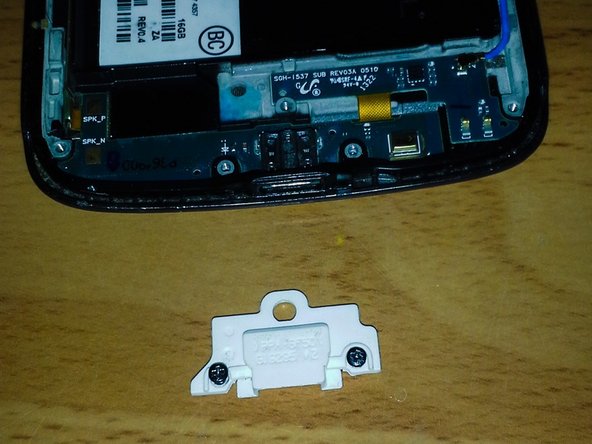
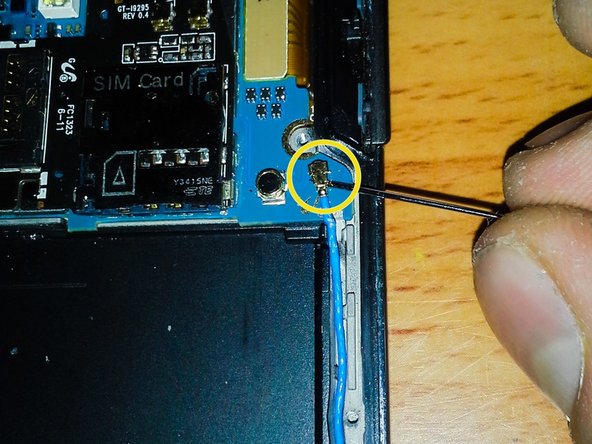
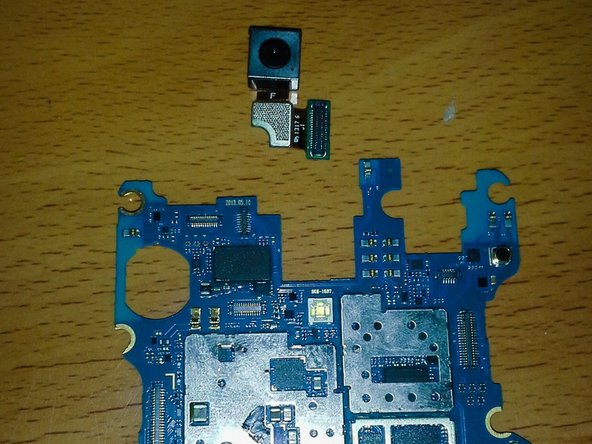
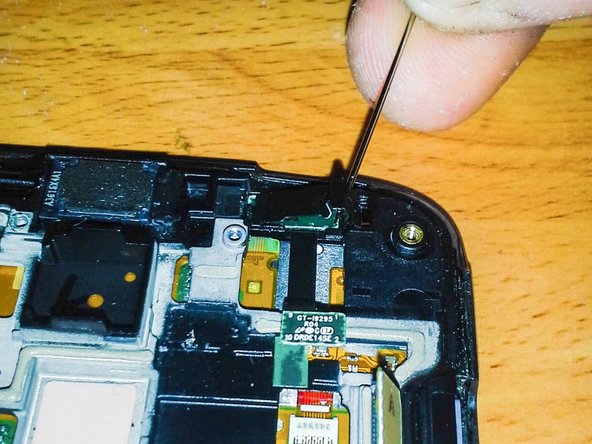
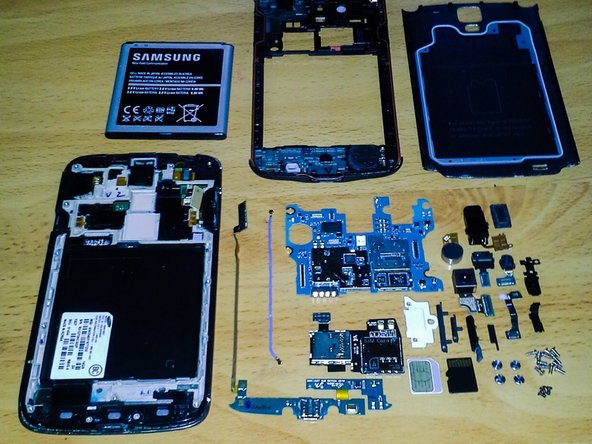
While disassembling my S4 Active to replace my rear camera, I accidentally broke my mid-frame. ( broken mid-frame = no longer water resistant ) This is due to the fact that I couldn't find a complete disassembly guide for the Samsung Galaxy S4 Active to show me the proper way to remove it. I've got new parts coming in the mail. So while I wait, I figured I would make this guide so that no one else has to damage their phone!
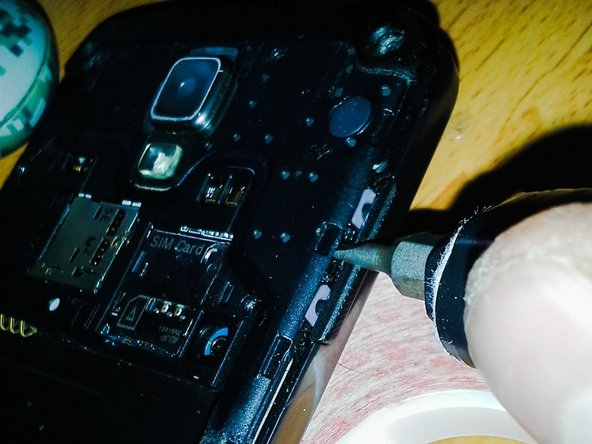
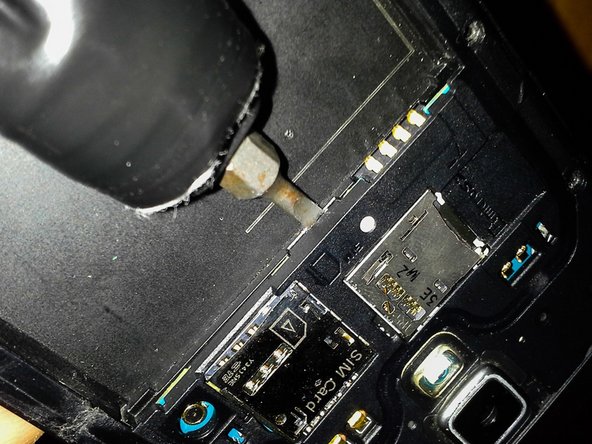
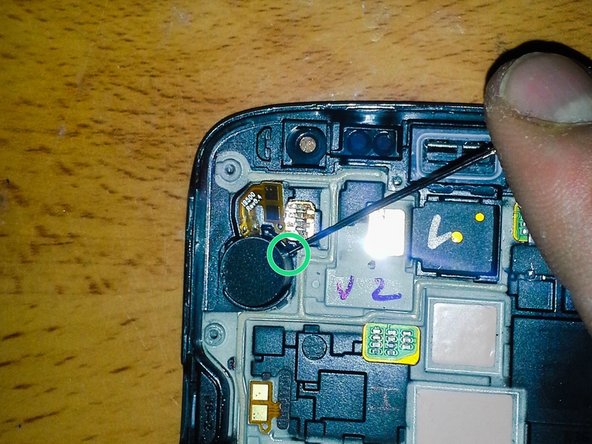
All these tools are not necessarily needed. I did it all with a philips, flathead, and a sewing needle![
What you need
-
-
First of all if you have a micro SD card you need to unmount it.
-
Now you need to power off your device and then remove the back casing.
-
Your next step is to remove the battery, SIM card, and your microSD.
-
-
-
Now you have to remove 12 screws from the mid frame. But first you must remove the 4 metal circles from the corners of your device.
-
I found that a sewing needle is the easiest way to remove just about everything but the screws in your phone.
-
I like to stick the 4 metal circles to my battery once removed so I don't lose them.
-
-
-
Now take out the 12 midframe screws.
-
Be sure to put them in some sort of container because they are impossible to find when they hit the floor!
-
-
-
One of the clips is between your volume button and the midframe. Gently push a flathead screwdriver or a thin blade in between the frame and the volume button.
-
The other clip is directly in between the SIM slot and the 4 prong battery terminal. You will see a gap at the bottom of it, lightly pry it up to disengage the clip.
-
-
-
As you pull the midframe off you will notice that your charging cover fell off the phone. No need to worry, it gets closed back in the phone during reassembly.
-
Now you can set the main frame aside because you have one more thing to do to the midframe
-
-
-
Unlike the standard Galaxy S4, the headphone jack on the S4 Active is attached to the midframe instead of the mainframe.
-
All removable flex cables will have an access slot to get a tool (I use a sewing needle) underneath the adhesive and pry it up.
-
Once this is done you can remove whatever component is attached to the flex cable. In this case it is the headphone jack.
-
-
-
There are 2 black screws anchoring down the daughterboard/USB charging dock. They are located in the white USB protector
-
The final screw in your S4 Active is at the top of the motherboard, on the left side of the earpiece and rear facing camera.
-
-
-
-
There is a total of 15 screws.
-
12 (stainless) Midframe screws.
-
3 (black) board screws.
-
-
-
The antenna runs from the motherboard down to the daughterboard.
-
Disconnect both ends of the antenna and set it to the side
-
-
-
Gently pry the flex cable connector from the motherboard.
-
Find the 2 daughterboard access slots and pry the daughterboard from the phone.
-
Grab the flex cable and pull the charging port and daughterboard out of the phone. (They are one piece and should come out without any resistance)
-
-
-
These buttons come out fairly easily. Not so much going back in though.
-
Just stick a pry tool behind the button and pop it out.
-
-
-
Disconnect all cable connectors.
-
SIM/SD Reader
-
Digitizer
-
Front Facing Camera
-
Proximity Sensor
-
LED Status Light/RGB Sensor Module
-
-
-
There is a (black) metal bracket holding down the Front Facing Camera and Proximity Sensor.
-
Pry it off from the right side.
-
Remove Proximity Sensor and Front Facing Camera.
-
-
-
One side at a time, GENTLY pry the motherboard from the phone.
-
Do NOT snag/hit any remaining flex cables with the Motherboard as you remove it.
-
-
-
My SIM Reader is broke but, it is attached to the Micro-SD so I have to replace the whole Unit.
-
-
-
This component has a bracket holding it down as well, remove it the same way as the last one.
-
Remove LED Status Light/RGB Sensor
-
-
-
Proof as to why you need to be careful with flex cables.
-
I would recommend using 2 prying tools on your Earpiece flex cable. The adhesive has a really strong bond to the phone. (the orange highlights where the flex cable should be)
-
-
-
Look for the access slot under the flex cable AND the vibrator. Lot of adhesive under the vibrator.
-
Remove vibrator.
-
-
-
Daughterboard/USB Port/USB Protector/Flex Cable Connector.
-
Antenna/SIM/SD Reader/SIM card/Micro-SD card.
-
USB Water Cover/ Volume/Power Buttons/Screws and misc hardware
-
Motherboard
-
Front Facing Camera/Proximity Sensor/Bracket
-
LED Status Light/RGB Sensor Module/Bracket
-
Rear Facing Camera/Vibrator
-
Headphone Jack/Earpiece Speaker
-