Introduction
I will teach you how to replace the motherboard
What you need
-
-
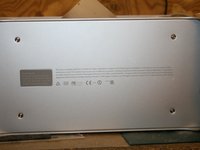
Place your g5 on a suitable surface
-
Take out the power lead
-
Prepare two screw drivers; T10 and Phillips (T15 may be used in some instances)
-
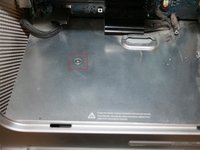
Open the case by pulling the lock
-
Take out the plastic cover
 Ask FixBot
-
-
-
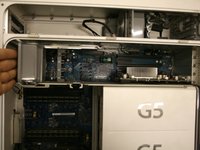
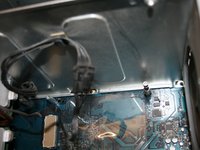
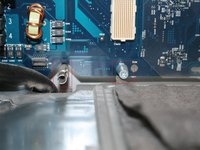
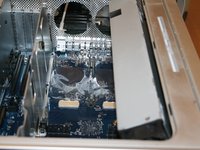
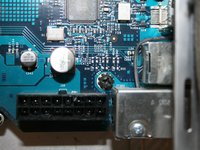
Locate a small fan containing a speaker on the upper left corner of the motherboard.
-
Pull it carefully
-
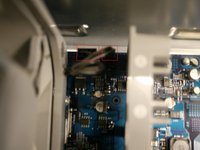
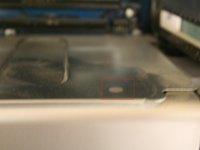
There are two connections, which are needed to be disconnected (second image)
-
-
-
-
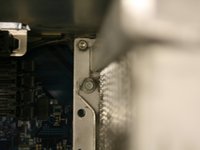
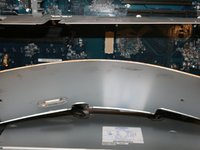
Step 5 is about removing the cover which protects the processor from any outside damage
-
The cover is attached to four pins. In order to remove the cover, it has to be pulled towards the left.
-
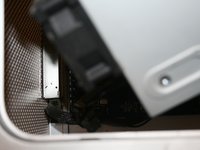
CAUTION: There may be a plastic (rubber) pin (see Image 2), which was put in place for guarantee purposes, therefore before sliding the panel, you should locate and remove this pin
-
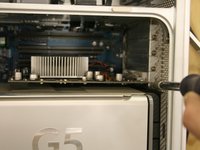
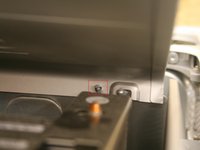
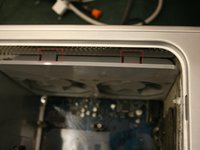
It can also be pushed from the inside (by lifting the bottom of the cover first) (see image 3)
-
-
-
The next two steps will demonstrate how to remove the processor
-
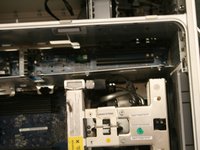
It should look like this (image 1) when the cover has been removed.
-
Remove 8 screws shown on Image 2 and 3 (use T10 and T15 screw drivers)
-
The processor should now come out
-
-
-
Disconnect the cable connected to the processor
-
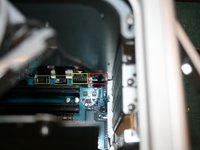
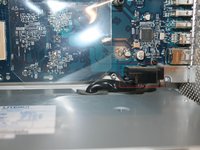
Locate the side fan (right wall), push the pins and pull the fan
-
Disconnect the fan cable (red square) and the rest of yellows if possible
-
-
-
Unscrew two phillips screws located on the bottom power supply cover
-
Remove the bottom screws which held the processor in place (four in total). This will help to take the cover out without damaging the motherboard
-
-
-
The cover should now come out. It will require some bending and pay attention to the motherboard while performing this task.
-
Remove the connectors (as shown on image 2 and 3)
-
-
-
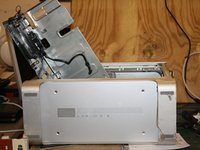
Locate four phillips screws on the bottom of the g5
-
Remove them and pull the Power Supply.
-
Disconnect the connector from the power supply (image 3, hdd lead)
-
-
-
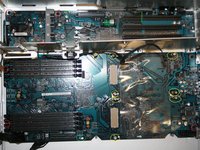
Remove Red and Yellow marked screws
-
The Red are small black screws shown on the second image
-
The processor holding screws are marked as yellow and have to be removed
-
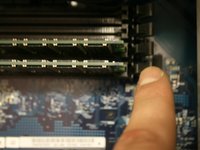
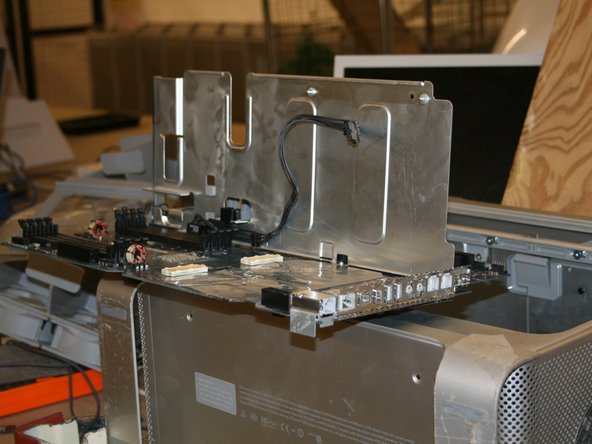
Green- pins which hold the motherboard in place
-
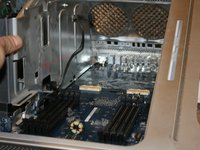
In order to remove the motherboard, pull it (as shown on the third image) It should now slide on the pins which are marked as green.
-
-
-
The motherboard should now come out freely
-
Hope you enjoyed it, Michal Scrumpymacs
-


To reassemble your device, follow these instructions in reverse order.
Cancel: I did not complete this guide.
53 other people completed this guide.
7 Guide Comments
This guide applies, it seems, to liquid-cooled CPU G5s, which are rather rarity IMO.
Air-cooled G5s are completly different kettle of fish, and they come in two flavours as far as CPUs brackets (those studs on which CPUs are attached to the aluminum case) are concerned. One uses phillips screws and some guiding rods (AFAIR) - plain and simple solution, while the other uses allen bolts and sort of "expanding" studs, which have tendency to get stuck, PERMANENTLY, to the CPU's base plate. Which means, in turn, that you can easily tear them completelly off their sockets (weak and shallow ones) while attempting to lift the CPU.
Besides, the whole thing (getting the MB out) is exercise in high dexterity and saintly patience thanks to Apple's decision to save few cents on machines costing thousands of $ by making all wires shorter than necessary for easy dismantling, by an inch. Bunch of smart-!@# morons, if you'd ask me... and this is not the only issue with these machines (which are otherwise great computers).
Hi,
Thanks for a great guide.
I am tearing down my Mac G5 tower (air cooled) to use the casing for a new home build.
I am currently struggling with the CPU brackets and the bolts fixing it. It seems to be some kind of "wonder"-screws that no of my screwdrivers nor bits are able to handle. Im actually considering just ripping the whole thing, even though I might damage the case and other components which I might want to keep to my build.
If you have any thoughts on how to get around this, please leave a comment.
Best regards
Mark.
@Markus Forsberg:
I think you mean the hexagonally-screws to get off the CPU with the cooling fins. For those you will need an allen wrench with 2.5mm. To get at the two screws in the round hole of the middle from the cooling fins you will need an extra long allen wrench (minimum 16cm or longer).
The other screws at the CPU brackets are called torx screws (looks like nearly a star or something like that)
Hope it will help you.
Best regards
If your G5 is the liquid cooled PPC type these instructions are on the money. The power supply needs to be tipped/angled in about 45* before it will clear the case and pull free. There’s not enough room in the case to do this easily. It scrapes hard on the case and it takes some force. Mind the posts that align the processor to the motherboard. Do not bend them when removing the power module. Move the thick bundled wires to make as much free room as you can before you muscle it. It really does have to be forced out. My G5 was cutting out in the middle of use, then coming back on a few seconds later. I believe the cause was extremely dirty power supply fans. I’m glad I took it apart so I could really clean everything, but in a pinch try blowing compressed air into just the bottom, front & back, while using a vacuum at the other end. That would probably have done it.