
Disassembling PlayStation 2 Slimline Outer Shell

Thomas Sullivan and
Last updated on Dec 26, 2013
Views: 17K
View statistics:
- Past 24 Hours:
- 5
- Past 7 Days:
- 65
- Past 30 Days:
- 278
- All Time:
- 16,619
Comments: 3
3 guide comments.
Go to guide commentsCompleted: 23 24
23 people have marked this guide "completed." Will you be next?
24 people have marked this guide "completed." Including you — great job!
Favorites: 9 10
9 people have favorited (and subscribed to) this guide. Will you be next?
10 people have favorited (and subscribed to) this guide — including you!
Community-Contributed Guide
An awesome member of our community made this guide. It was not created by iFixit staff.
What you need
Tools
-
Spudger4.9


-
-
-
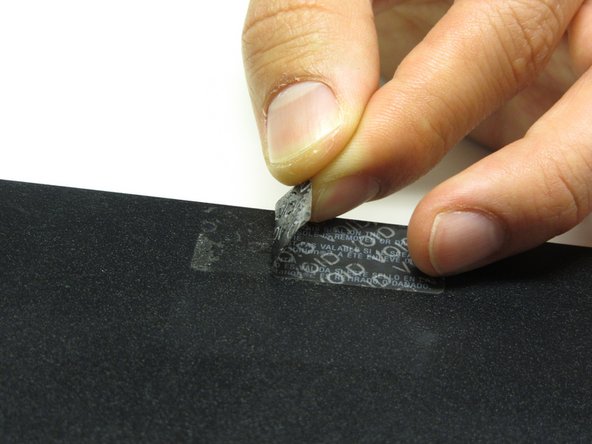
Disconnect all cables from the console and flip the unit over to reveal its base.
 Ask FixBot
-
-
-
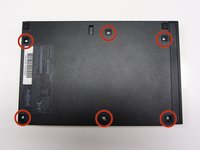
Locate the 6 feet on the base of the unit. Pry them off using a spudger to reveal the screws.
-
-
-
-
Remove all six 4.0 mm screws from the base of the unit using a #1 Phillips screwdriver.
-
-
-
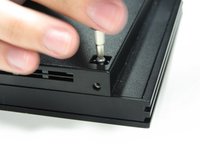
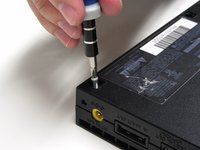
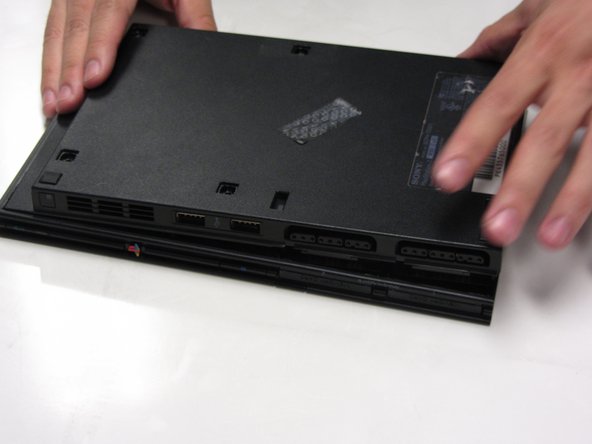
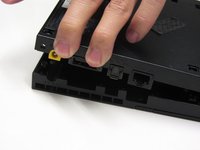
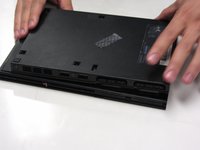
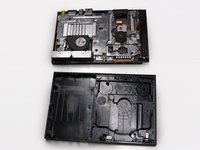
Starting at the corner at which the power and Ethernet ports are located, pry open the outer shell using a spudger and continue around the entire unit.
-
-






To reassemble your device, follow these instructions in reverse order.
Cancel: I did not complete this guide.
23 other people completed this guide.

3 Guide Comments
Just to clarify: in order to FULLY remove the bottom half of the shell on my PS2 Slim, I had to remove a screw that pinned the controller ports in place; it's at the front, right between the Player 1 and Player 2 ports.
Other than that, this guide worked perfectly! :D
Good morning. Hello. The disassembly of the PS2 series 7XXXX (PS2 Slim) is very well explained, except for one detail. Indeed, when I started to separate the bottom from the top, a small metal plate with a threaded hole in the center. And I find no mention of it anywhere. Considering the part, I think it's used by one of the screws that holds the two plastic hulls, but I don't see where. Can you help me, please? Friendly, Marc.
Translated with www.DeepL.com/Translator
