Free Shipping on Domestic Orders $75+

Disassembling Planet Eclipse Etha Frame

What you need

    1. Disassembling Planet Eclipse Etha Frame, Regulator: step 1, image 1 of 2 Disassembling Planet Eclipse Etha Frame, Regulator: step 1, image 2 of 2
      • Firmly grasp hold of the ring on the bottom of the 90 degree silver fitting on the front of the gun.

      • Pull hard, but slowly, on the macroline where it comes out of silver piece until it comes out.

      • The macroline is the black hose connecting the regulator to the tank connection.

      Ask FixBot

      Add Comment

    2. Disassembling Planet Eclipse Etha Frame: step 2, image 1 of 2 Disassembling Planet Eclipse Etha Frame: step 2, image 2 of 2
      • Remove the regulator by unscrewing it in a clockwise direction.

      Ask FixBot

      Add Comment

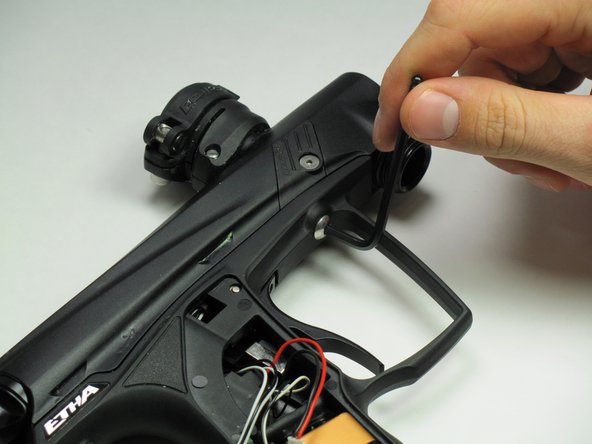
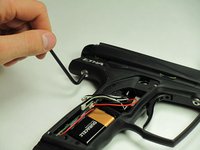
    1. Disassembling Planet Eclipse Etha Frame, Battery and Grip Panels: step 3, image 1 of 2 Disassembling Planet Eclipse Etha Frame, Battery and Grip Panels: step 3, image 2 of 2
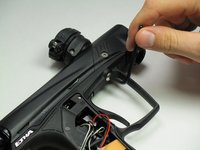
      • Use the 5/64" hex key to remove the screw shown.

      • Remove the grip panel by gently holding the bottom of the panel and lifting the panel off.

      • If you are only replacing the battery, skip the next step.

      • The screws in this guide are interchangeable with those shown in the Eyes replacement guide.

      Ask FixBot

      Add Comment

    2. Disassembling Planet Eclipse Etha Frame: step 4, image 1 of 1
      • Flip the marker over and use the 5/64" hex key to remove the screw shown.

      • Remove the grip panel by gently holding the bottom of the panel and lifting the panel off.

      Ask FixBot

      Add Comment

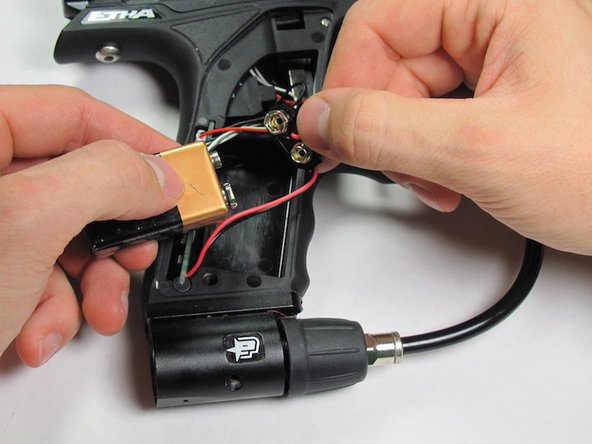
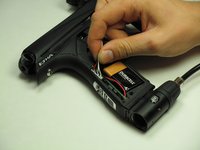
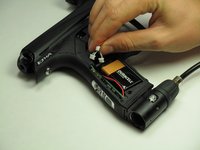
    3. Disassembling Planet Eclipse Etha Frame: step 5, image 1 of 2 Disassembling Planet Eclipse Etha Frame: step 5, image 2 of 2
      • Carefully remove the 9V battery and connector.

      • Remove the 9V battery from the connector.

      Ask FixBot

      Add Comment

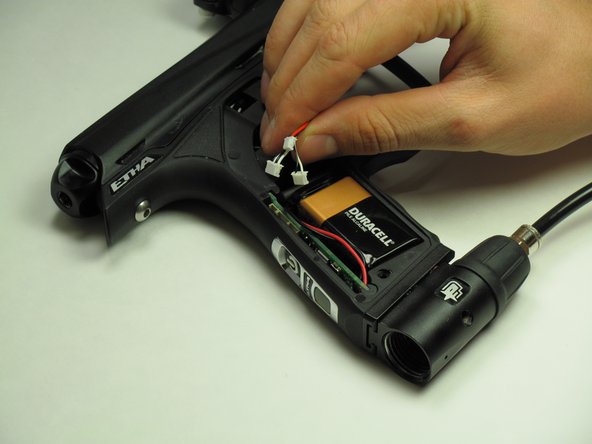
    1. Disassembling Planet Eclipse Etha Frame, Frame: step 6, image 1 of 2 Disassembling Planet Eclipse Etha Frame, Frame: step 6, image 2 of 2
      • Carefully disconnect the three connectors from the circuit board.

      • Don't worry about remembering which direction the connectors go in, they will not fit in the board in the wrong direction.

      Ask FixBot

      Add Comment

    2. Disassembling Planet Eclipse Etha Frame: step 7, image 1 of 2 Disassembling Planet Eclipse Etha Frame: step 7, image 2 of 2
      • Use the 1/8" hex key to remove the two dome-headed screws by rotating them counter-clockwise.

      Ask FixBot

      Add Comment

    3. Disassembling Planet Eclipse Etha Frame: step 8, image 1 of 1
      • Be very careful during the step to avoid damage to the solenoid or wiring.

      • Gently separate the top and bottom of the marker.

      Ask FixBot

      Add Comment

Conclusion

To reassemble your device, follow these instructions in reverse order.

Cancel: I did not complete this guide.

nicholasj6

Member since: 10/14/14

261 Reputation

2 Guides authored

Team

Cal Poly, Team 10-42, Amido Fall 2014 Member of Cal Poly, Team 10-42, Amido Fall 2014

CPSU-AMIDO-F14S10G42

5 Members

7 Guides authored

0 Guide Comments

Add Comment

View Statistics:

Past 24 Hours: 0

Past 7 Days: 8

Past 30 Days: 27

All Time: 679