
Disassembling Numark TT1600 Circuit board

What you need

  1. Disassembling Numark TT1600 Circuit board, Circuit board: step 1, image 1 of 2 Disassembling Numark TT1600 Circuit board, Circuit board: step 1, image 2 of 2
    • Flip over the turntable and remove the nine screws on the outer edges.

  2. Disassembling Numark TT1600 Circuit board: step 2, image 1 of 1
    • Remove the back cover by pulling it apart.

  3. Disassembling Numark TT1600 Circuit board: step 3, image 1 of 1
    • Locate the largest circuit board inside the device.

  4. Disassembling Numark TT1600 Circuit board: step 4, image 1 of 1
    • Locate the wires that are plugged into the side of the circuit board.

  5. Disassembling Numark TT1600 Circuit board: step 5, image 1 of 2 Disassembling Numark TT1600 Circuit board: step 5, image 2 of 2
    • Gently pull out the wires plugged into the circuit board.

  6. Disassembling Numark TT1600 Circuit board: step 6, image 1 of 2 Disassembling Numark TT1600 Circuit board: step 6, image 2 of 2
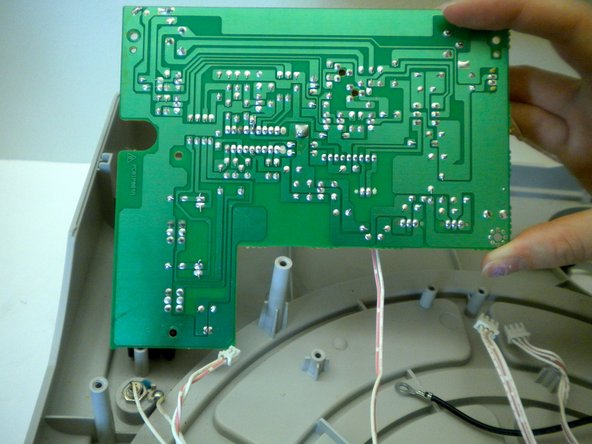
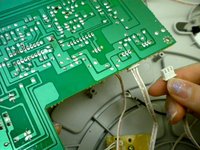
    • Once the wires are unplugged you will notice two more wires plugged into the bottom of the circuit board.

    • Note that these wires are soldered onto the circuit, indicated by the red markers.

    • To completely remove the circuit board these wires must be removed.

Conclusion

To reassemble your device, follow these instructions in reverse order.

One other person completed this guide.

Sukhjinder

Member since: 10/12/11

17 Reputation

1 Guide authored

Team

Cal Poly, Team 17-14, Regan Fall 2011 Member of Cal Poly, Team 17-14, Regan Fall 2011

CPSU-REGAN-F11S17G14

4 Members

11 Guides authored

0 Comments

Add Comment

View Statistics:

Past 24 Hours: 0

Past 7 Days: 2

Past 30 Days: 8

All Time: 1,517