
Disassembling Nokia 2366i Keypad

Michael Machado and 6 other contributors
Last updated on Jan 28, 2014
Views: 1.4K
View statistics:
- Past 24 Hours:
- 4
- Past 7 Days:
- 21
- Past 30 Days:
- 95
- All Time:
- 1,419
Comments: 0
No one has left comments on this guide. Will you be first?
Go to guide commentsCompleted: 1 2
1 person has marked this guide "completed." Will you be next?
2 people have marked this guide "completed." Including you — great job!
Favorites: 1 2
1 person has favorited (and subscribed to) this guide. Will you be next?
2 people have favorited (and subscribed to) this guide — including you!
Incorrect Tools
Help make this guide better by using the correct tools in images and/or text.
Introduction
Go to step 1 ↓Replacing the key pad.
What you need
Tools
-
Spudger4.9
-


-
-
-
Apply pressure on the cover while simultaneously sliding the cover downward.
-
Remove the back battery cover.
-
-
-
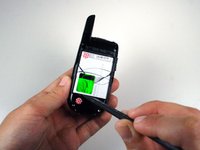
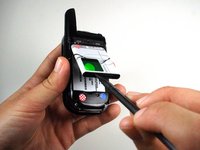
Insert the spudger between the base of the phone and the phone battery.
-
Position the phone so that the battery won't fall out of the phone.
-
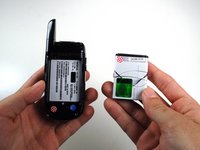
Carefully lift the battery out of the phone.
-
-
-
-
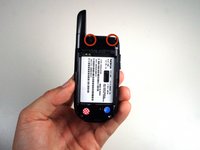
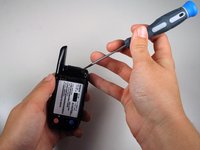
Use a Phillips #00 screwdriver or your fingers to remove the rubber tabs at top back of the phone.
-
-
-
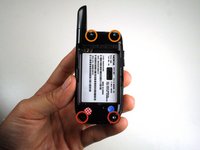
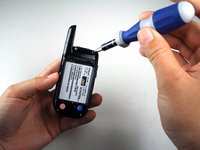
Remove four 5mm screws from the back of the phone using a T6 Torx screwdriver:
-
2 screws at the bottom
-
2 screws at the top
-
-
-
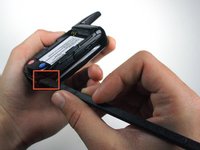
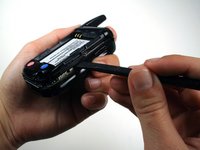
Insert the spudger in tabs between the outer casing and the inside frame.
-
Slide the spudger upwards.
-
-
-
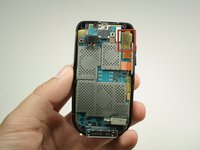
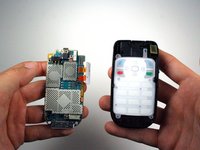
The phone should now be in two different sections.
-
1) The rear case of the phone.
-
2) The motherboard and the rest of the phone.
-
-
-
-
-
Use the spudger to lift off the yellow clip near the top right corner of the motherboard.
-
-
-
-
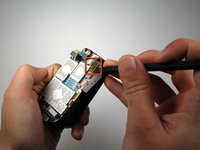
Use the spudger to lift the motherboard out of the base of the phone.
-
Remove the motherboard from the base of the phone.
-
-
-
-
-
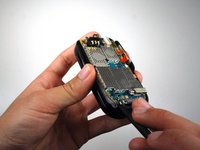
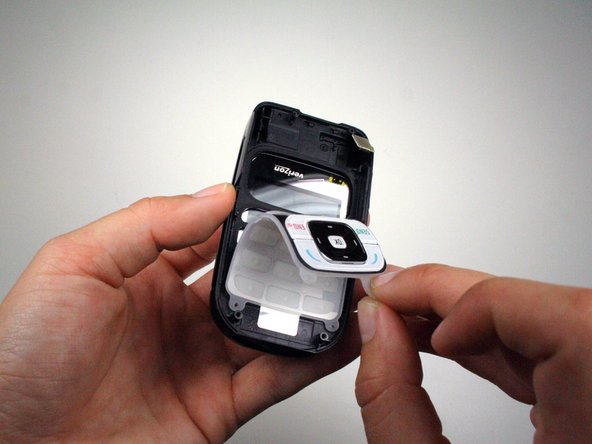
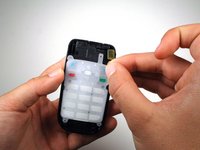
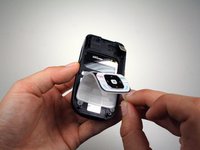
Use your fingers to remove the keypad by carefully pulling from the top of the phone towards the bottom of the phone.
-


 Ask FixBot














To reassemble your device, follow these instructions in reverse order.
Cancel: I did not complete this guide.
One other person completed this guide.

Team

Cal Poly, Team 1-14, Amido Winter 2011 Member of Cal Poly, Team 1-14, Amido Winter 2011
CPSU-AMIDO-W11S1G14
5 Members
96 Guides authored
