Introduction
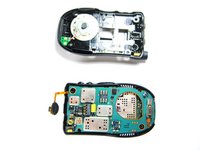
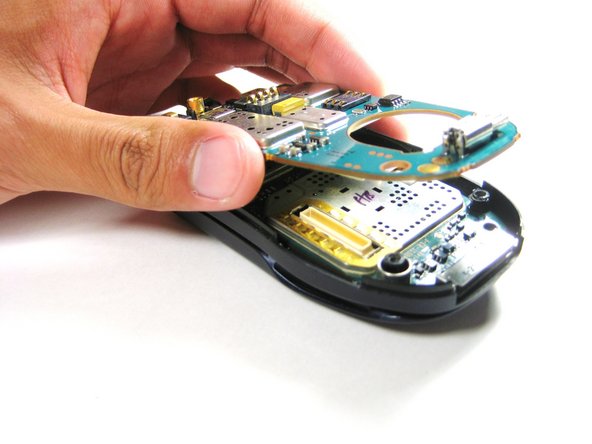
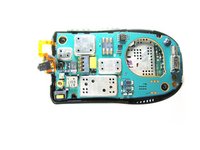
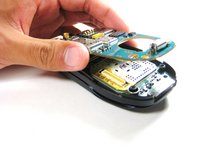
This guide details how to remove the logic board.
What you need
-
-
-
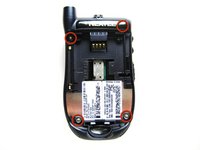
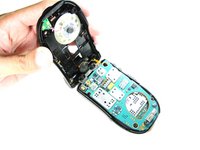
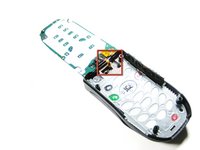
Unscrew the 3 screws shown.
-
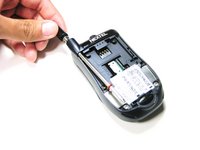
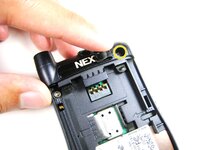
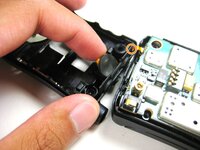
Lift the right part of the Nextel logo
-
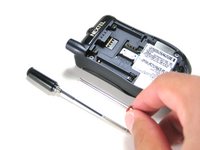
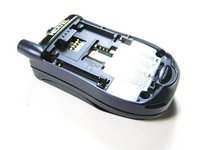
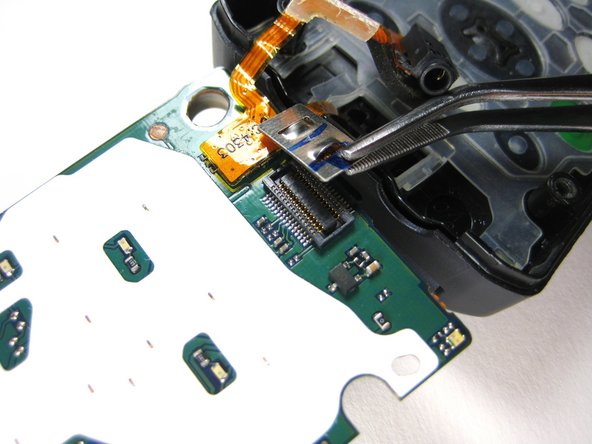
Remove the screw underneath.
-


Conclusion
To reassemble your device, follow these instructions in reverse order.
Team

Cal Poly, Team 29-61, Johann Spring 2010 Member of Cal Poly, Team 29-61, Johann Spring 2010
CPSU-JOHANN-S10S29G61
4 Members
6 Guides authored