Disassembling Motorola ES400 Logic Board

What you need

  1. Disassembling Motorola ES400 Logic Board, Logic Board: step 1, image 1 of 2 Disassembling Motorola ES400 Logic Board, Logic Board: step 1, image 2 of 2
    • Take the battery cover and battery out of the device and put the unit on its front.

  2. Disassembling Motorola ES400 Logic Board: step 2, image 1 of 2 Disassembling Motorola ES400 Logic Board: step 2, image 2 of 2
    • Remove a total of 6 T4 torx screws

  3. Disassembling Motorola ES400 Logic Board: step 3, image 1 of 3 Disassembling Motorola ES400 Logic Board: step 3, image 2 of 3 Disassembling Motorola ES400 Logic Board: step 3, image 3 of 3
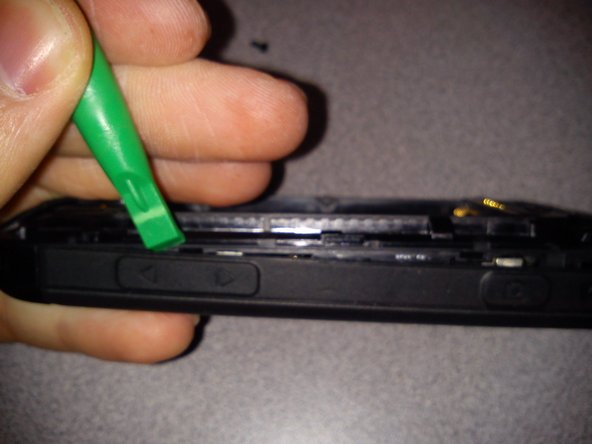
    • After all 6 screws have been removed, start by using a plastic pry tool to separate the back panel from the side frame.

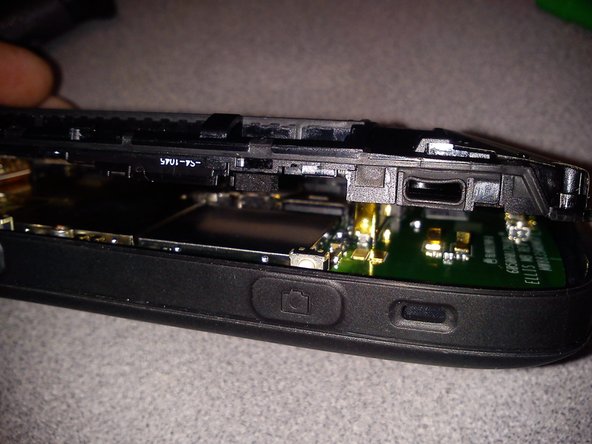
    • Continue along the side near the volume buttons slowly seperating the back panel from the frame.

    • Once the back panel has been seperated from the frame slowly take it off, being careful not to break any plastic parts/clips.

    • Keep track of your screws.

  4. Disassembling Motorola ES400 Logic Board: step 4, image 1 of 1
    • Remove the back panel and set it aside.

  5. Disassembling Motorola ES400 Logic Board: step 5, image 1 of 3 Disassembling Motorola ES400 Logic Board: step 5, image 2 of 3 Disassembling Motorola ES400 Logic Board: step 5, image 3 of 3
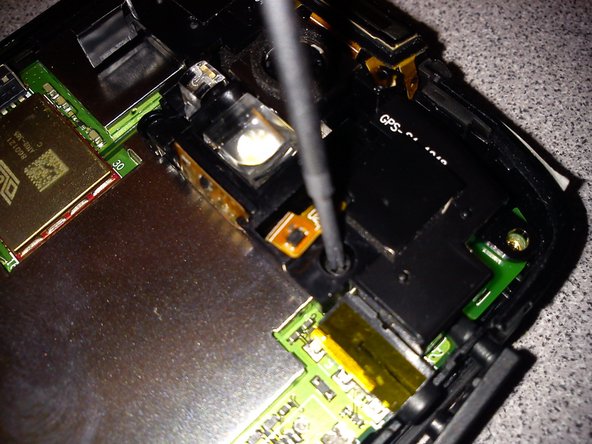
    • Unscrew the 2 Philips head (+) screws to remove the camera flash module.

    • This unit has a broken micro usb charging port.

  6. Disassembling Motorola ES400 Logic Board: step 6, image 1 of 1
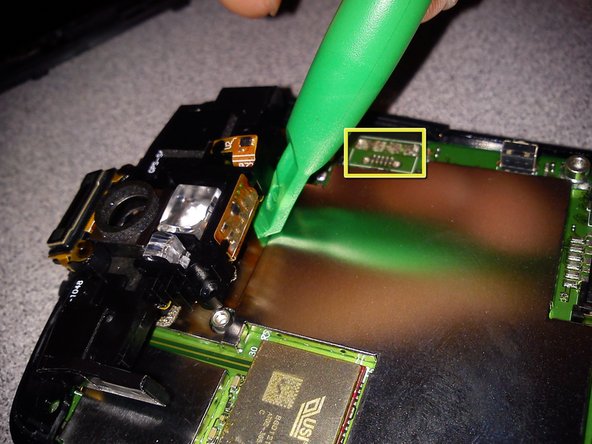
    • After the camera module has been removed pull up any tape covering the digitizer flex cable.

    • Flip up the plastic lever and then slowly nudge the flex cable out of the socket.

  7. Disassembling Motorola ES400 Logic Board: step 7, image 1 of 1
    • Near the memory card slot on the right side carefully press down on the finger to release the logic board from the frame.

  8. Disassembling Motorola ES400 Logic Board: step 8, image 1 of 1
    • On the left side carefully press down on the finger to release the logic board from the frame.

  9. Disassembling Motorola ES400 Logic Board: step 9, image 1 of 1
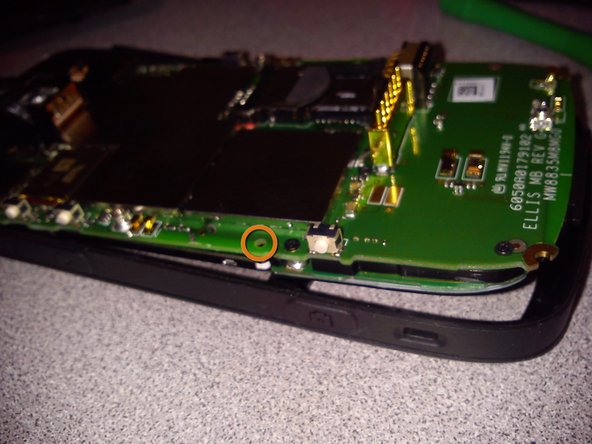
    • After all the fingers and clips have been released/removed, use a plastic prying tool to carefully pry the logic board out of the frame.

  10. Disassembling Motorola ES400 Logic Board: step 10, image 1 of 2 Disassembling Motorola ES400 Logic Board: step 10, image 2 of 2
    • Slowly lift the logic board out of the frame starting at the bottom of the phone.

    • (Fingers are released shown in orange)

  11. Disassembling Motorola ES400 Logic Board: step 11, image 1 of 1
    • Pry off metal cap to remove shielding to access LCD flex cable.

  12. Disassembling Motorola ES400 Logic Board: step 12, image 1 of 2 Disassembling Motorola ES400 Logic Board: step 12, image 2 of 2
    • Flip up plastic socket holding the LCD ribbon cable in place.

    • Once the plastic flipper has been flipped, slowly nudge the flex cable out of the socket.

  13. Disassembling Motorola ES400 Logic Board: step 13, image 1 of 1
    • Slowly lift LCD from the logic board

    • Be mindful of double-sided tape still holding the top part down.

  14. Disassembling Motorola ES400 Logic Board: step 14, image 1 of 1
    • Set everything aside and repair or replace whatever is needed.

Jordan Wires

Member since: 07/28/11

141 Reputation

1 Guide authored

View Statistics:

Past 24 Hours: 1

Past 7 Days: 2

Past 30 Days: 9

All Time: 6,008