Introduction
This is a step by step disassembly of the ModRetro M64 Pro Controller. Use this guide when modifying or replacing components on the controller.
What you need
-
-
-
Slide the battery release button down.
-
Pull the battery pack away from the controller and set it aside.
 Ask FixBot
-
-
-
On the back of the controller, remove eleven screws on the back using the Tri-wing Y1 Screwdriver.
-
Gently separate the front panel from the back panel and set them aside.
-
-
-
Gently pull three membranes from their pockets to expose the buttons and D pad.
-
Remove the buttons and the D-pad from the shell with tweezers or by hand. If you flip the shell over, they will fall out freely.
-
-
-
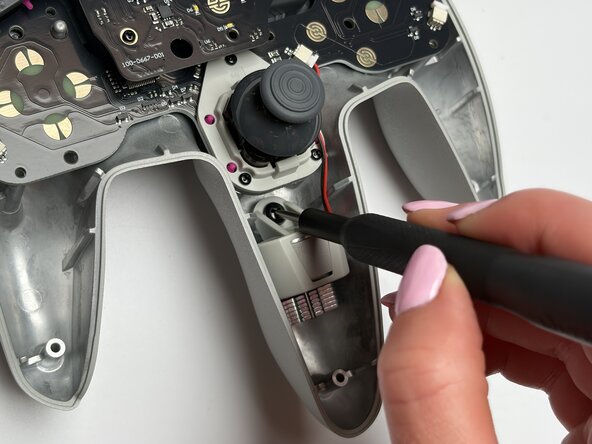
To remove the thumb stick gate, remove three screws using a Tri-wing Y1 Screwdriver.
-
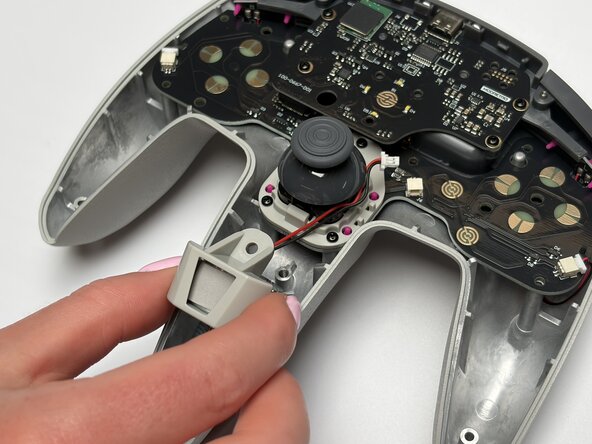
Pull the Gate away from the front panel and set aside.
-
-
-
-
Unplug the Rumble Motor cable connector from the PCB.
-
Remove one screw holding down the motor using the Y1 Tri-wing screwdriver.
-
Lift the motor away and set aside.
-
-
-
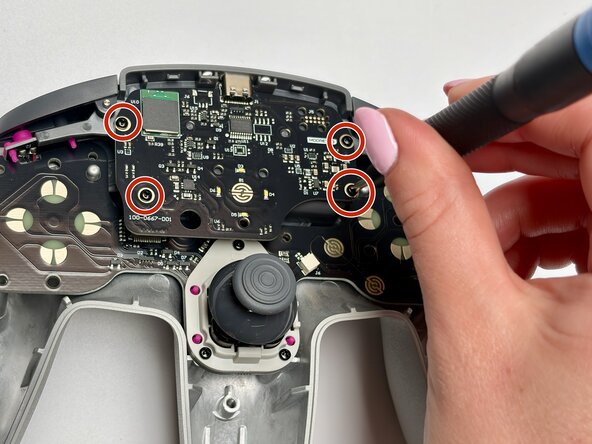
Unscrew four screws using a Tri-wing Y1 Screwdriver.
-
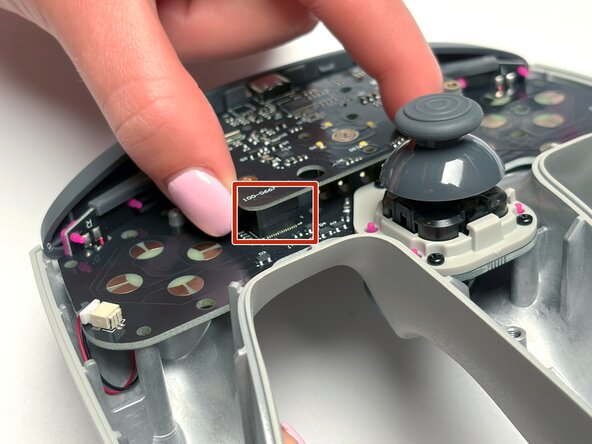
Gently wiggle the battery PCB to loosen up the connector before lifting the PCB vertically. Set them aside.
-
-
-
Unscrew three screws around the joystick using a Tri-wing Y1 Screwdriver.
-
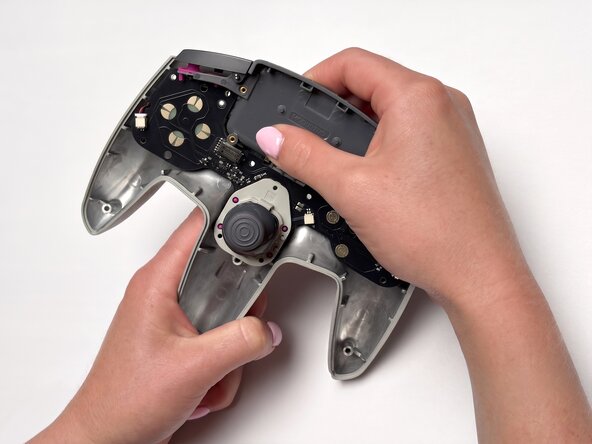
Grip the top of the battery compartment. Gently wiggle while pulling straight up to clear the two metal alignment pins and release the back enclosure.
-
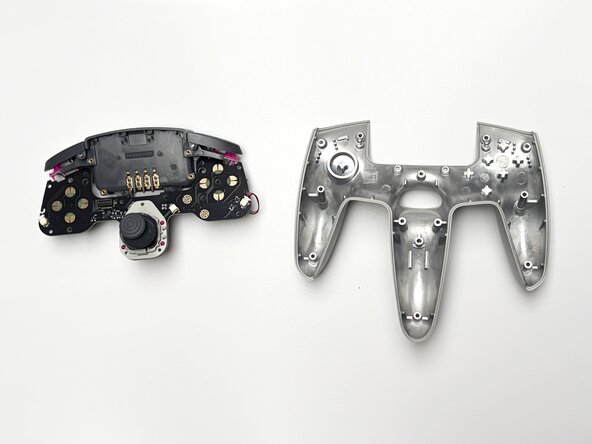
Separate the back enclosure from the PCB and battery compartment module, then set the enclosure aside.
-
-
-
Disconnect two off-white connectors on each side. Use your fingers or tweezers to disconnect the connector.
-
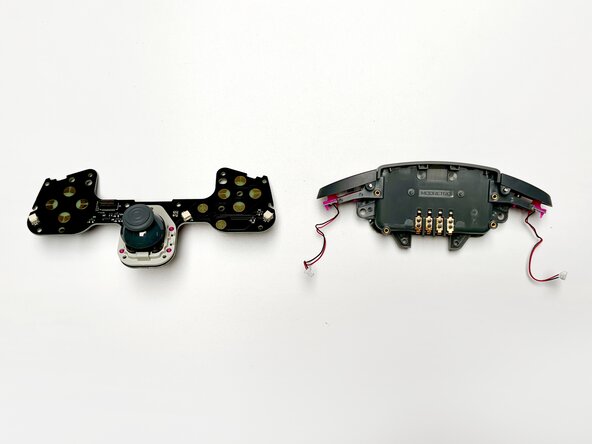
Separate the PCB from the Battery Compartment and set aside.
-
-
-
Slide the button membrane and bumper PCB on each side away from the battery compartment, then set them aside.
-
-
-
Firmly pull the thumbstick cap straight up to remove it from the press-fit connection.
-
Pinch the top and bottom retaining snap-wings on the thumbstick module, then pull the module straight out from the main gray shell.
-
Put the Thumb Stick cap and module aside.
-
-
-
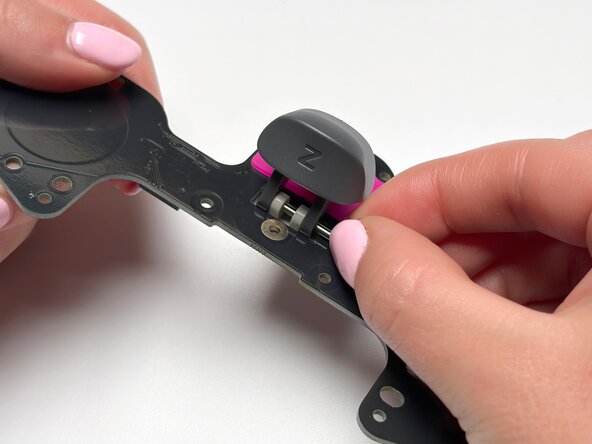
Push one side of the Z-trigger hinge pin and pull it out from the opposite side to remove it.
-
Gently pull the membrane from the PCB.
-
Remove the front gray holder
-
-












To reassemble your device, follow these instructions in reverse order.

