Introduction
This guide should be completed before starting the other guides.
What you need


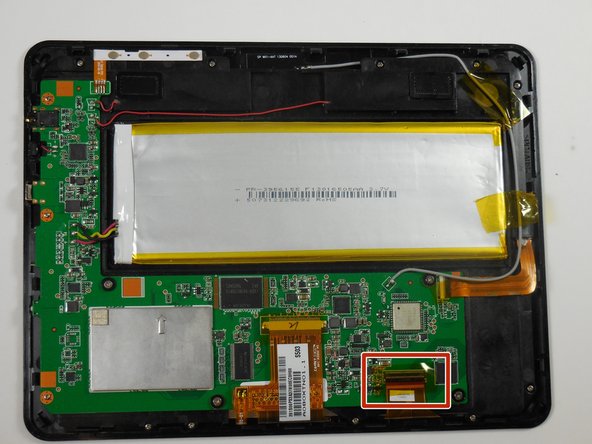


Almost done!
To reassemble your device, follow these instructions in reverse order.
Conclusion
To reassemble your device, follow these instructions in reverse order.
Cancel: I did not complete this guide.
2 other people completed this guide.
Team

Colorado Springs, Team 5-5, Panko Spring 2015 Member of Colorado Springs, Team 5-5, Panko Spring 2015
UCCS-PANKO-S15S5G5
3 Members
12 Guides authored
2 Comments
I don’t see the ssd, and way to upgrade the internal sad had?