
Free Shipping on Domestic Orders $75+

Disassembling FujiFilm instax mini 40 Outer shell

What you need

  1. Disassembling FujiFilm instax mini 40 Outer shell, Outer shell: step 1, image 1 of 3 Disassembling FujiFilm instax mini 40 Outer shell, Outer shell: step 1, image 2 of 3 Disassembling FujiFilm instax mini 40 Outer shell, Outer shell: step 1, image 3 of 3
    • You will need a screwdriver with a PH0 bit and a Spudger.

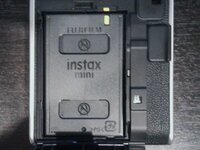
    • Take out the film cartridge make sure it is empty before hand as the film is light sensitive.

  2. Disassembling FujiFilm instax mini 40 Outer shell: step 2, image 1 of 3 Disassembling FujiFilm instax mini 40 Outer shell: step 2, image 2 of 3 Disassembling FujiFilm instax mini 40 Outer shell: step 2, image 3 of 3
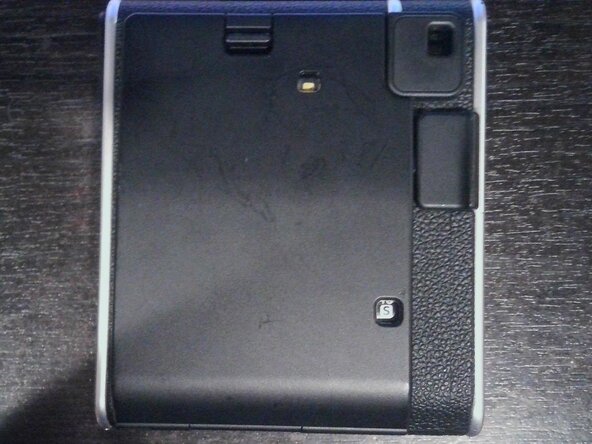
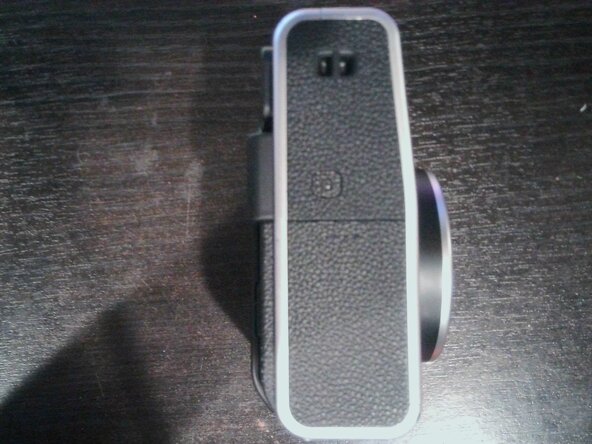
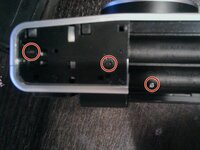
    • Take off the battery cover then with a Spudger, Pry the outer plastic piece off with the notch and unscrew the three screws.

  3. Disassembling FujiFilm instax mini 40 Outer shell: step 3, image 1 of 3 Disassembling FujiFilm instax mini 40 Outer shell: step 3, image 2 of 3 Disassembling FujiFilm instax mini 40 Outer shell: step 3, image 3 of 3
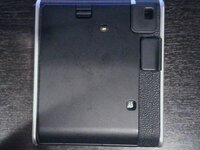
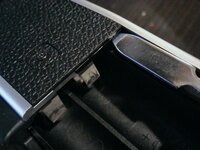
    • Use a Spudger to pry the plastic piece off the other side and unscrew both screws (the other one is out of frame).

  4. Disassembling FujiFilm instax mini 40 Outer shell: step 4, image 1 of 1
    • Unscrew both screws at the bottom.

  5. Disassembling FujiFilm instax mini 40 Outer shell: step 5, image 1 of 3 Disassembling FujiFilm instax mini 40 Outer shell: step 5, image 2 of 3 Disassembling FujiFilm instax mini 40 Outer shell: step 5, image 3 of 3
    • Using a Spudger pry off the plastic piece at the top of the camera. Then unscrew the screw

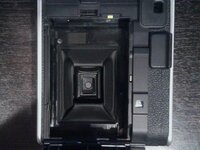
    • Use Spudger and pry on seam then pull both peices apart

    • DO NOT TOUCH ANY METAL OTHERWISE YOU MIGHT GET SHOCKED

  6. Disassembling FujiFilm instax mini 40 Outer shell: step 7, image 1 of 3 Disassembling FujiFilm instax mini 40 Outer shell: step 7, image 2 of 3 Disassembling FujiFilm instax mini 40 Outer shell: step 7, image 3 of 3
    • To put back together

    • Put metal piece on (make sure that the metal bent edge is facing you) then put shutter button on ant then case you may need to jiggle the shutter button around so it fits in the hole. Then follow all other steps in reverse.

Conclusion

To reassemble your device, follow these instructions in reverse order. Do not do step seven in reverse.

Daniel Czetwertynski

Member since: 03/21/25

145 Reputation

1 Guide authored

0 Guide Comments

Add Comment

View Statistics:

Past 24 Hours: 3

Past 7 Days: 8

Past 30 Days: 53

All Time: 291