Introduction
We will be showing how to replace the 3.7V battery in the back of the tablet. Be sure to carefully pry it from the back of the screen and not to puncture it.
What you need
-
-
-
Remove the two Phillips #00 screws from the bottom of the case.
 Ask FixBot
-
-
-
Wedge the opening tool in the space between the back and the front of the tablet.
-
Carefully work your way around the perimeter, wedging the opening tool between the front and back of the tablet.
-
When the back of the tablet is mostly detached from the front, carefully pull it away completely.
-
-
-
-
-
-
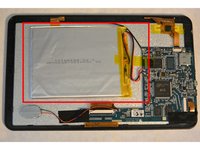
The battery to be removed is shown with the red box in the photo.
-
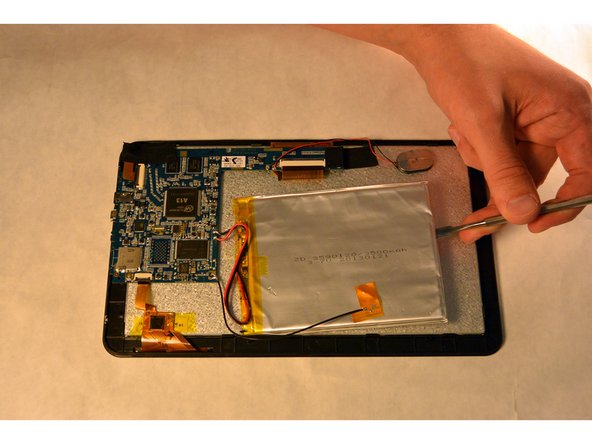
Gently remove the battery from the tablet by sliding the metal spudger under the battery.
-
There is glue holding the battery in place, so this step requires some finesse.
-
At this point, your battery should still be attached to the tablet by a red and black wire.
-
-
Tool used on this step:Desoldering Pump$3.99
-
Take note of which wire goes where (black wire below red wire in photo).
-
In gold writing, 'bat+' indicates the positive terminal (location of red wire), and 'bat-' indicates the negative terminal (location of black wire).
-
To remove the wires from their terminals, use a soldering iron and a solder sucker.
-
Refer to the ifixit solder guide to learn more about how to solder.
-
Attach the black (negative) and red (positive) wires of the new/replacement batteryrespectively to their terminals by soldering them.
-
Position the battery in it's original location, secure with glue.
-
-




To reassemble your device, follow these instructions in reverse order.

Team

IUPUI, Team 1-1, Harley Fall 2015 Member of IUPUI, Team 1-1, Harley Fall 2015
IUPUI-HARLEY-F15S1G1
4 Members
72 Guides authored
