DigiLand DL8006 Motherboard Replacement

What you need

  1. DigiLand DL8006 Motherboard Replacement, Motherboard: step 1, image 1 of 2 DigiLand DL8006 Motherboard Replacement, Motherboard: step 1, image 2 of 2
    • Remove the backing of the tablet to reveal the internal components using a plastic opening tool.

  2. DigiLand DL8006 Motherboard Replacement: step 2, image 1 of 1
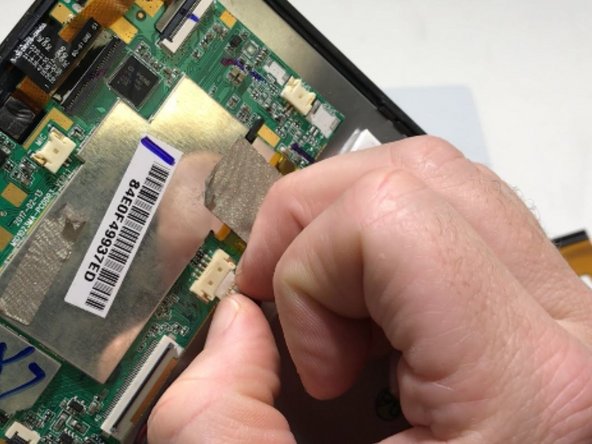
    • Peel back the metallic tape connecting the motherboard to the tablet body with your fingers.

  3. DigiLand DL8006 Motherboard Replacement: step 3, image 1 of 3 DigiLand DL8006 Motherboard Replacement: step 3, image 2 of 3 DigiLand DL8006 Motherboard Replacement: step 3, image 3 of 3
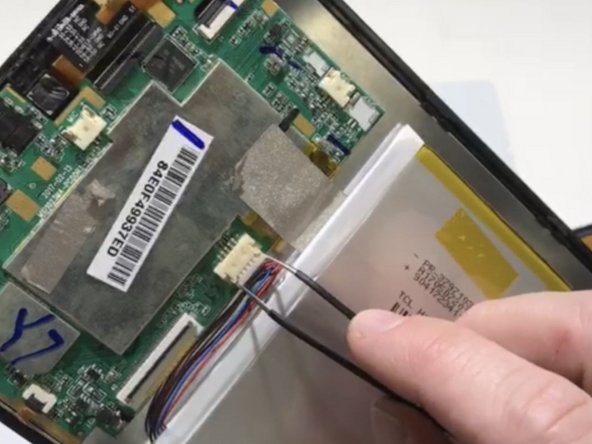
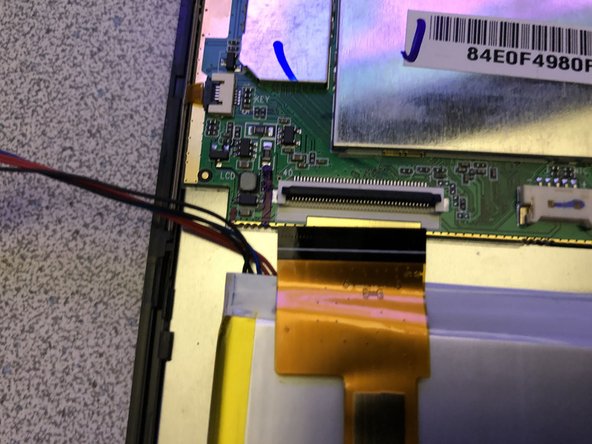
    • Remove the battery plug from the motherboard.

    • Fingers may be used to gently wiggle the connector out if it becomes stuck.

    • If battery wires are under the ribbon, Do Step #4 first.

  4. DigiLand DL8006 Motherboard Replacement: step 4, image 1 of 2 DigiLand DL8006 Motherboard Replacement: step 4, image 2 of 2
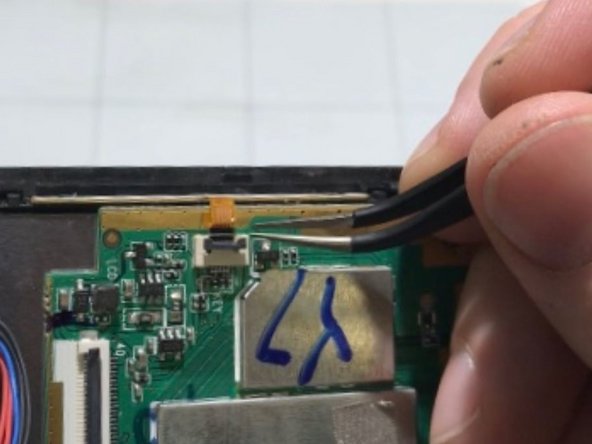
    • Opening the locking tab of the ZIF connector and carefully remove the upper section of the ribbon cable from the motherboard using tweezers.

  5. DigiLand DL8006 Motherboard Replacement: step 5, image 1 of 2 DigiLand DL8006 Motherboard Replacement: step 5, image 2 of 2
    • Disconnect the three remaining ribbons by opening the locking tabs of the ZIF connectors and gently pulling the cables out.

    • Use tweezers to manipulate the connectors and ribbons to prevent damage.

  6. DigiLand DL8006 Motherboard Replacement: step 6, image 1 of 3 DigiLand DL8006 Motherboard Replacement: step 6, image 2 of 3 DigiLand DL8006 Motherboard Replacement: step 6, image 3 of 3
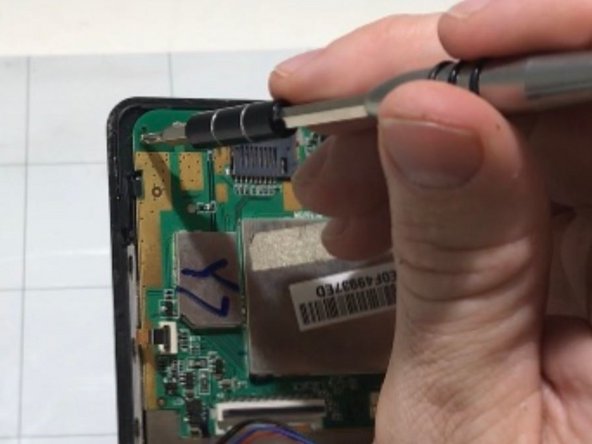
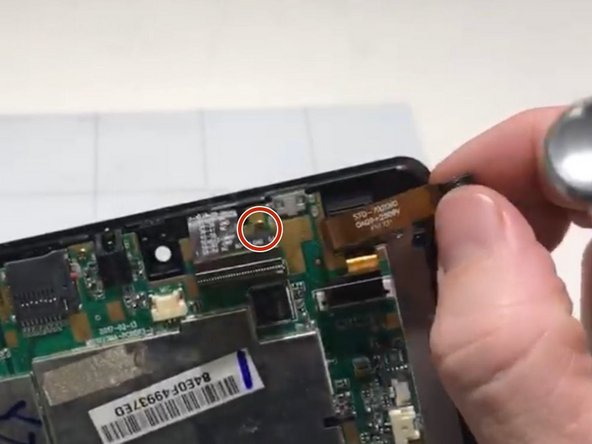
    • Remove the 3 mounting screws from the motherboard with a Phillips #0 screwdriver.

    • One of the screws is located under a ribbon. You will need to gently peel back the cable to access it (see image 3).

  7. DigiLand DL8006 Motherboard Replacement: step 7, image 1 of 1
    • Gently remove the motherboard from the case.

Conclusion

To reassemble your device, follow these instructions in reverse order.

One other person completed this guide.

Alec Trela

Member since: 10/30/19

327 Reputation

2 Guides authored

0 Comments

Add Comment

View Statistics:

Past 24 Hours: 0

Past 7 Days: 2

Past 30 Days: 2

All Time: 176