Introduction
This guide will show you how to successfully replace your switch.
What you need


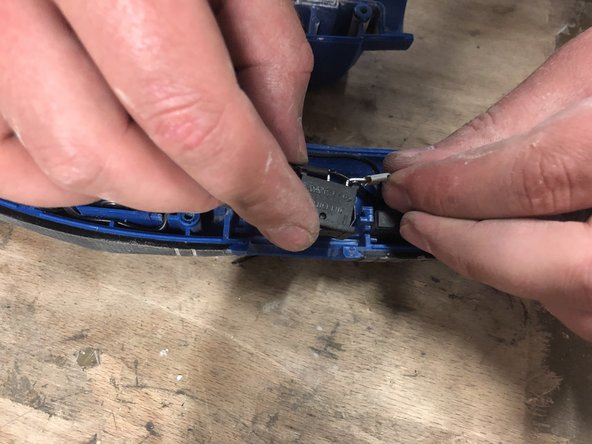


Almost done!
To reassemble perform steps in reverse.
Conclusion
To reassemble perform steps in reverse.
Special thanks to these translators:
fr en
100%

HelloMacOS is helping us fix the world! Want to contribute?
Start translating ›
Team
