
Dewalt Air Compressor DWFP55126 2016 Regulator Rebuild

What you need

  1. Dewalt Air Compressor DWFP55126 2016 Regulator Rebuild, Remove manifold cover: step 1, image 1 of 3 Dewalt Air Compressor DWFP55126 2016 Regulator Rebuild, Remove manifold cover: step 1, image 2 of 3 Dewalt Air Compressor DWFP55126 2016 Regulator Rebuild, Remove manifold cover: step 1, image 3 of 3
    • Disconnect the power cord, depressurize the compressor tank, and remove any hoses before starting this repair.

    • Use a long-shank T10 driver to remove the manifold cover screw.

    • Lift the cover directly up off of the gauges to remove.

  2. Dewalt Air Compressor DWFP55126 2016 Regulator Rebuild, Remove regulator knob: step 2, image 1 of 3 Dewalt Air Compressor DWFP55126 2016 Regulator Rebuild, Remove regulator knob: step 2, image 2 of 3 Dewalt Air Compressor DWFP55126 2016 Regulator Rebuild, Remove regulator knob: step 2, image 3 of 3
    • Twist the regulator control knob counterclockwise. When you feel resistance, continue to twist to break the knob free.
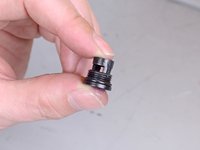
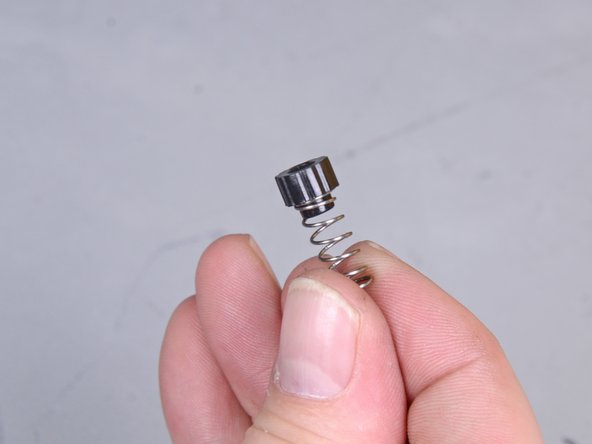
    • This may take a lot of force.

    • Remove the knob.

  3. Dewalt Air Compressor DWFP55126 2016 Regulator Rebuild: step 3, image 1 of 1
    • Remove the spring from inside the regulator control knob.

  4. Dewalt Air Compressor DWFP55126 2016 Regulator Rebuild, Remove regulator internals: step 4, image 1 of 3 Dewalt Air Compressor DWFP55126 2016 Regulator Rebuild, Remove regulator internals: step 4, image 2 of 3 Dewalt Air Compressor DWFP55126 2016 Regulator Rebuild, Remove regulator internals: step 4, image 3 of 3
    • Use needle nose pliers to remove the fitting.

  5. Dewalt Air Compressor DWFP55126 2016 Regulator Rebuild: step 5, image 1 of 2 Dewalt Air Compressor DWFP55126 2016 Regulator Rebuild: step 5, image 2 of 2
    • Use a Phillips #1 screwdriver to unscrew the pressure regulator assembly from inside the manifold.

    • Use needle nose pliers to remove the regulator assembly.

  6. Dewalt Air Compressor DWFP55126 2016 Regulator Rebuild, Assemble new regulator internals: step 6, image 1 of 2 Dewalt Air Compressor DWFP55126 2016 Regulator Rebuild, Assemble new regulator internals: step 6, image 2 of 2
    • The next three steps describe how to assemble the new regulator assembly.

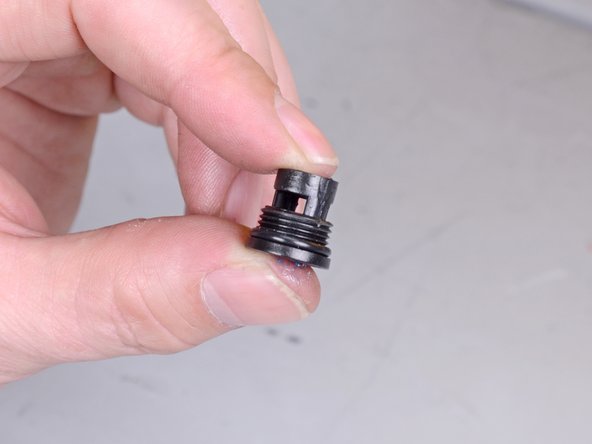
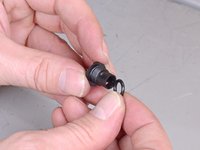
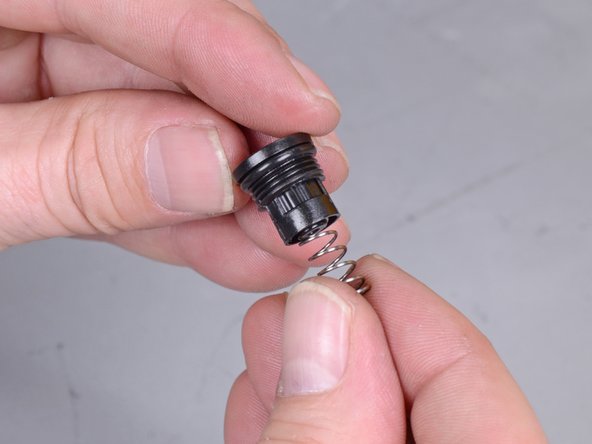
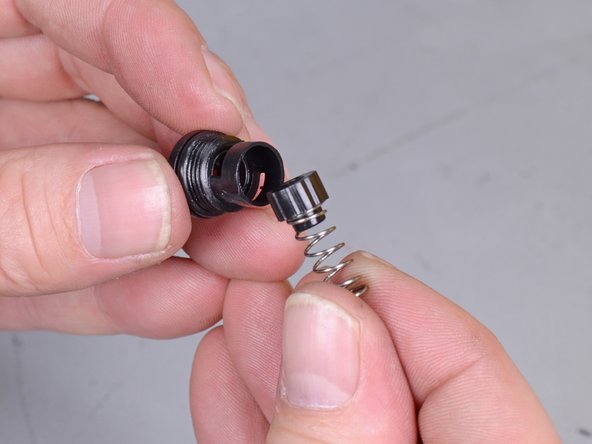
    • Install the new o-ring on the new screw fitting by sliding it over the threads. Make sure it sits flush on the head of the screw fitting, directly above the threads.

  7. Dewalt Air Compressor DWFP55126 2016 Regulator Rebuild: step 7, image 1 of 2 Dewalt Air Compressor DWFP55126 2016 Regulator Rebuild: step 7, image 2 of 2
    • Seat the narrow end of the new cap into one end of the new spring.

  8. Dewalt Air Compressor DWFP55126 2016 Regulator Rebuild: step 8, image 1 of 2 Dewalt Air Compressor DWFP55126 2016 Regulator Rebuild: step 8, image 2 of 2
    • Slide the cap and spring, cap first, into the opening on the screw fitting to complete the new regulator internals.

    • Reassembly tip: some of these components are not firmly attached to each other, so reinstall carefully, being sure everything lines up.

Conclusion

To reassemble your device, follow these instructions in reverse order.

One other person completed this guide.

Carsten Frauenheim

Member since: 03/10/20

114,860 Reputation

339 Guides authored

Team

iFixit Member of iFixit

Staff

136 Members

17,400 Guides authored

One Comment

Perfecto... buena ilustracion y mejor explicación.Gracias.

Arturo - Reply

Add Comment

View Statistics:

Past 24 Hours: 3

Past 7 Days: 17

Past 30 Days: 77

All Time: 3,597