Delta Shower Handle Cartridge Replacement

Jared Singleton and 2 other contributors
Last updated on May 17, 2022
Views: 21K
View statistics:
- Past 24 Hours:
- 15
- Past 7 Days:
- 85
- Past 30 Days:
- 329
- All Time:
- 20,860
Comments: 2
1 comment on steps, 1 guide comment.
Go to guide commentsCompleted: 3 4
3 people have marked this guide "completed." Will you be next?
4 people have marked this guide "completed." Including you — great job!
Favorites: 0 1
No one has favorited (and subscribed to) this guide. Will you be the first?
1 person has favorited (and subscribed to) this guide — and that's you!
Introduction
Go to step 1 ↓If you have a leaking shower head, one cause could be from the shower handle cartridge letting water through when the handle is fully closed.
This cartridge is designed to mix hot and cold water from two separate pipes and exit out of your shower head. Just like other mechanical parts, the cartridge can wear out over time and not fully close when the shower handle is in the closed/off position.
Before using this guide, figure out what make and model cartridge your shower has. Some make and models may look different on the front but are similar on the back and are installed the same way as the Delta model #RP19804 shown in the guide.
What you need
Tools


-
-
-
Turn off the water supply to the house by turning the knob seen here to the off position.
 Ask FixBot
-
-
-
Remove the metal sleeve by grasping with one hand and pulling towards your body.
-
-
-
Remove the metal ring using a pair of channel lock pliers and twisting counter clockwise.
-
-
-
Insert your flathead screwdriver into a slot on either the top or bottom of the cartridge, this will give you something to help wedge the cartridge out.
-
While using the screwdriver, use your hand to wiggle the cartridge up and down to help in the removal process.
-
-
-
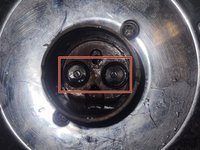
Check the inside of the pipe to ensure the old cartridge did not break or leave any small pieces behind.
-
-
-
Do one last double check for any objects that will interfere with the installation of the new cartridge.
-
-
-
-
Use plumbers silicone grease to add a lubricant to the O-rings of the new cartridge.
-
Use your finger to evenly distribute the grease over the entire O-ring.
-
-
-
There will be an identifier to show which side of the cartridge is the "hot side". This side should be installed facing the pipe that your hot water comes from.
-
-
-
Line up the notches on the cartridge and the pipe when inserting the new cartridge.
-
Firmly press the cartridge into the pipe until the notches have fully met.
-
Thread the metal ring over the cartridge and onto the pipe.
-
-


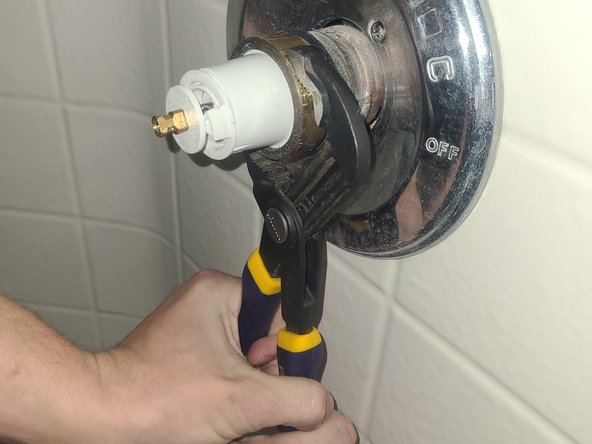


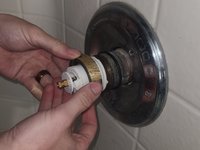


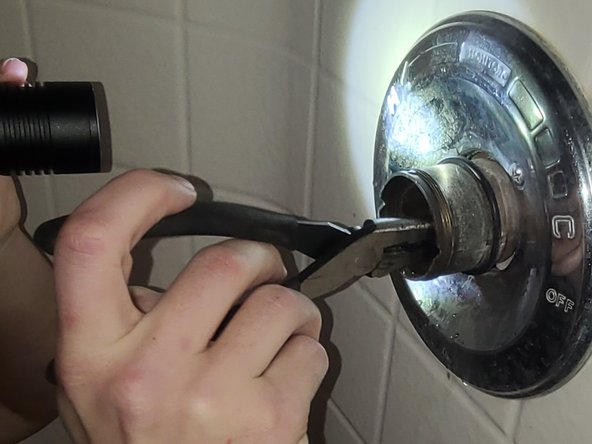



To reassemble your device, follow steps 1 - 4 in reverse order.
Cancel: I did not complete this guide.
3 other people completed this guide.

Team

University of North Texas, Team 1-8, Smith Spring 2022 Member of University of North Texas, Team 1-8, Smith Spring 2022
UNT-SMITH-S22S1G8
2 Members
12 Guides authored
