
Dell XPS 9720 SSD Replacement

Sebastien Bolle and
Last updated on Jan 13, 2023
Views: 1.9K
View statistics:
- Past 24 Hours:
- 2
- Past 7 Days:
- 12
- Past 30 Days:
- 60
- All Time:
- 1,869
Comments: 4
3 comments on steps, 1 guide comment.
Go to guide commentsCompleted: 0 1
No one has marked this guide "completed." Will you be the first?
1 person has marked this guide "completed." It's you — great job!
Favorites: 0 1
No one has favorited (and subscribed to) this guide. Will you be the first?
1 person has favorited (and subscribed to) this guide — and that's you!
Bullets!
Better coordination with markups and the color/type of bullets will help make this guide more clear!
Community-Contributed Guide
An awesome member of our community made this guide. It was not created by iFixit staff.
What you need
Fix Kit
This kit contains all the parts and tools needed to complete this guide.

Parts


Tools


-
-
-
Use a spudger to pry the back panel off of the carbon fiber upper assembly. Slide it into the crack between the carbon-fiber and aluminum housings, and slide the tool around the perimeter of the device to release the plastic clips holding the two together.
-
-
-
-
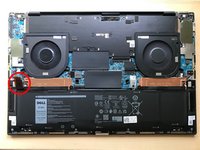
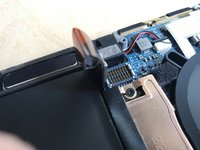
Insert your finger in the translucent loop, and pull straight away from the motherboard.
-
-
-
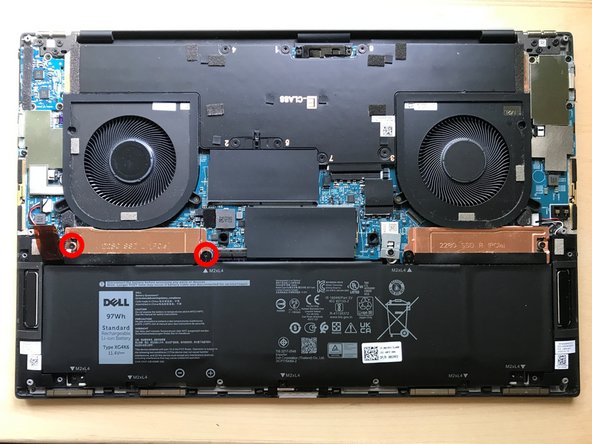
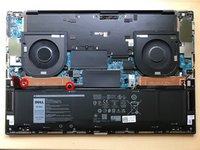
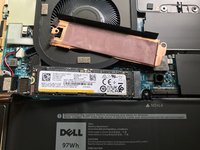
Remove the 2 PH1 screws which retain the SSD and heat spreader. The innermost screw also retains the battery, you will have to gently lift the plastic battery mounting tab with your fingernail or a pry tool, allowing the copper heat spreader to be slid out from underneath.
-
The SSD is now free to spring up from the slot. Pull it in a straight line in the direction which it points at rest. Gently insert your replacement drive. Reverse the above steps to reassemble.
-

 Ask FixBot



To reassemble your device, follow these instructions in reverse order.

1 Guide Comment
Do NOT follow this guide. This guide doesn't fully remove the battery. Please fully remove the battery before attempting to removing the SSD heat sink. It's five extra screws and very easy. If you don't fully remove the battery, you could very easily break the screw holes on the battery attempting to remove the heatsink.
