Introduction
This guide will show you how to replace the battery for your Dell XPS 18 if it has failed.
What you need
-
-
Turn the device on its screen.
-
Remove the ten 4mm screws using a T8 Torx screwdriver.
 Ask FixBot
-
-
-
Gently lift the back cover off the device. The back cover should come off easily.
-
-
-
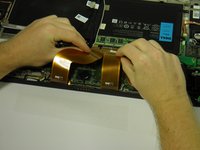
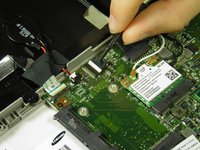
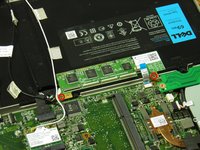
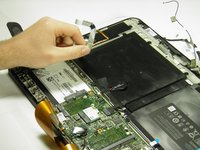
Use the opening tool's angled edge to lift the clasps securing the screen and motherboard cables.
-
-
-
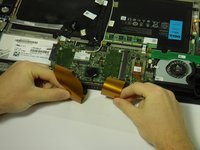
Disconnect the screen and copper colored motherboard cables and tuck them under the device to prevent future hassle.
-
-
-
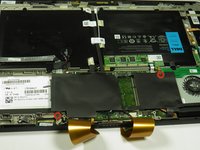
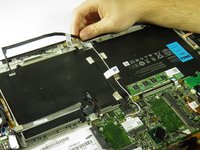
Remove the two black 3mm screws from the internal cover with a Phillips 00 screwdriver.
-
Remove the internal cover.
-
-
-
-
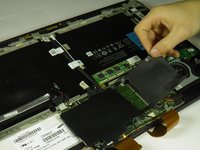
Disconnect the black camera cable and pull it back to prevent future hassle.
-
-
-
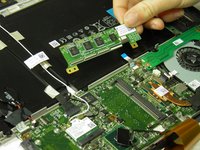
Use the angled edge of the plastic opening tool to lift the clasp securing the touch control board cable.
-
Disconnect the silver and blue touch control board cable.
-
-
-
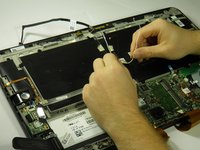
Remove the two silver 3mm screws holding the touch control board in place with a Phillips 00 screwdriver.
-
Remove the touch control board.
-
-
-
Use the plastic opening tool's angled edge to remove the black and white wires connected to the wireless WLAN card.
-
-
-
Use the plastic opening tool's angled edge to pry the black battery cable loose.
-
-
-
Use the plastic opening tool's angled edge to remove the red and black CMOS battery cable.
-
-
-
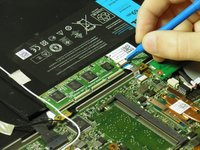
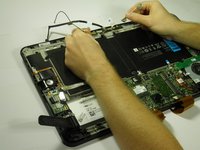
Use the plastic opening tool's angled edge to lift the clasp securing the silver circuit board cable.
-
Pull back the circuit board cable to prevent future hassle.
-
-
-
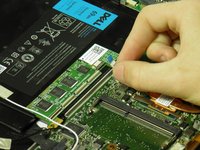
Remove the eleven black 4mm screws holding the battery in place with a Phillips 00 screwdriver.
-


To reassemble your device, follow these instructions in reverse order.
Cancel: I did not complete this guide.
14 other people completed this guide.

Team

Cal Poly, Team 6-29, Amido Winter 2015 Member of Cal Poly, Team 6-29, Amido Winter 2015
CPSU-AMIDO-W15S6G29
4 Members
16 Guides authored
9 Guide Comments
needs the help to repair the Dell XPS18
It all worked good. Thanks.
My unit is missing the right foot stand. Is there anywhere else I can find the model number. Need to purchase a new power supply?
Also might need to replace the touchscreen its cracked. Have to power her up first to find out. Do you have a video for touchscreen replacement?