Introduction
The device featured in this replacement guide is the Dell XPS 14 L421X. This guide will assist the user in removing and replacing the laptop's battery unit. There are no special skills or requirements for this guide. The battery may often be the cause for the device not holding a charge or randomly crashing. For more troubleshooting advice, refer to the troubleshooting page. Before fully removing the battery, make sure you check to ensure that the battery is connected to the device, as these symptoms may also be due to a loose cable or plug. Before following these steps, it is important that you ground yourself using an ESD-safe anti-static wrist strap.
What you need
-
-
-
Position the computer back side up so that the “XPS” logo is facing you.
-
Remove six 3 mm screws along the perimeter of the back panel using a T5 Torx screwdriver.
 Ask FixBot
-
-
-
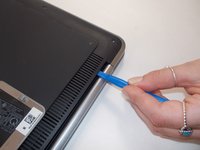
Use an opening tool to pry up the metal plate.
-
Remove the two 6 mm screws under the silver flap using a Phillips #0 screwdriver.
-
-
-
-
Flip over the back panel so that the interior of the panel is facing up.
-
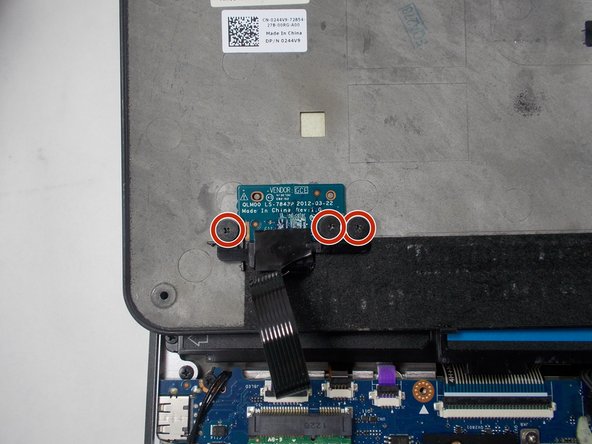
Remove three 2 mm screws that are connected to the vendor GCE disk on the bottom left corner of the back panel using a Phillips #0 screwdriver.
-
Remove the black plastic cover that holds the disk in place.
-
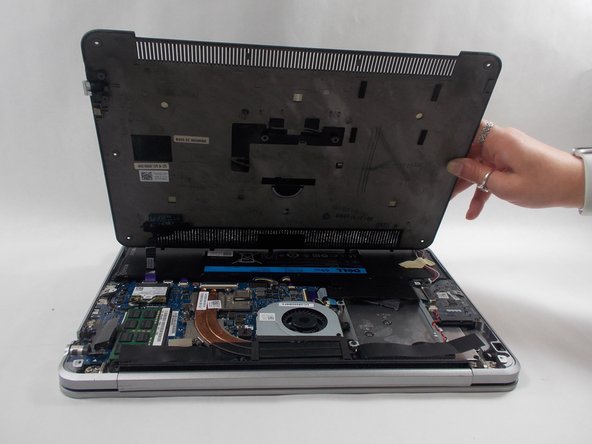
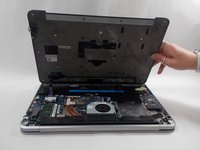
Remove the back panel.
-
-
-
-
-
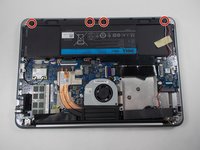
Remove four 2 mm screws that are connected to the speaker using a Phillips #0 screwdriver.
-
-
-
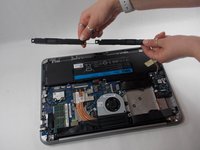
Remove the speaker from its original location so the wire connector is visible.
-
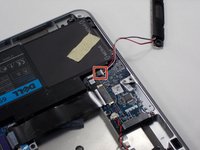
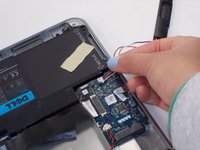
Unplug the red and white cable plug by pulling out the white end tag.
-
The speaker is now fully removed.
-
-
-
-
-
Remove the four 6 mm screws from the sides of the battery using a T5 Torx screwdriver.
-
Remove the two 3 mm screws from the top of the battery using a Phillips #0 screwdriver.
-
-
-
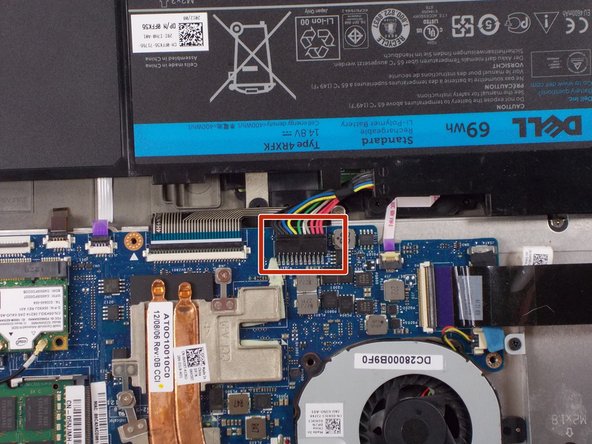
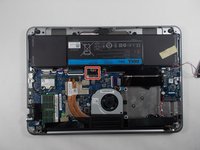
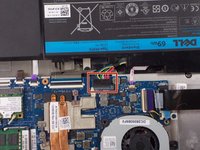
Detach the battery connector from the motherboard using two thumbs to pop it out.
-
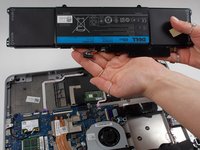
Remove the battery from the laptop.
-
-



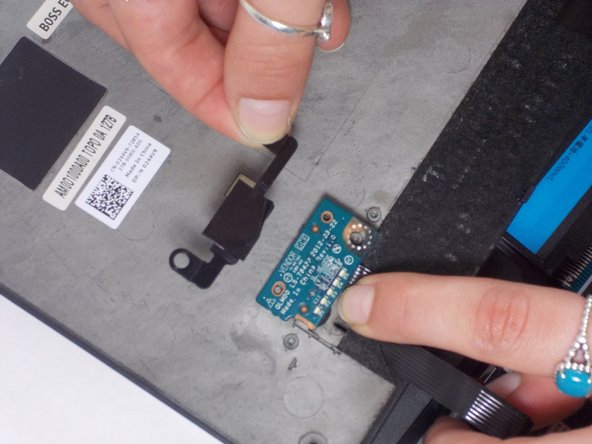
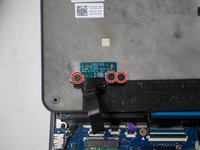







To reassemble your device, follow these instructions in reverse order.
Cancel: I did not complete this guide.
2 other people completed this guide.

Team

UMass Dartmouth, Team 1-3, Botvin Spring 2022 Member of UMass Dartmouth, Team 1-3, Botvin Spring 2022
UMASSD-BOTVIN-S22S1G3
3 Members
45 Guides authored
