Introduction
Replacing the USB port requires a little bit of work, however it is easier than soldering a new port onto the existing board. Once again as with most of the repairs on this device it is relatively straight forward, the only thing it requires is a couple tools, also, the only hazard to note is to not use metal tools if possible because it is a circuit board with electrical connections that could short out. For example, if a metal spudger were to make a connection between two components on the board it could render the board useless.
What you need
-
-
-
Slide one of the plastic opening tools in the crack on the side of the device with the windows button.
-
Slide the other plastic opening tool facing the opposite way in the crack next to the first one and pry the back cover off a little bit at a time or slide them around the edge as necessary.
-
Finally, slide the two plastic opening tools all around the case until it is open.
 Ask FixBot
-
-
-
Unscrew the three black, 4mm screws with a phillips screwdriver size PH 0 (one of which is under the gold colored ribbon cable.)
-
Unscrew the three gray, 3mm screws with the same screwdriver (phillips screwdriver size PH 0.)
-
Unplug the connector the connects the battery to the mother board.
-
-
-
-
-
-
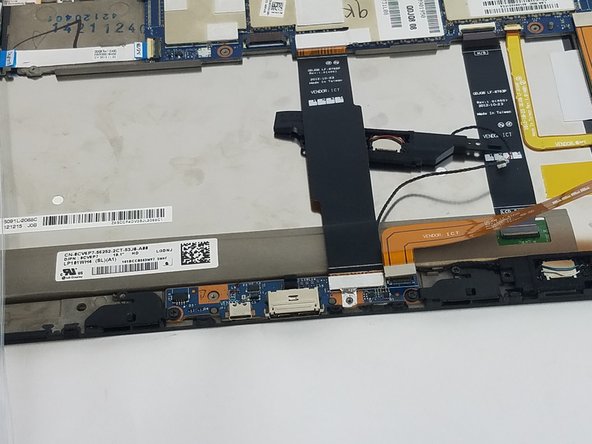
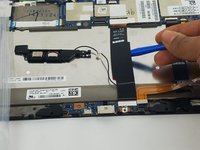
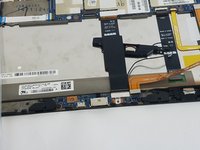
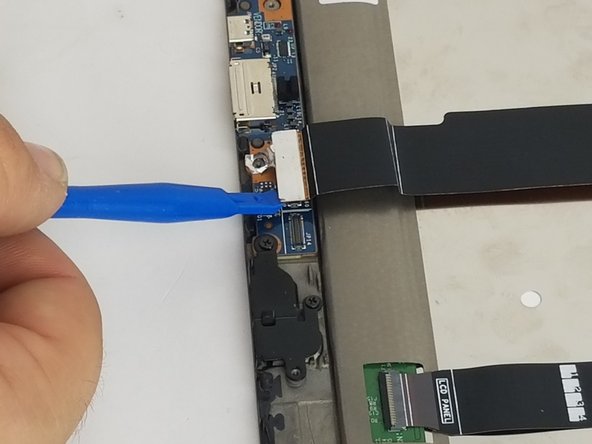
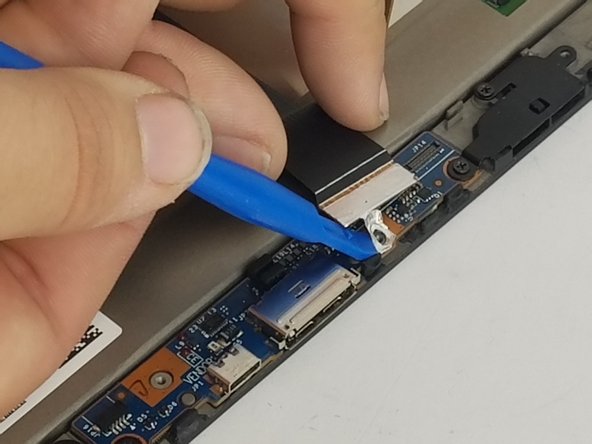
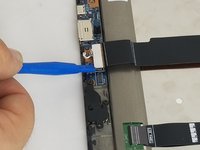
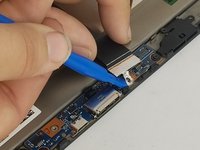
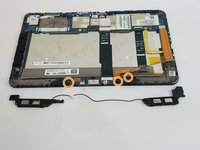
Use the plastic opening tools to lift up the black cable shown in the picture.
-
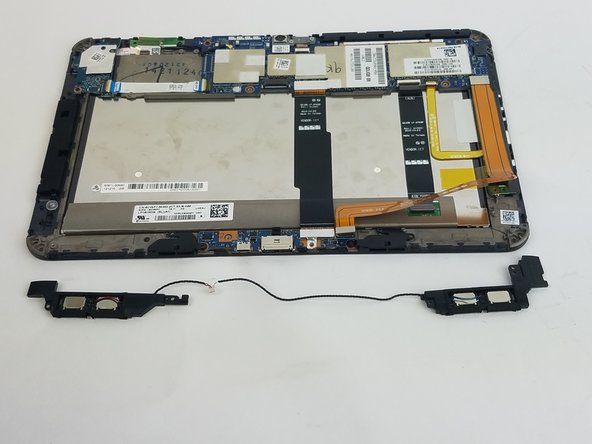
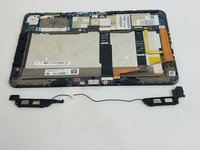
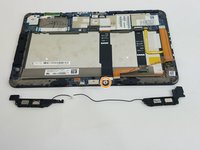
Slide one end of the speaker to the other side and the speaker will be out.
-
-
-
Unscrew the shown screw in the picture.
-
Remove the silver tape using the plastic tool as shown in the picture.
-
-
-
Unscrew the three screws shown in the picture.
-
3 mm screws.
-
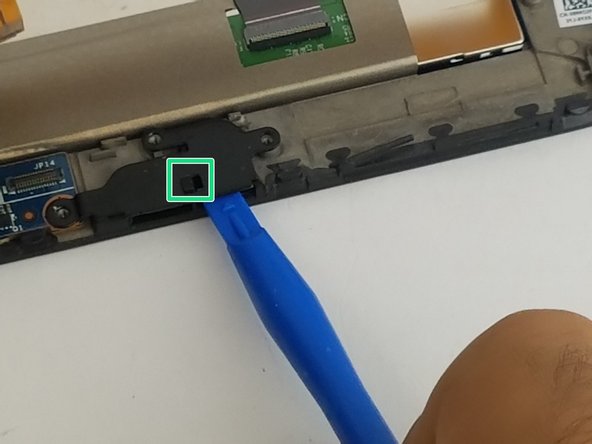
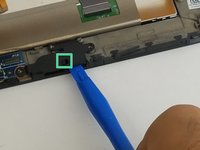
Slide the small piece shown in green square on both black pieces and lift them up using the plastic tool as shown in the picture.
-
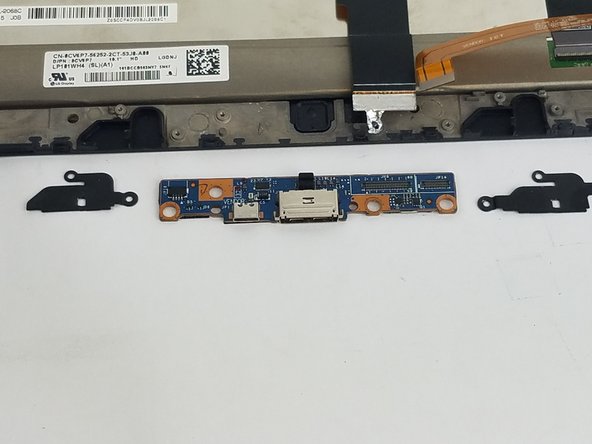
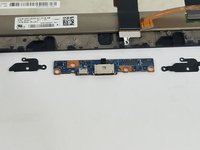
Finally, take the USB port out. You will have three pieces out: the port and the two black pieces as shown in the picture.
-
-




To reassemble your device, follow these instructions in reverse order.

Team

USF Tampa, Team 2-1, Nance Fall 2016 Member of USF Tampa, Team 2-1, Nance Fall 2016
USFT-NANCE-F16S2G1
3 Members
10 Guides authored
