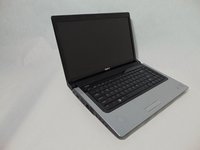
Introduction
If your screen becomes unresponsive you may need to replace it. A Philips 1 screwdriver and a plastic opening tool are required for this guide.
What you need
-
-
-
Turn off and unplug the laptop.
-
Flip the laptop so the underside is facing up with the battery closest to you.
 Ask FixBot
-
-
-
-
-
-
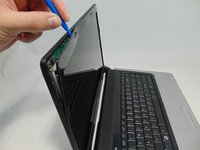
Insert a plastic opening tool between the bezel and the display cover.
-
Wiggle it to the release the latches.
-
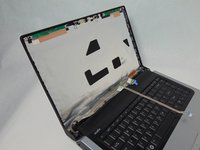
Separate the bezel from the cover.
-
-
-
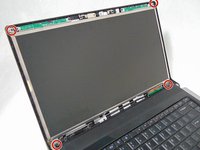
Remove the four 3 mm screws securing the LCD using the #1 Phillips screwdriver.
-
-
-
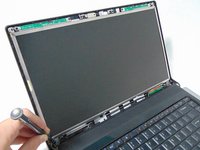
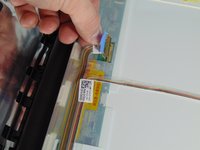
Separate the LCD assembly from the display cover so you will be able to access the webcam cable.
-
Unplug the camera cable.
-
-
-
Place the LCD face down on the top cover.
-
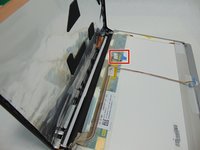
Remove the sticky tape securing the video cable connector.
-
Unplug the video cable from the screen.
-
-
-
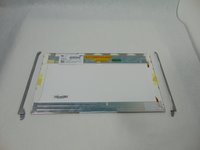
Remove the LCD from the laptop.
-
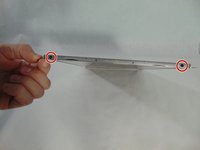
Remove the four 3mm screws holding the mounting brackets using the #1 Phillips screwdriver. Two on each side.
-
-


To reassemble your device, follow these instructions in reverse order.
Cancel: I did not complete this guide.
3 other people completed this guide.
Team

Sam Houston State, Team 12-3, Blackburne Fall 2016 Member of Sam Houston State, Team 12-3, Blackburne Fall 2016
SHSU-BLACKBURNE-F16S12G3
3 Members
6 Guides authored