Introduction
Here we'll cover how to remove the bottom hatch of the laptop, how to remove the drive caddy, and how to remove the actual hard drive. .
What you need
-
-
-
Gather tools and materials
-
Flip over laptop, and remove battery as a safety precaution
 Ask FixBot
-
-
-
If you look at the bottom of the laptop, you will notice that there is a panel that is removable
-
Unscrew the screws that hold the panel in place
-
Unscrew the screws until they are loose. They will not come out of the panel
-
After loosening all the screws, lift the panel up from the main chassis
-
You may need to use a flathead screwdriver to lift the panel
-
-
Tool used on this step:Tweezers$4.99
-
Now we have access to the internals of the laptop, pretty neat
-
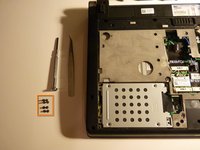
If the battery is away from you, the hard drive should be closer towards you on the left
-
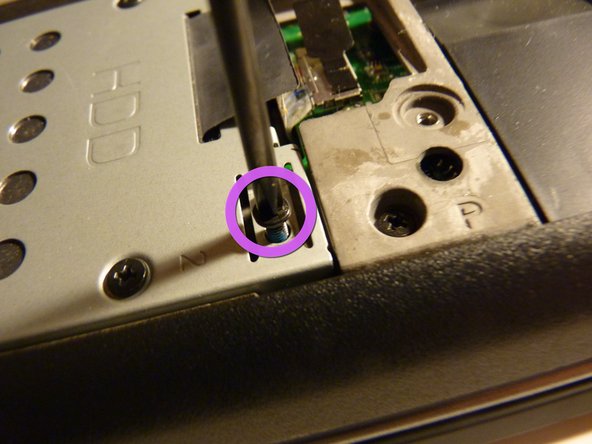
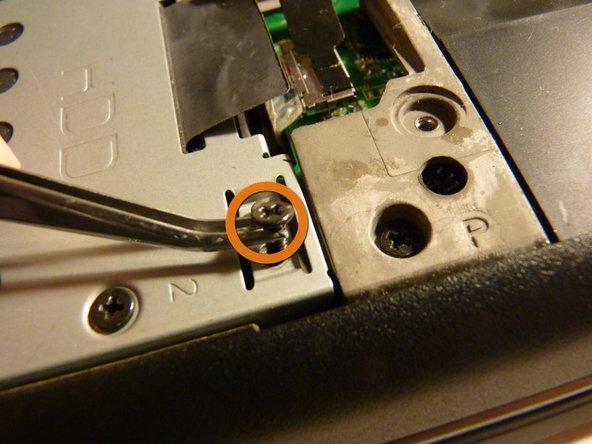
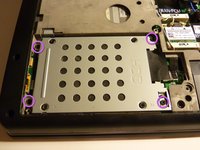
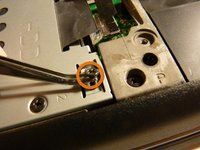
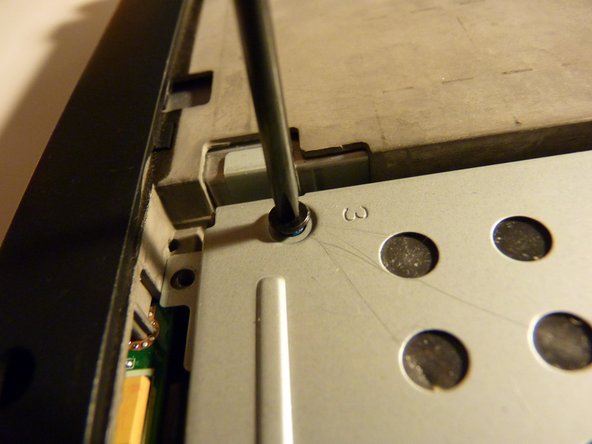
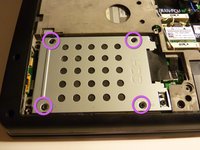
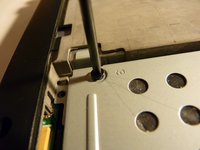
Start by removing the screws holding the caddy into the chassis
-
These screws have a more rounded top, and are longer
-
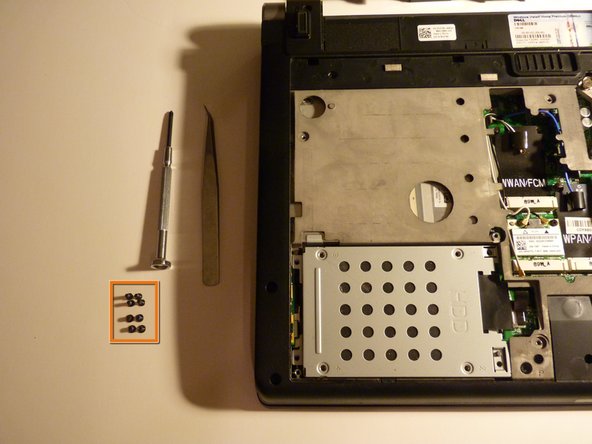
Once loosened, you can remove with your fingers or tweezers, and then set them aside
-
-
-
-
Now we remove the screws holding the drive to the caddy
-
These screws are have a flatter head, and are shorter
-
These are standard drive screws that are used to mount any hard drive to a mounting device, such as brackets to put it in a desktop computer
-
The manufacturer likes to put these in very tightly, and it may take some effort to remove. I suggest using a screwdriver with a bigger handle, not the one I am using
-
Set these screws aside, apart from the screws we removed in the last step
-
-
-
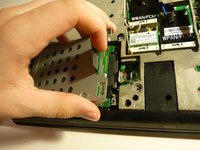
Now that the screws are removed, the caddy can be removed from the chassis and drive
-
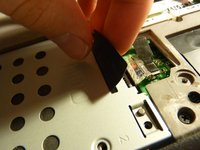
Pull the black tab on the right side of the caddy, and pull up
-
It might take some wiggling but it should come out
-
-
-
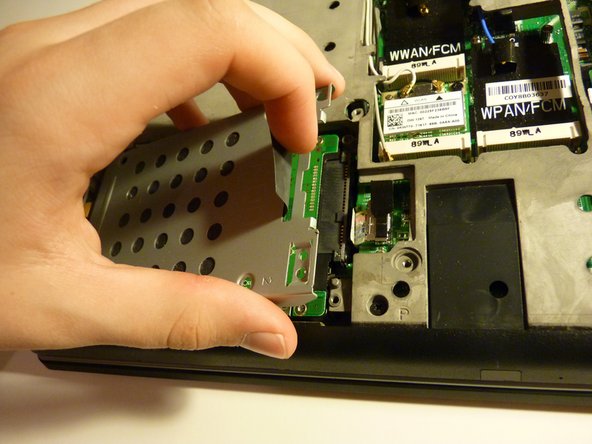
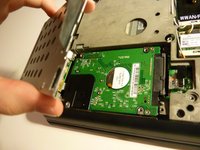
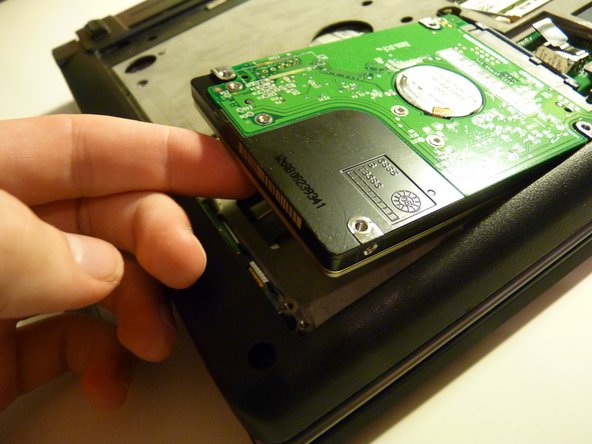
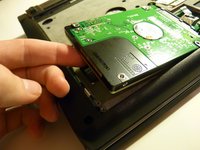
Now that the caddy is removed, we can lift the drive out of it's place
-
It should lift out easily, but it will still be attached with a cable
-
Set it aside on top of the optical drive (the metal surface)
-
-
-
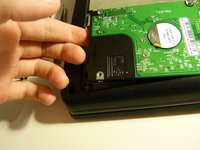
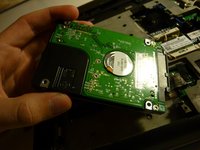
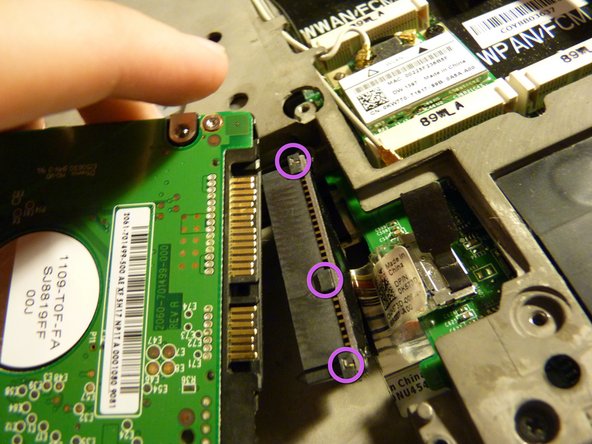
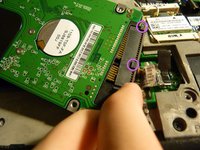
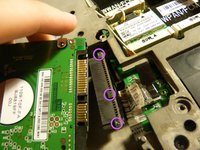
Now that the drive is removed, we have to remove the cable connecting it to the motherboard
-
It may be hard to do at first, but there are some groves that you can use to hold on to
-
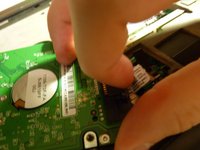
Pull the connector from the drive gently
-
Wiggling the connector a bit does help a little
-
-
-
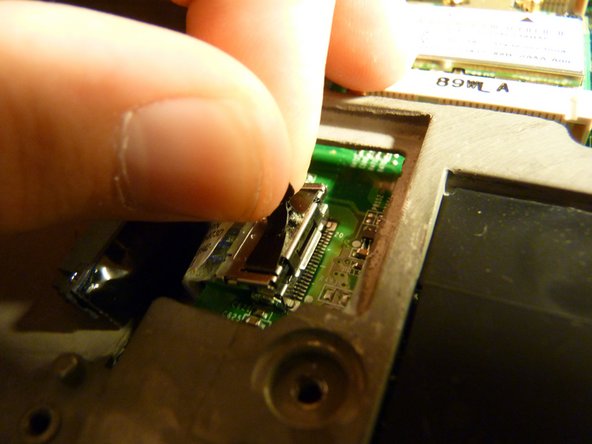
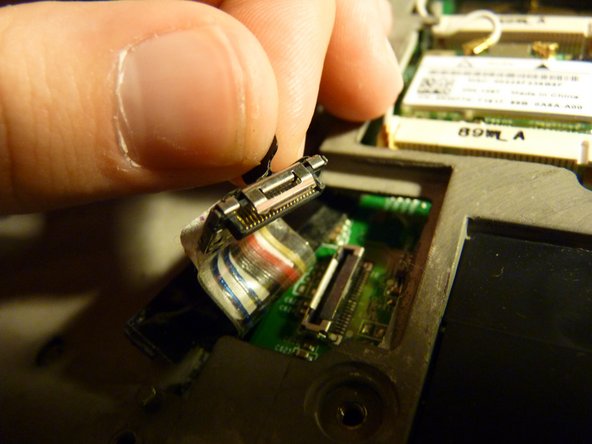
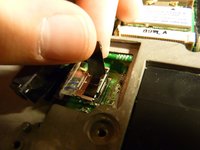
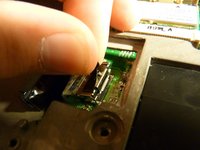
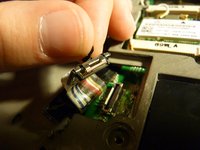
If you found it difficult to remove the drive or the cable connecting the drive to the motherboard, you can remove the whole cable at once
-
If you look to the right of the drive, you will see another tab, this one is black, but I've also seen blue ones
-
Pull this tab gently in order to remove the cable
-
Again, wiggling also helps
-
-
-
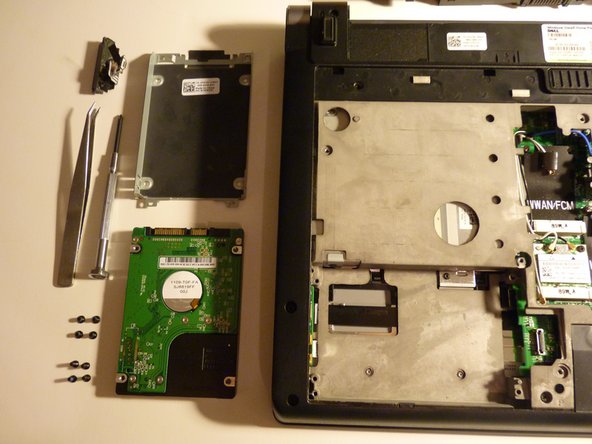
If you removed the drive using steps 1-7 then what you have should be left in picture 1
-
If you had trouble removing the drive, and you went through to step 8, then the parts remaining will be in picture 2
-
The drive should have a SATA interface, so you should be able to mount it into another computer using 2.5" to 3.5" converter brackets and a SATA cable
-
-












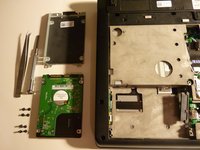
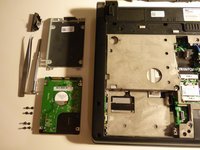
To reassemble your device, follow these instructions in reverse order.
Cancel: I did not complete this guide.
13 other people completed this guide.

