
Dell Inspiron N4050 Teardown

  1. Dell Inspiron N4050 Teardown, Removing the battery part 1: step 1, image 1 of 3 Dell Inspiron N4050 Teardown, Removing the battery part 1: step 1, image 2 of 3 Dell Inspiron N4050 Teardown, Removing the battery part 1: step 1, image 3 of 3
    • Check your laptop model

    • Turn it over to work on the bottom of the laptop

    • Open the first latch for the battery

  2. Dell Inspiron N4050 Teardown, Remove the battery part 2: step 2, image 1 of 3 Dell Inspiron N4050 Teardown, Remove the battery part 2: step 2, image 2 of 3 Dell Inspiron N4050 Teardown, Remove the battery part 2: step 2, image 3 of 3
    • Open the second latch in the direction that the arrow is pointing. This requires more effort than the first one.

    • The battery will come out a little. Finish removing it gently.

  3. Dell Inspiron N4050 Teardown, Remove the bottom screws: step 3, image 1 of 2 Dell Inspiron N4050 Teardown, Remove the bottom screws: step 3, image 2 of 2
    • Remove the 8 screws.

    • Use a Phillips 0 screwdriver.

  4. Dell Inspiron N4050 Teardown, Removing the keyboard part 1: step 4, image 1 of 3 Dell Inspiron N4050 Teardown, Removing the keyboard part 1: step 4, image 2 of 3 Dell Inspiron N4050 Teardown, Removing the keyboard part 1: step 4, image 3 of 3
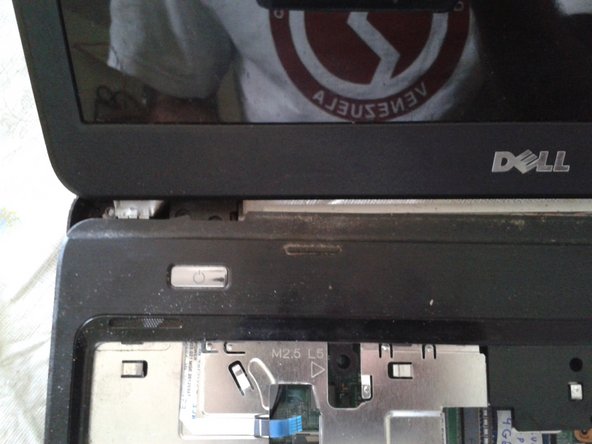
    • Turn the laptop with the keyboard facing up.

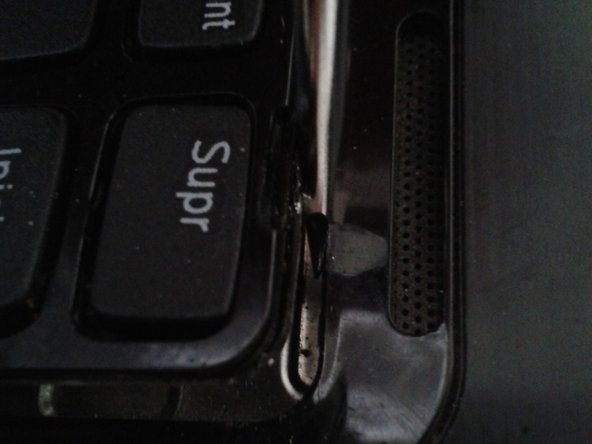
    • Use a flat-blade screwdriver to separate the keyboard from the computer case.

    • Tilt the keyboard as shown in the image. Do not remove it completely because it is connected to a cable.

  5. Dell Inspiron N4050 Teardown, Remove the cable that connects the keyboard to the motherboard: step 5, image 1 of 2 Dell Inspiron N4050 Teardown, Remove the cable that connects the keyboard to the motherboard: step 5, image 2 of 2
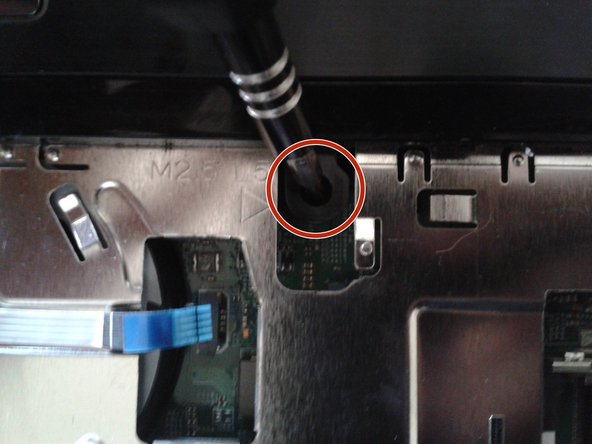
    • Remove the clip that holds the cable to the motherboard.
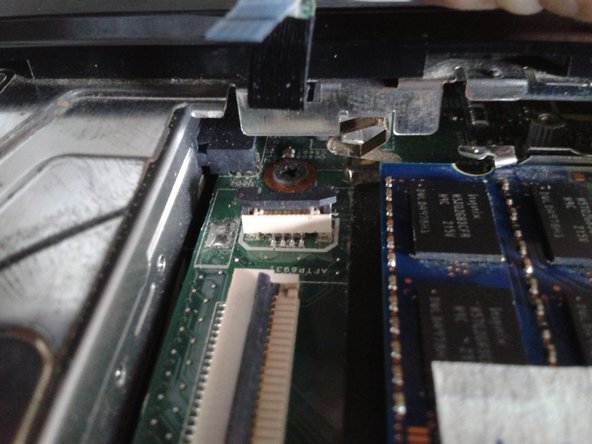
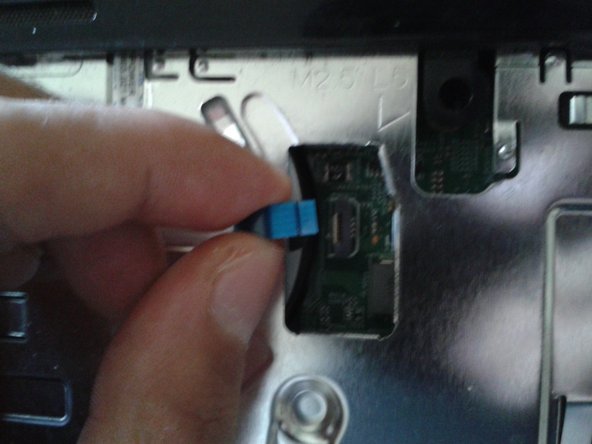
    • Remove the cable.

  6. Dell Inspiron N4050 Teardown, Remove the RAM: step 6, image 1 of 2 Dell Inspiron N4050 Teardown, Remove the RAM: step 6, image 2 of 2
    • Remove the memory cards by moving the retaining clips in the direction that the arrows are pointing.

  7. Dell Inspiron N4050 Teardown, Remove the screws: step 7, image 1 of 3 Dell Inspiron N4050 Teardown, Remove the screws: step 7, image 2 of 3 Dell Inspiron N4050 Teardown, Remove the screws: step 7, image 3 of 3
    • Remove the 3 screws.

  8. Dell Inspiron N4050 Teardown, Remove the small cables: step 8, image 1 of 3 Dell Inspiron N4050 Teardown, Remove the small cables: step 8, image 2 of 3 Dell Inspiron N4050 Teardown, Remove the small cables: step 8, image 3 of 3
    • Remove the 2 small cables.

  9. Dell Inspiron N4050 Teardown: step 9, image 1 of 2 Dell Inspiron N4050 Teardown: step 9, image 2 of 2
    • Use a plastic tool to separate the top of the laptop.

  10. Dell Inspiron N4050 Teardown, Internal parts of the laptop: step 10, image 1 of 1
    • CPU

    • DDR3 RAM memory, 2 slots avaiable

    • SATA hard disc

    • Heatsink

    • DVD unit

    • Wireless network card

    • Battery for the internal clock

Conclusion

To reassemble your device, follow these instructions in reverse order.

4 other people completed this guide.

Special thanks to these translators:

es en

100%

These translators are helping us fix the world! Want to contribute?
Start translating ›

Marcos Mora

Member since: 12/17/17

3,561 Reputation

11 Guides authored

One Comment

thanks, very clear and useful

Zerumz - Reply

Add Comment

View Statistics:

Past 24 Hours: 3

Past 7 Days: 14

Past 30 Days: 78

All Time: 8,187