Free Shipping on Domestic Orders $75+

Dell Inspiron Mini 10 Display Panel Replacement

What you need

  1. Dell Inspiron Mini 10 Display Panel Replacement, Battery: step 1, image 1 of 1
    • To prevent injury and loss of data, ensure the device is turned off.

    • Slide the release latches out toward the edges to unlock the battery.

    Ask FixBot

    Add Comment

  2. Dell Inspiron Mini 10 Display Panel Replacement: step 2, image 1 of 1
    • Remove the battery by pulling it up and out.

    Ask FixBot

    Add Comment

  3. Dell Inspiron Mini 10 Display Panel Replacement, Palm Rest: step 3, image 1 of 1
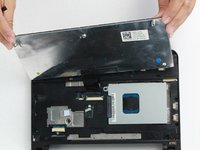
    • Using a prying tool, gently pry the palm rest off of the palm rest bracket. Start prying from one side and slowly work your way around.

    • Carefully remove the palm rest from the computer base since it is still connected by a cable and to avoid damage to the palm rest.

    Ask FixBot

    Add Comment

  4. Dell Inspiron Mini 10 Display Panel Replacement: step 4, image 1 of 1
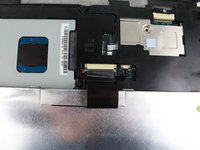
    • Gently pull the touchpad cable off the palm rest bracket.

    • Lift the rest of the palm rest off the computer base.

    Ask FixBot

    Add Comment

  5. Dell Inspiron Mini 10 Display Panel Replacement, Keyboard: step 5, image 1 of 1
    • Remove the three 8mm Philips 0 screws securing the keyboard.

    Ask FixBot

    Add Comment

  6. Dell Inspiron Mini 10 Display Panel Replacement: step 6, image 1 of 1
    • Turn over the device and open the display.

    • Gently pry open the keyboard with the plastic opening tool, working under the edges to release the clips.

    Ask FixBot

    Add Comment

  7. Dell Inspiron Mini 10 Display Panel Replacement: step 7, image 1 of 2 Dell Inspiron Mini 10 Display Panel Replacement: step 7, image 2 of 2
    • Lift the keyboard off of the support bracket carefully since it is still connected by a ribbon cable.

    Ask FixBot

    Add Comment

  8. Dell Inspiron Mini 10 Display Panel Replacement: step 8, image 1 of 2 Dell Inspiron Mini 10 Display Panel Replacement: step 8, image 2 of 2
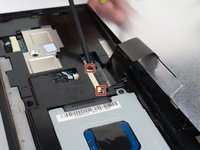
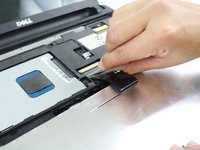
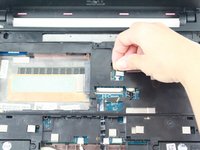
    • Push the clips out on either side of the ribbon cable to release it.

    • Gently disconnect the ribbon cable by pulling on the clear tab.

    • Remove the keyboard.

    Ask FixBot

    Add Comment

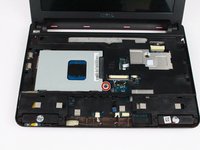
  9. Dell Inspiron Mini 10 Display Panel Replacement, Palm Rest Bracket: step 9, image 1 of 1
    • Close the device and turn over.

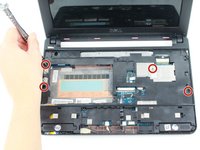
    • Remove the five 8mm Phillips 0 screws.

    Ask FixBot

    Add Comment

  10. Dell Inspiron Mini 10 Display Panel Replacement: step 10, image 1 of 2 Dell Inspiron Mini 10 Display Panel Replacement: step 10, image 2 of 2
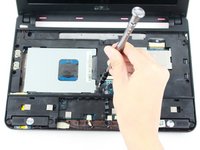
    • Turn the device over and open the display.

    • Remove the single 8mm Phillips 0 screw attaching the hard-drive cage to the body of the device.

    Ask FixBot

    Add Comment

  11. Dell Inspiron Mini 10 Display Panel Replacement: step 11, image 1 of 2 Dell Inspiron Mini 10 Display Panel Replacement: step 11, image 2 of 2
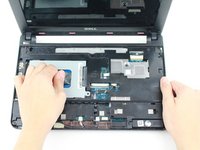
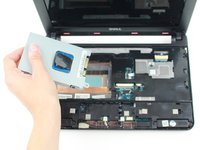
    • Pull on the black tab and slide the hard-drive cage toward the USB port on the left side of the device until its comes free and carefully lift out of device.

    Ask FixBot

    Add Comment

  12. Dell Inspiron Mini 10 Display Panel Replacement: step 12, image 1 of 2 Dell Inspiron Mini 10 Display Panel Replacement: step 12, image 2 of 2
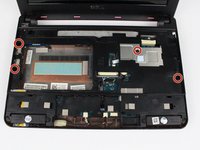
    • Remove the four 6mm Philips 0 screws securing the bracket.

    Ask FixBot

    Add Comment

  13. Dell Inspiron Mini 10 Display Panel Replacement: step 13, image 1 of 3 Dell Inspiron Mini 10 Display Panel Replacement: step 13, image 2 of 3 Dell Inspiron Mini 10 Display Panel Replacement: step 13, image 3 of 3
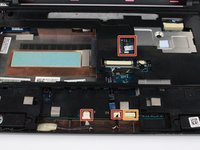
    • Disconnect the following:

    • Power button cable

    • Speaker cable

    • Power status light cable

    • Bluetooth cable (if installed)

    Ask FixBot

    Add Comment

  14. Dell Inspiron Mini 10 Display Panel Replacement: step 14, image 1 of 1
    • Gently pry off the bracket using the prying tool.

    Ask FixBot

    Add Comment

  15. Dell Inspiron Mini 10 Display Panel Replacement, Motherboard: step 15, image 1 of 1
    • Remove the following:

    • Two 4mm Phillips screws securing the motherboard

    • AC adapter cable

    • USB and SIM card cable connector

    • Display cable connector

    • Carefully lift the motherboard out.

    Ask FixBot

    Add Comment

  16. Dell Inspiron Mini 10 Display Panel Replacement, Display Panel: step 16, image 1 of 2 Dell Inspiron Mini 10 Display Panel Replacement, Display Panel: step 16, image 2 of 2
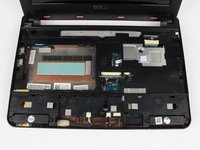
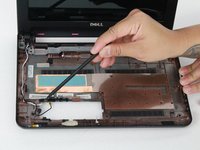
    • Pull the Mini-Card cables out of the computer base. They slide out from under a few pieces of plastic that secure them to the base.

    Ask FixBot

    Add Comment

  17. Dell Inspiron Mini 10 Display Panel Replacement: step 17, image 1 of 2 Dell Inspiron Mini 10 Display Panel Replacement: step 17, image 2 of 2
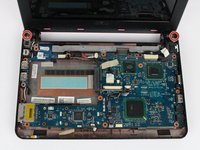
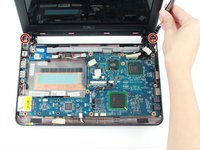
    • Remove the two 4 mm Phillips 0 screws that secure the display assembly to the computer base.

    Ask FixBot

    Add Comment

  18. Dell Inspiron Mini 10 Display Panel Replacement: step 18, image 1 of 1
    • Lift and remove the display assembly from the computer base.

    Ask FixBot

    Add Comment

  19. Dell Inspiron Mini 10 Display Panel Replacement: step 19, image 1 of 1
    • Press and remove the hinge cover caps using the spudger.

    Ask FixBot

    Add Comment

  20. Dell Inspiron Mini 10 Display Panel Replacement: step 20, image 1 of 1
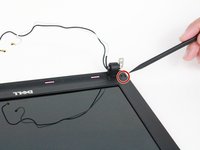
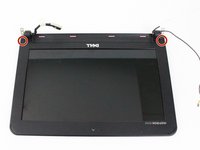
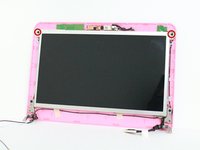
    • Remove the two rubber pads on the display bezel screws using a finger nail, prying tool or Spudger.

    • There is one on either side.

    Ask FixBot

    Add Comment

  21. Dell Inspiron Mini 10 Display Panel Replacement: step 21, image 1 of 2 Dell Inspiron Mini 10 Display Panel Replacement: step 21, image 2 of 2
    • Remove the two 4 mm Phillips 0 screws on the display bezel.

    Ask FixBot

    Add Comment

  22. Dell Inspiron Mini 10 Display Panel Replacement: step 22, image 1 of 1
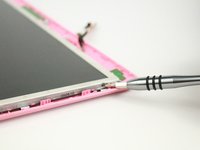
    • Using the plastic opening tool gently pry up the inside edge of the display bezel.

    Ask FixBot

    Add Comment

  23. Dell Inspiron Mini 10 Display Panel Replacement: step 23, image 1 of 1
    • Remove the display bezel using a plastic prying tool.

    Ask FixBot

    Add Comment

  24. Dell Inspiron Mini 10 Display Panel Replacement: step 24, image 1 of 2 Dell Inspiron Mini 10 Display Panel Replacement: step 24, image 2 of 2
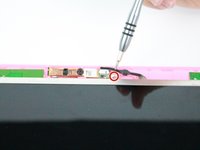
    • Remove the single 3mm Phillips screw securing the camera to the display panel.

    Ask FixBot

    Add Comment

  25. Dell Inspiron Mini 10 Display Panel Replacement: step 25, image 1 of 3 Dell Inspiron Mini 10 Display Panel Replacement: step 25, image 2 of 3 Dell Inspiron Mini 10 Display Panel Replacement: step 25, image 3 of 3
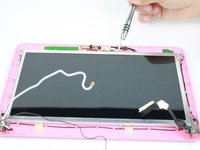
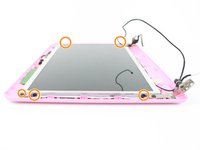
    • Remove the two 4mm Phillips 0 screws that are visible from the top.

    • Remove the four 3mm Phillips screws on the side of the display panel securing it to the display cover.

    Ask FixBot

    Add Comment

  26. Dell Inspiron Mini 10 Display Panel Replacement: step 26, image 1 of 1
    • Remove the display panel.

    • The display panel is fragile, handle with care.

    Ask FixBot

    Add Comment

  27. Dell Inspiron Mini 10 Display Panel Replacement: step 27, image 1 of 1
    Tool used on this step:
    Tweezers
    $4.99
    Buy
    • Disconnect the camera cable using tweezers.

    Ask FixBot

    Add Comment

  28. Dell Inspiron Mini 10 Display Panel Replacement: step 28, image 1 of 1
    • Remove the panel connector by pulling on the blue tab on the back of the display panel.

    Ask FixBot

    Add Comment

Conclusion

To reassemble your device, follow these instructions in reverse order.

Cancel: I did not complete this guide.

One other person completed this guide.

Melissa Russell

Member since: 10/26/16

185 Reputation

1 Guide authored

Team

UW Tacoma, Team 1-4, Rose Fall 2016 Member of UW Tacoma, Team 1-4, Rose Fall 2016

UWT-ROSE-F16S1G4

4 Members

10 Guides authored

1 Guide Comment

What model it's the camera

Andrew Andras - Reply Share
Add Comment

View Statistics:

Past 24 Hours: 2

Past 7 Days: 5

Past 30 Days: 24

All Time: 1,632