Free Shipping on Domestic Orders $75+

Dell Inspiron 7568 Trackpad Replacement Guide

What you need

    1. Dell Inspiron 7568 Trackpad Replacement Guide, Battery: step 1, image 1 of 2 Dell Inspiron 7568 Trackpad Replacement Guide, Battery: step 1, image 2 of 2
      • Remove the ten 7mm Phillips #1 screws on the bottom cover.

      • Remove the bottom cover.

      Ask FixBot

      Add Comment

    2. Dell Inspiron 7568 Trackpad Replacement Guide: step 2, image 1 of 2 Dell Inspiron 7568 Trackpad Replacement Guide: step 2, image 2 of 2
      • Remove the four 3mm Phillips #1 screws holding the battery.

      • Unhinge the connector cable to the battery.

      • Remove the battery.

      Ask FixBot

      Add Comment

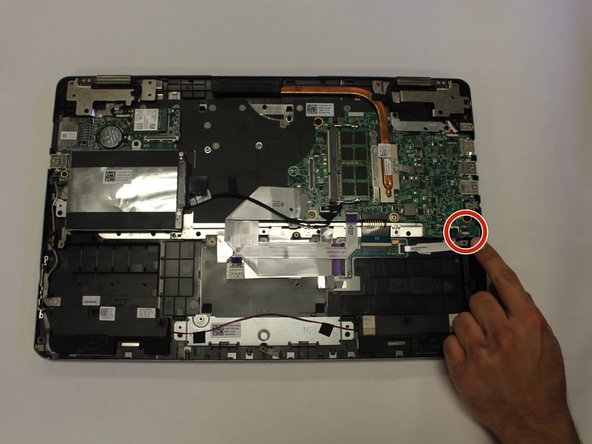
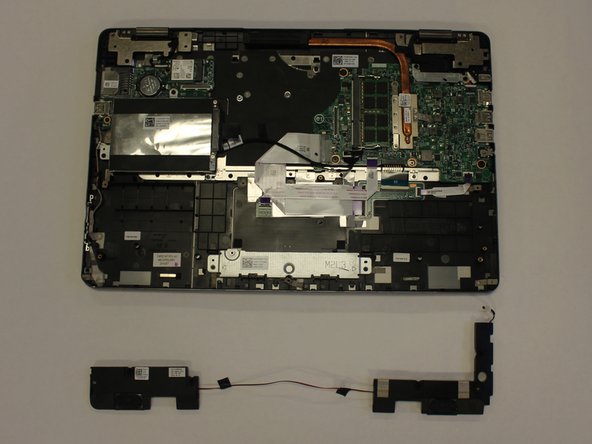
    1. Dell Inspiron 7568 Trackpad Replacement Guide, Track Pad: step 3, image 1 of 2 Dell Inspiron 7568 Trackpad Replacement Guide, Track Pad: step 3, image 2 of 2
      • Unplug the speaker cable and remove the speakers

      Ask FixBot

      Add Comment

    2. Dell Inspiron 7568 Trackpad Replacement Guide: step 4, image 1 of 2 Dell Inspiron 7568 Trackpad Replacement Guide: step 4, image 2 of 2
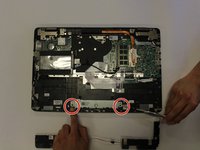
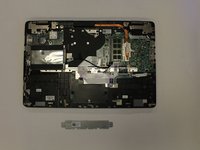
      • Unscrew & remove the two 3mm screws (using a ph1 screwdriver bit) holding the touchpad bracket

      • Remove the touchpad bracket

      Ask FixBot

      Add Comment

    3. Dell Inspiron 7568 Trackpad Replacement Guide: step 5, image 1 of 3 Dell Inspiron 7568 Trackpad Replacement Guide: step 5, image 2 of 3 Dell Inspiron 7568 Trackpad Replacement Guide: step 5, image 3 of 3
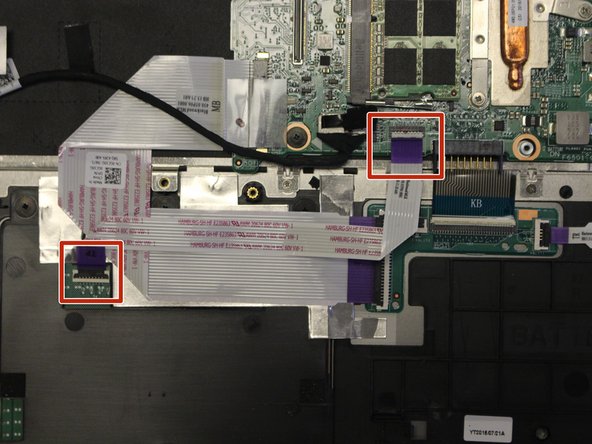
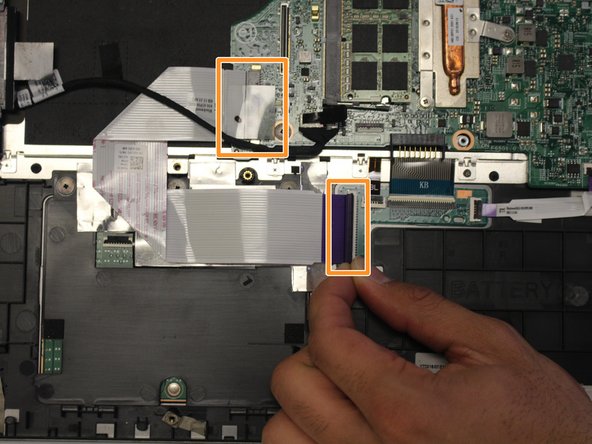
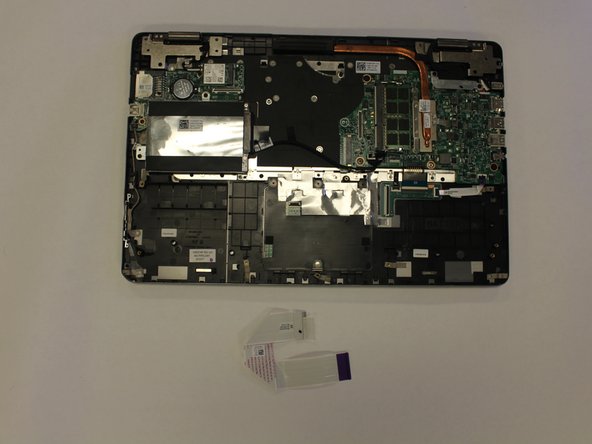
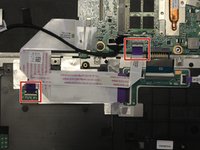
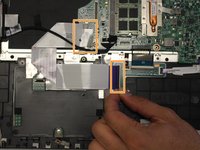
      • Use a nylon spudger to lift the ZIF connector tab. Gently pull the touchpad ribbon cable free.

      • Use a nylon spudger to lift the ZIF connector tab. Gently pull the keyboard daughter board ribbon cable free.

      Ask FixBot

      Add Comment

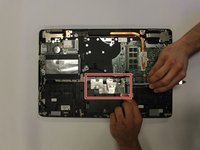
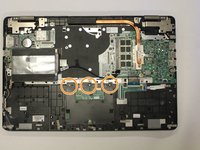
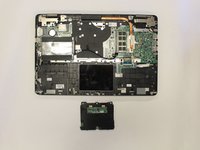
    4. Dell Inspiron 7568 Trackpad Replacement Guide: step 6, image 1 of 3 Dell Inspiron 7568 Trackpad Replacement Guide: step 6, image 2 of 3 Dell Inspiron 7568 Trackpad Replacement Guide: step 6, image 3 of 3
      • Remove the touchpad foil using a spudger or other ESD safe blunt-tip tool.

      • Unscrew & remove the three 2mm wafer screws holding the touchpad.

      • Remove the touchpad.

      Ask FixBot

      Add Comment

Conclusion

To reassemble your device, follow these instructions in reverse order.

Cancel: I did not complete this guide.

2 other people completed this guide.

Yash Samant

Member since: 02/22/17

406 Reputation

3 Guides authored

Team

USF Tampa, Team S2-G2, Lacy Spring 2017 Member of USF Tampa, Team S2-G2, Lacy Spring 2017

USFT-LACY-S17S2G2

4 Members

35 Guides authored

0 Guide Comments

Add Comment

View Statistics:

Past 24 Hours: 0

Past 7 Days: 9

Past 30 Days: 24

All Time: 530