Dell Inspiron 531 Graphics Card Replacement

What you need

  1. Dell Inspiron 531 Graphics Card Replacement, Side Panel: step 1, image 1 of 2 Dell Inspiron 531 Graphics Card Replacement, Side Panel: step 1, image 2 of 2
    • Place the desktop on its side. Make sure to place the computer on a soft but firm surface.

    • Locate and remove the two screws that secure the side panel to the desktop:

    • Two 1/4" Phillips/slotted combination screws.

  2. Dell Inspiron 531 Graphics Card Replacement: step 2, image 1 of 1
    • Slide the side panel towards the back of the desktop in order to remove it.

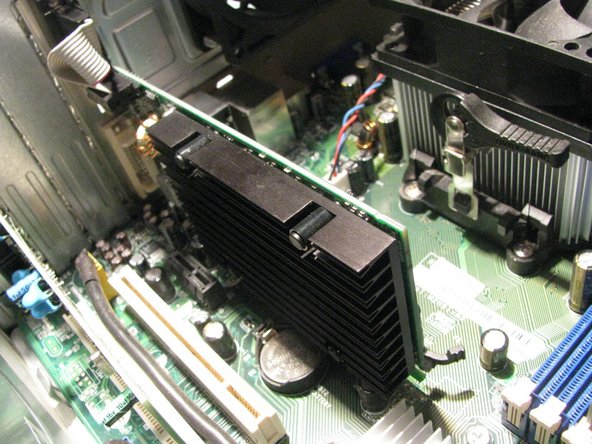
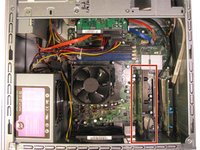
  3. Dell Inspiron 531 Graphics Card Replacement, Locating the Graphics Card: step 3, image 1 of 2 Dell Inspiron 531 Graphics Card Replacement, Locating the Graphics Card: step 3, image 2 of 2
    • The graphics card is attached to the back of the desktop.

    • The graphics card is located below the three fans.

  4. Dell Inspiron 531 Graphics Card Replacement, Support Bracket: step 4, image 1 of 1
    • Remove the screw that secures the support bracket:

    • One 1/4" Phillips screw

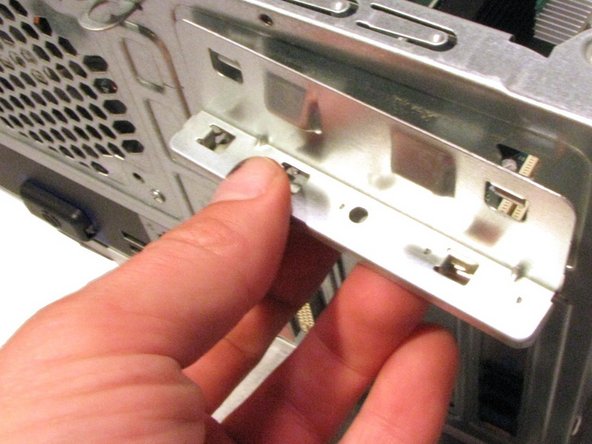
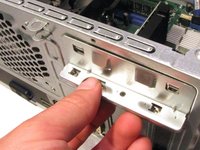
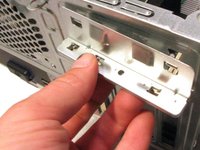
  5. Dell Inspiron 531 Graphics Card Replacement: step 5, image 1 of 2 Dell Inspiron 531 Graphics Card Replacement: step 5, image 2 of 2
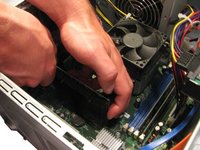
    • Remove the support bracket by lifting up and out.

    • There are tabs that hold the bracket in place, therefor lifting up is an important detail.

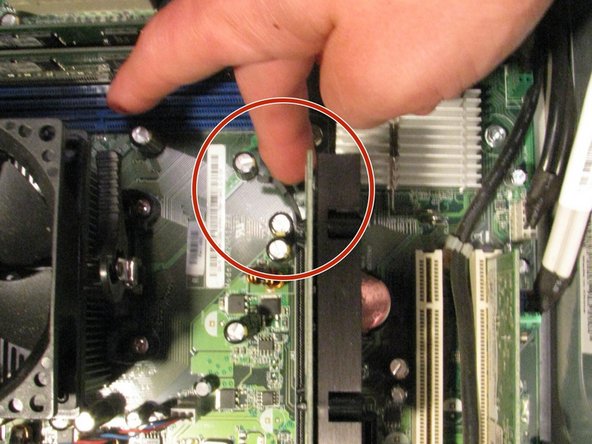
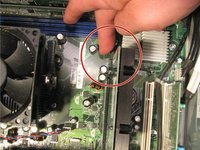
  6. Dell Inspiron 531 Graphics Card Replacement, Removing the Graphics Card: step 6, image 1 of 2 Dell Inspiron 531 Graphics Card Replacement, Removing the Graphics Card: step 6, image 2 of 2
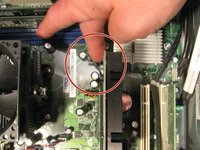
    • Locate the push tab that locks the graphics card into place.

    • Push the tab away from the graphics card and towards the fan.

    • Hold the tab in this position through step 7.

  7. Dell Inspiron 531 Graphics Card Replacement: step 7, image 1 of 2 Dell Inspiron 531 Graphics Card Replacement: step 7, image 2 of 2
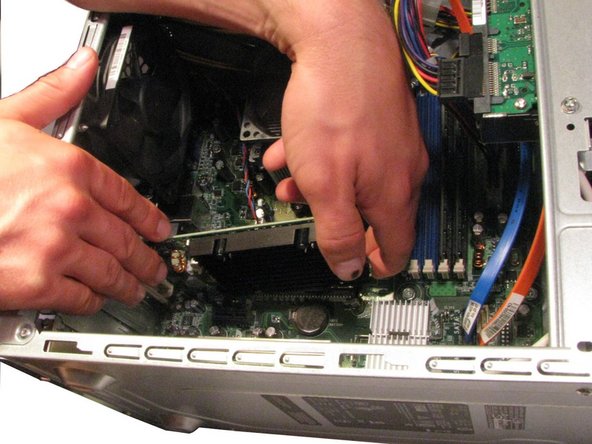
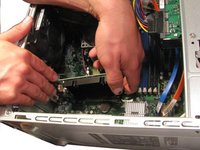
    • Keep the tab pushed away from the graphics card (see Step 6).

    • Gently lift the graphics card up and out of the desktop.

Conclusion

To reassemble your device, follow these instructions in reverse order.

Scott Havard

Member since: 06/27/16

49,564 Reputation

31 Guides authored

0 Comments

Add Comment

View Statistics:

Past 24 Hours: 0

Past 7 Days: 2

Past 30 Days: 6

All Time: 1,321