Introduction
This repair process includes the removal of small screws from the computer. Make sure these screws are stored in a clean area where they can be easily found. This process also goes into the computer internals, therefore, be delicate with the removal of the electronic internal components as they may be very fragile.
What you need
-
-
-
Turn off notebook
-
Set the notebook upside down with the battery facing away from you.
-
Locate the unlock and release sliding tabs on the bottom right and left hand corners of the battery respectively.
 Ask FixBot
-
-
-
Slide the right tab to the right to unlock the battery.
-
Slide and hold the the left tab to the left to release the battery from the unit.
-
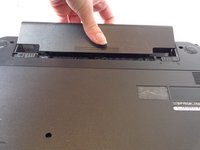
Finally, remove the battery by sliding it away from the unit and yourself.
-
-
-
-
-
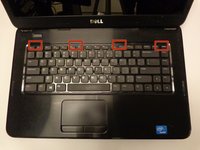
Locate the four tabs along the top edge of the keyboard.
-
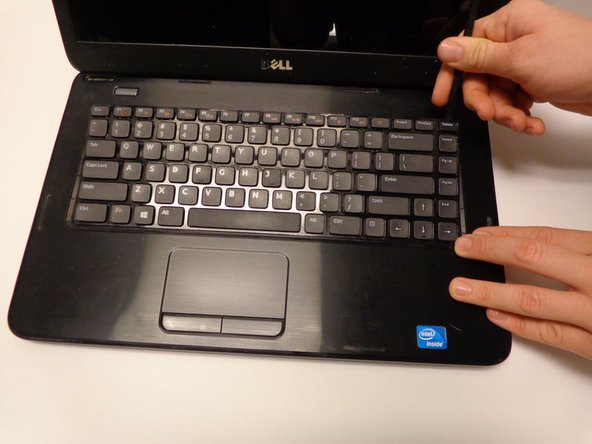
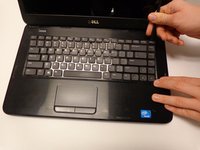
Using the spudger, push the tabs away from the keyboard and pull the keyboard up away from the laptop.
-
-
-
-
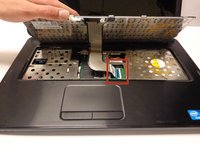
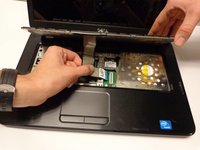
Carefully lift the board up and locate the connecting cable.
-
Gently pull the end of the cable free from the port on the laptop.
-
-
-
-
-
Locate and remove the 14 (5mm) Phillips #00 screws from the bottom of the laptop.
-
Locate and remove the two 5mm Phillips #00 screws found under the keyboard.
-
Disconnect the two controlling wires with the blue pull tabs.
-
-
-
Using the spudger, carefully work your way around the edge of the upper shell.
-
Lift the upper shell away from the laptop.
-
Close the laptop and remove the casing over the hinge using the spudger.
-
-
-
Gently pull the cable located near the fan free from its dock.
-
Just behind the optical drive locate the 4mm Phillps #00 mounting screw for the small circuit board and remove it.
-
The board should then pull free.
-
-
-
Open the laptop and locate the two hinges.
-
With the screws removed the screen should pull free.
-
-







To reassemble your device, follow these instructions in reverse order.
Cancel: I did not complete this guide.
6 other people completed this guide.

Team

USF Tampa, Team 16-2, Watkins Winter 2015 Member of USF Tampa, Team 16-2, Watkins Winter 2015
USFT-WATKINS-W15S16G2
3 Members
60 Guides authored
