Introduction
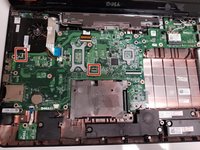
This guide will cover how to replace the palm rest component of a Dell Inspiron 17R-N7010 computer and show how to access the inner hardware of the laptop, including but not limited to, the motherboard, fans, and processors.
Before using this guide, make sure that the computer is powered off and that you are in a clean and clear workspace where it will be easy to keep track of all parts.
This guide requires basic knowledge of how to use tools like a screwdriver and a spudger. Remember to take your time when using the spudger and to not rush. It may take longer but you will get the job done right if you take your time when attempting this guide.
What you need
-
-
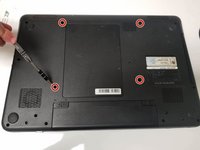
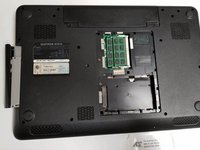
Flip over the laptop so the back is facing upwards.
-
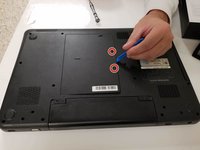
Locate the battery compartment.
-
-
-
-
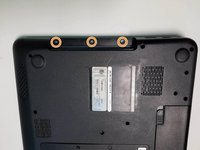
Remove the four screws from the back panel.
-
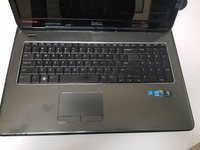
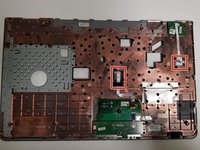
Flip the laptop over and open it to view the keyboard.
-
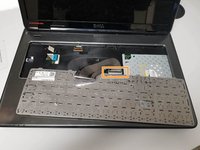
Disconnect the keyboard from the laptop by lifting up the latch holding the ribbon cable in place.
-


To reassemble your device, follow these instructions in reverse order.
Team

University of North Texas, Team S8-G5, Riccardelli Fall 2018 Member of University of North Texas, Team S8-G5, Riccardelli Fall 2018
UNT-RICCARDELLI-F18S8G5
4 Members
5 Guides authored