Free Shipping on Domestic Orders $75+

Dell Inspiron 15 7579 RAM (Memory) Replacement

What you need

    1. Dell Inspiron 15 7579 RAM (Memory) Replacement, Back Panel: step 1, image 1 of 1
      • Remove the ten 7.9 mm screws with the Phillips PH0 screwdriver.

      Ask FixBot

      Add Comment

    2. Dell Inspiron 15 7579 RAM (Memory) Replacement: step 2, image 1 of 2 Dell Inspiron 15 7579 RAM (Memory) Replacement: step 2, image 2 of 2
      • Insert metal spudger into a gap in between the back panel and the back of the screen.

      • Pry off the back panel using the metal spudger as a lever, and remove the back panel by lifting the rest off by hand.

      Ask FixBot

      Add Comment

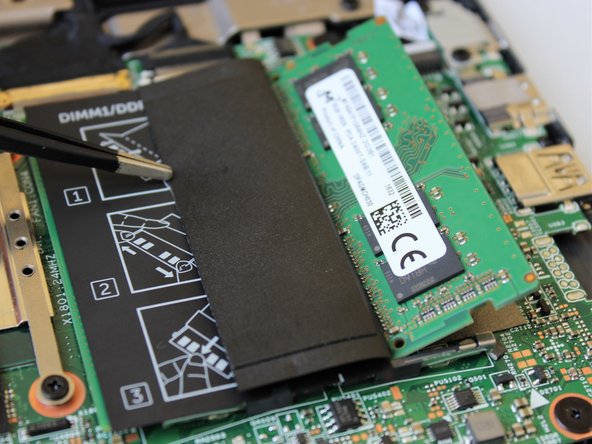
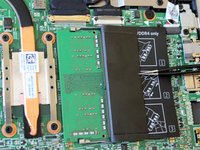
    1. Dell Inspiron 15 7579 RAM (Memory) Replacement, RAM (Memory): step 3, image 1 of 1
      • Fold protective flaps to the side on the RAM module located in the upper right corner of the laptop.

      Ask FixBot

      Add Comment

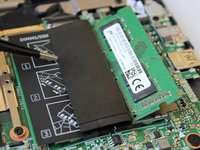
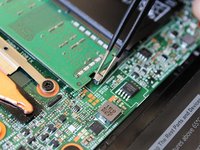
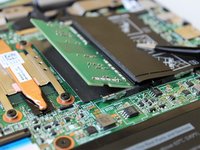
    2. Dell Inspiron 15 7579 RAM (Memory) Replacement: step 4, image 1 of 3 Dell Inspiron 15 7579 RAM (Memory) Replacement: step 4, image 2 of 3 Dell Inspiron 15 7579 RAM (Memory) Replacement: step 4, image 3 of 3
      Tool used on this step:
      Tweezers
      $4.99
      Buy
      • Use the tweezers to push the crimping metal away from the chip. The chip will pop up into an angled position.

      • Remove the chip by pulling at the same angle as the chip with the tweezers.

      Ask FixBot

      Add Comment

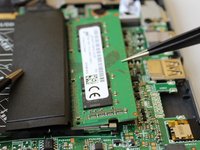
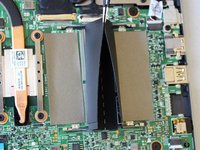
    3. Dell Inspiron 15 7579 RAM (Memory) Replacement: step 5, image 1 of 3 Dell Inspiron 15 7579 RAM (Memory) Replacement: step 5, image 2 of 3 Dell Inspiron 15 7579 RAM (Memory) Replacement: step 5, image 3 of 3
      • Fold the plastic flap over on the other side.

      • As before, pull the fasteners away from the chip with the tweezers.

      • Remove the chip by carefully pulling it out with the tweezers.

      Ask FixBot

      Add Comment

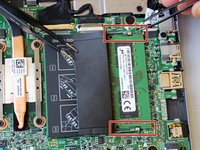
    4. Dell Inspiron 15 7579 RAM (Memory) Replacement: step 6, image 1 of 2 Dell Inspiron 15 7579 RAM (Memory) Replacement: step 6, image 2 of 2
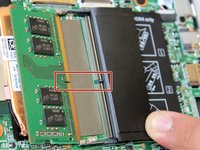
      • When reassembling, you must match the notch in the card with the notch in the connector header shown in red.

      • Doing otherwise will break the stick if forced.

      Ask FixBot

      Add Comment

Conclusion

To reassemble your device, follow these instructions in reverse order.

Cancel: I did not complete this guide.

Inaki Madrigal

Member since: 04/23/18

775 Reputation

6 Guides authored

Team

Cal Poly, Team S24-G9, Maness Spring 2018 Member of Cal Poly, Team S24-G9, Maness Spring 2018

CPSU-MANESS-S18S24G9

4 Members

54 Guides authored

0 Guide Comments

Add Comment

View Statistics:

Past 24 Hours: 1

Past 7 Days: 5

Past 30 Days: 30

All Time: 1,089