Introduction
This guide walks through each step to disassembling the Dell G3 15-3500.
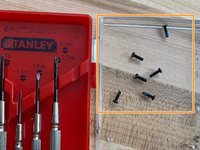
What you need
-
-
Turn off the computer by pressing the Windows button on the bottom left of the screen. Press power then press shut down.
-
-
-
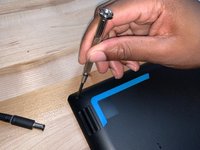
Insert a flathead screwdriver or guitar pick in between the keyboard cover and bottom plate.
-
Carefully pry the keyboard cover and bottom plate apart until all the clips around the outer end unlatch.
-
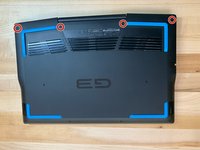
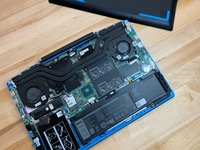
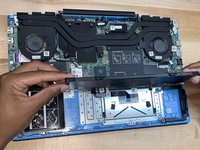
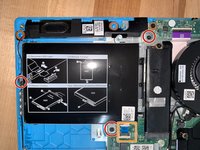
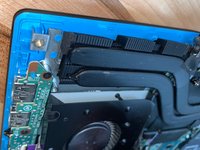
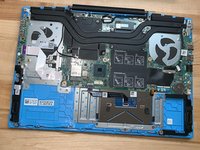
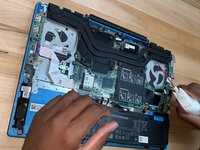
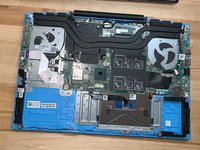
Remove the bottom plate to reveal the internal parts of the computer.
-
-
-
-
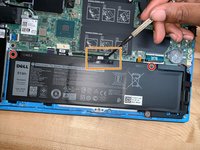
Locate the battery and unscrew the two #1 Philips head screws attaching it to the frame.
-
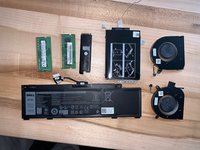
Unplug and remove the battery from the computer.
-
-
-
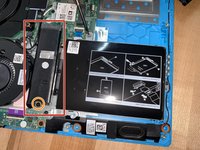
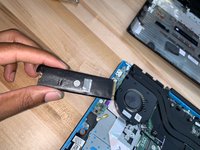
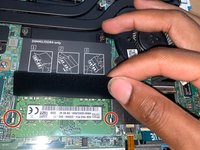
Locate the M.2 Solid State Drive.
-
Remove the #1 Philips head screw attaching it to the frame.
-
The drive will tilt up from the board once unscrewed.
-
Gently pull the drive away from the frame until it releases.
-
-
-
Locate the Hard Disk Drive and unplug it from the device. Lift the black latch and pull the cord from the board carefully.
-
Remove the screws attaching it to the frame.
-
Remove the hard drive from the board.
-
-
-
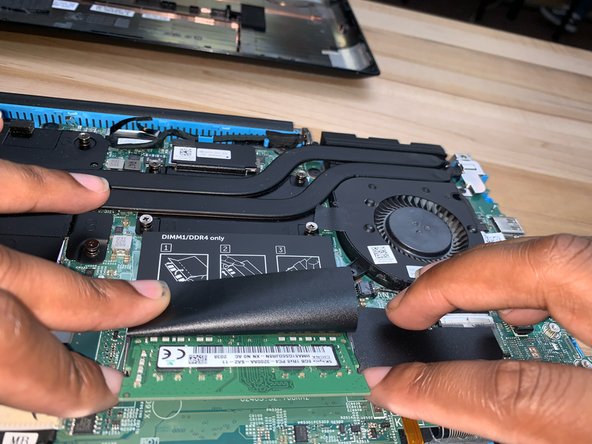
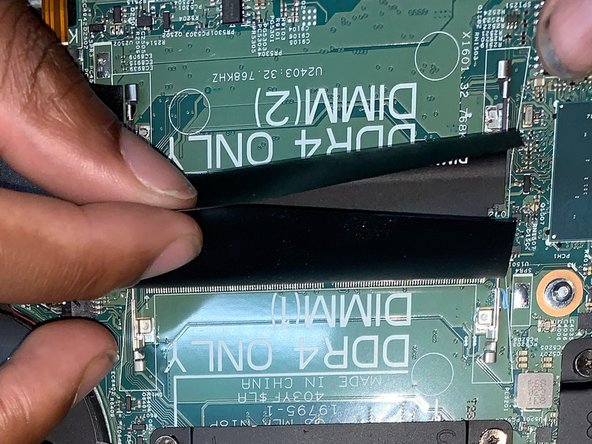
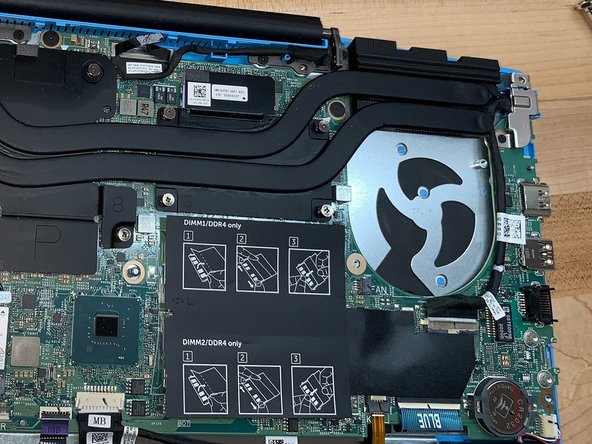
Locate the RAM modules.
-
Fold back the black protective cover and gently press the sides until each RAM module pops up.
-
Remove the modules from the board.
-
-
-
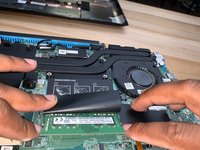
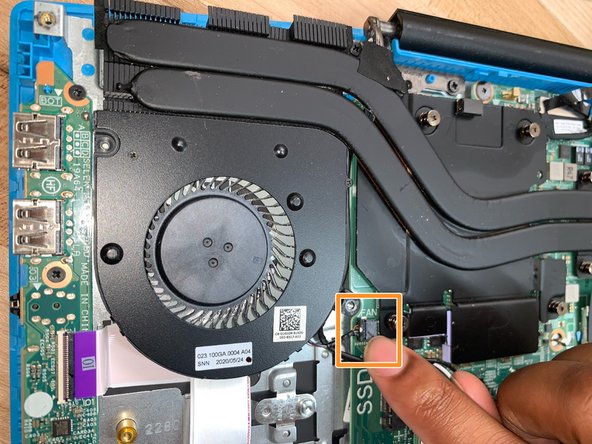
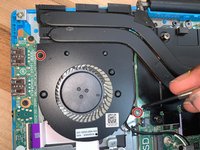
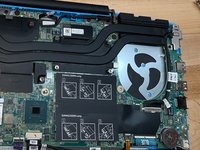
Locate the left fan and unscrew both #1 Philips head screws.
-
Unplug the left fan from the device and pull it away from the device.
-
-
-
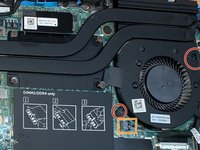
Locate the right fan and unscrew both #1 Philips head screws.
-
Unplug the right fan and pull away from the device.
-
-
-
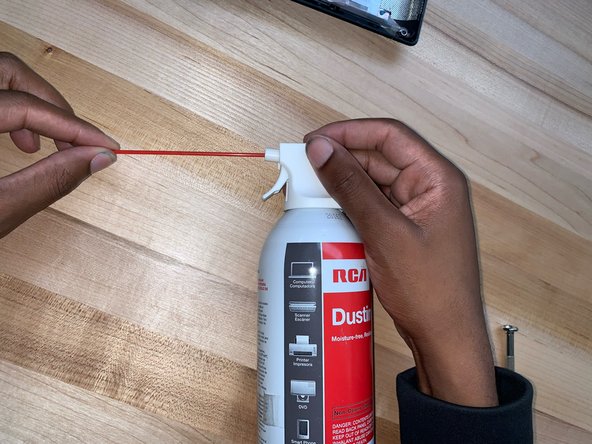
Attach the air straw to the compressed air can.
-
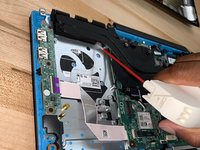
Begin gently cleaning areas of collected dust around fans and air intake vents.
-


To reassemble your device, follow these instructions in reverse order.
Cancel: I did not complete this guide.
5 other people completed this guide.