
Dell Axim X30 Button Replacement

Jonathan Gulley and 3 other contributors
Last updated on May 25, 2018
Views: 1.3K
View statistics:
- Past 24 Hours:
- 3
- Past 7 Days:
- 19
- Past 30 Days:
- 90
- All Time:
- 1,275
Comments: 0
No one has left comments on this guide. Will you be first?
Go to guide commentsCompleted: 1 2
1 person has marked this guide "completed." Will you be next?
2 people have marked this guide "completed." Including you — great job!
Favorites: 1 2
1 person has favorited (and subscribed to) this guide. Will you be next?
2 people have favorited (and subscribed to) this guide — including you!
Slice and Dice
The steps in this guide should be split up and made into a series of prerequisite guides.
Introduction
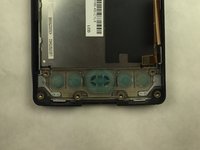
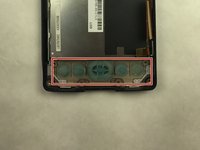
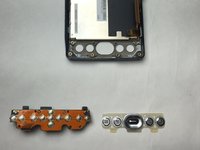
Go to step 1 ↓The Dell Axim X30 has 5 buttons on the front of the device below the main screen. This guide will focus on the replacement of the home button, messaging button, navigator button, contacts button, and calendar button.
What you need
Tools
-
Spudger4.9


-
-
-
Insert the nylon spudger into the battery cover release slot to remove the battery from the device.
-
-
-
Remove the back panel with a plastic opening tool. Follow the edge of the device around the entire perimeter.
-
The back panel will pop off easily.
-
-
-
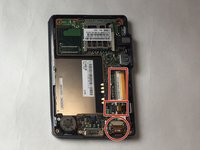
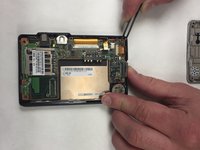
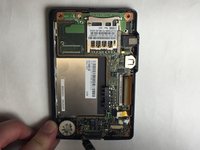
Disconnect ribbon cables.
-
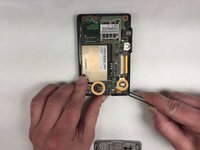
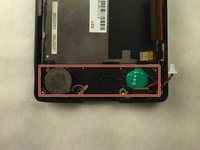
Disconnect red and white wired connector for speaker and motherboard battery.
-
-
-
-
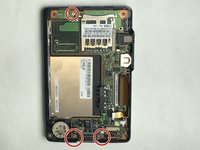
Remove the two 9.6 mm screws by the speaker and green battery with a JIS #0 screwdriver.
-


 Ask FixBot








To reassemble your device, follow these instructions in reverse order.
Cancel: I did not complete this guide.
One other person completed this guide.

Team

IUPUI, Team S2-G5, Harley Spring 2018 Member of IUPUI, Team S2-G5, Harley Spring 2018
IUPUI-HARLEY-S18S2G5
3 Members
24 Guides authored
