Introduction
This guide will teach those who wish to replace the keypad of their Dell Adamo 13 with a new one.
Generally the only real issue that may require the repair or replacement of a keypad is characters that are entered not appearing on screen, essentially if your inputs aren’t being registered then it’s time to do something about it.
Before starting users should look towards our battery and circuit board guides as those are necessary to know before removing the keypad.
What you need
-
-
-
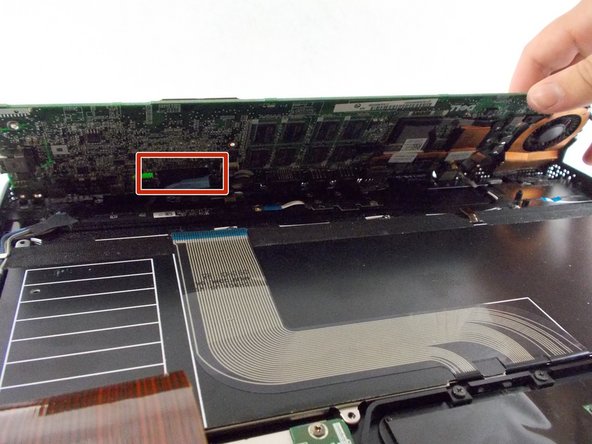
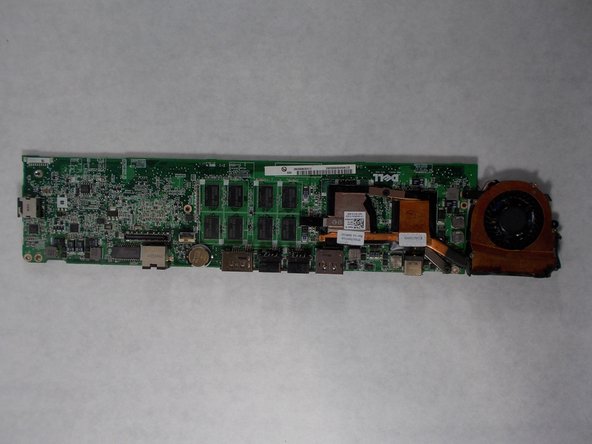
Using the Phillips #0 screwdriver, remove six 2 mm screws securing the fan and motherboard to the device.
-
-
-
Using the Phillips #0 screwdriver, remove eight 2 mm screws securing the keypad to the device.
-


To reassemble your device, follow these instructions in reverse order.
To reassemble your device, follow these instructions in reverse order.
Team

UMass Dartmouth, Team 3-7, Sinclaire Fall 2021 Member of UMass Dartmouth, Team 3-7, Sinclaire Fall 2021
UMASSD-SINCLAIRE-F21S3G7
3 Members
7 Guides authored