Introduction
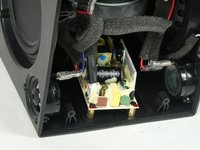
This guide outlines how to replace the power supply from the Definitive Technology W7, with a model number of 093207098505. The motivation behind removing/replacing this part is that it provides power to all electrical components of the device. Symptoms of a defective power supply are the device not turning on, or the device turning off randomly.
What you need
-
-
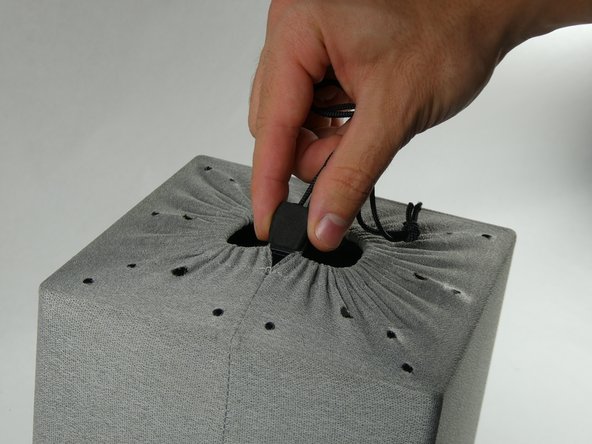
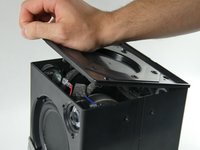
Wedge the spudger in any of the four corners of the panel and apply downward pressure on the spudgers handle to pry the panel away from the speaker housing.
-
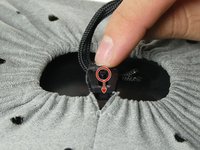
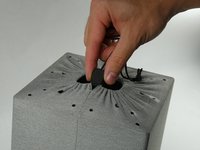
Repeat this procedure around the perimeter until the panel releases, then lift the panel up by hand.
-
-
-
-
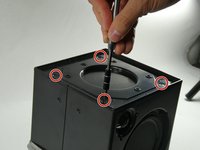
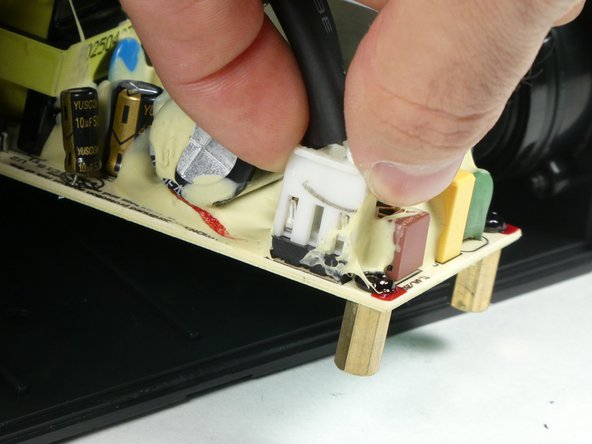
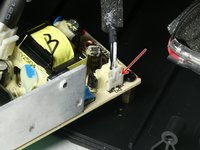
Use a Phillips #2 screwdriver to remove the four 5 mm black screws on the side of the device.
-


To reassemble your device, follow these instructions in reverse order.

Team

UMass Dartmouth, Team 2-5, Petersen Fall 2022 Member of UMass Dartmouth, Team 2-5, Petersen Fall 2022
UMASSD-PETERSEN-F22S2G5
4 Members
6 Guides authored
5 Guide Comments
I was wondering if you have the part number or a source for the power supply board. I took it out hoping to find a part number but no luck. Thank you in advance for your help.
I also have had no luck finding a new original psu after it failed. But it is a 24v psu, and it has a 3amp diode on the output, so it has a theoretical max output of 72watt. So i whent with a MW RPS-120-24 as a replacement, it has a max output of 84w without a fan. The output connector is not the same, so it needs to be modifyed.
FK87 -
There are no potentially harmful things that can be encountered during this guide.
This statement in the Introduction is incorrect, possibly dangerously so. The power supply board includes several large filtering capacitors. These can retain high voltages for minutes or longer, even after the device is unplugged. Accidentally shorting certain pins on the board while performing step 6 above can result in arcing or shock.
Nice write up, I discovered same thing today when I wanted to troubleshoot my W7. Supply is dead and upon closer inspection, I believe it is plain poor QA, PERIOD. Most of the components are cold soldered and when I attempted to repair those connections, the solder pads immediately lifted. Want to add that in my younger days, was an engineer and designed machines and PCBA's so aware of how to solder. I decided it is a lost cause and just ordered a 24VDC supply from Amazon that I will hack into or onto this cube. Gaining some headway, prompted me to look into my w9 studio, also dead. After digging through the assembly, got the PS board along with Wi-Fi and amp. Power supply has been reworked by someone that had no clue what they were doing. Kinda SUCKS, cause I both this new and it dies just a hair over 1 year and Definitive basically said go pound sand. SO two expensive devices died within a short period of time. Will dig more into the W9, 24VDC supplies are active but the 5VDC aren't. They made it impossible to replace any components tough.