Free Shipping on Domestic Orders $75+

Definitive Technology W7 Motherboard Replacement

What you need

    1. Definitive Technology W7 Motherboard Replacement, Motherboard: step 1, image 1 of 3 Definitive Technology W7 Motherboard Replacement, Motherboard: step 1, image 2 of 3 Definitive Technology W7 Motherboard Replacement, Motherboard: step 1, image 3 of 3
      • Flip the speaker upside down, then use the Phillips #2 screwdriver remove the 4 screws securing the bottom cover.

      • The screw next to the I/O panel will be approximately 20 mm in length. The other screws will be approximately 35 mm in length.

      • Use the metal spudger to remove all rubber feet.

      • Unscrew all four screws from under the rubber feet.

      • These screws will be approximately 35 mm in length.

      • You can now use the prying tool to pry the bottom panel off the speaker.

      Ask FixBot

      Add Comment

    2. Definitive Technology W7 Motherboard Replacement: step 2, image 1 of 1
      • Using a Phillips #2 screwdriver, remove the 5 screws from the motherboard.

      • These screws are approximately 8 mm in length.

      Ask FixBot

      Add Comment

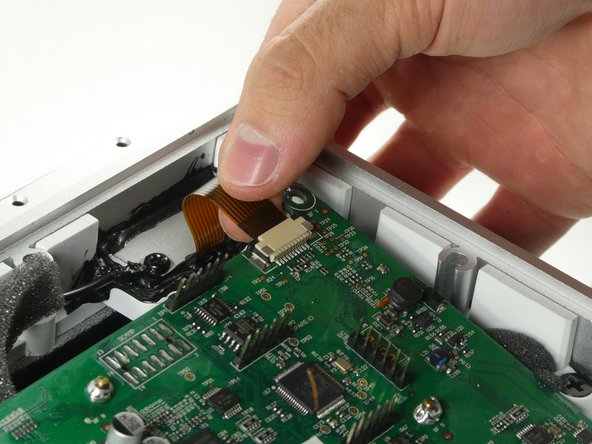
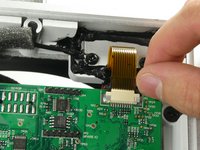
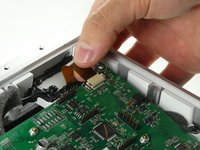
    3. Definitive Technology W7 Motherboard Replacement: step 3, image 1 of 2 Definitive Technology W7 Motherboard Replacement: step 3, image 2 of 2
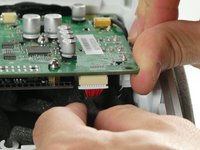
      • Push up the locking tabs on the sides of the ribbon cable connector.

      • Gently pull the ribbon cable out from the connector to remove it.

      Ask FixBot

      Add Comment

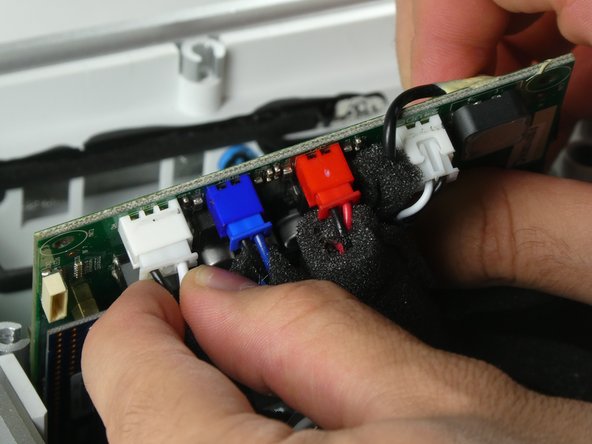
    4. Definitive Technology W7 Motherboard Replacement: step 4, image 1 of 2 Definitive Technology W7 Motherboard Replacement: step 4, image 2 of 2
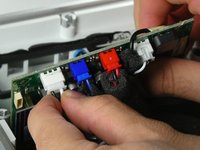
      • Tilt the motherboard outwards from the speaker.

      • Remove all five connectors from the motherboard.

      • Remove the motherboard from the speaker.

      Ask FixBot

      Add Comment

    5. Definitive Technology W7 Motherboard Replacement: step 5, image 1 of 2 Definitive Technology W7 Motherboard Replacement: step 5, image 2 of 2
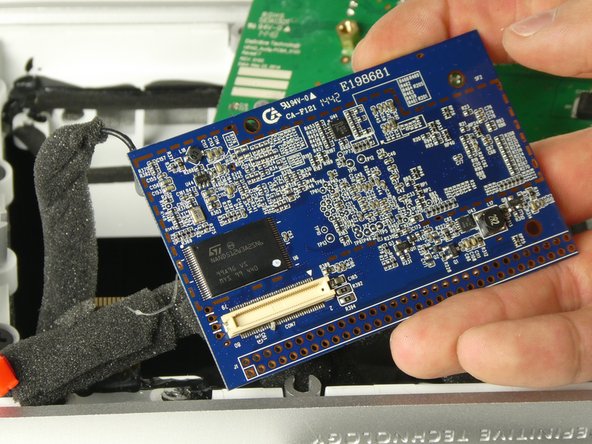
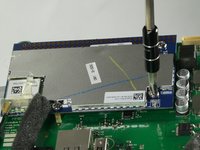
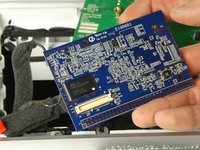
      • Using the Phillips #2 screwdriver, remove the three screws from the network card.

      • These screws are approximately 8mm in length.

      • Remove the network card from the motherboard.

      Ask FixBot

      Add Comment

Conclusion

To reassemble your device, follow these instructions in reverse order.

Cancel: I did not complete this guide.

Magnus Maillet

Member since: 10/26/22

171 Reputation

1 Guide authored

Team

UMass Dartmouth, Team 2-5, Petersen Fall 2022 Member of UMass Dartmouth, Team 2-5, Petersen Fall 2022

UMASSD-PETERSEN-F22S2G5

4 Members

11 Guides authored

0 Guide Comments

Add Comment

View Statistics:

Past 24 Hours: 1

Past 7 Days: 5

Past 30 Days: 27

All Time: 746