Introduction
This guide will show you how to take out the trigger on the saw.
What you need
-
-
Use a T-20 hexhead screw to unscrew 4 hexagonal screws surrounding the base of the black air filter. The screws are on the yellow portion.
-
-
-
-
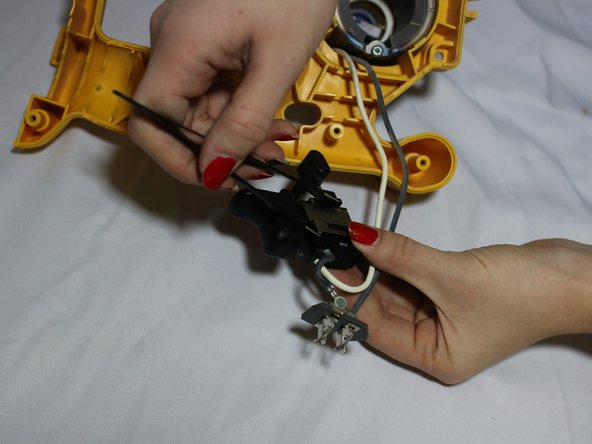
The trigger has black and white wires coming off of it. Grip the trigger with both hands, one on the plastic trigger part and the other on the plastic by the silver metal piece.
-
Pull up.
-
-
-
Pull plastic trigger out of the black plastic casing.
Didn't go far enough, the problem with the trigger is that the internal contacts burn away with use and need to be cleaned / repaired. the trigger is no longer available so you have to fix it yourself. Difficult to repair the contacts, suggest you just clean them and put the switch back together. Check if it works with a meter before reassembling the saw. If not throw the whole thing away and mend it with a new one!
-


To reassemble your device, follow these instructions in reverse order.
To reassemble your device, follow these instructions in reverse order.
Cancel: I did not complete this guide.
2 other people completed this guide.
Team

Cal Poly, Team 8-2, Banghart Winter 2017 Member of Cal Poly, Team 8-2, Banghart Winter 2017
CPSU-BANGHART-W17S8G2
3 Members
5 Guides authored
One Comment
Then repair trigger by stripping,cleaning,soldering and whatever else before replacing to unit as you can no longer buy the part as it is obsolete!