This translation was generated by a machine and has not been reviewed by a person yet. Speak this language? Review it.
Introduction
Use this guide to replace your DXO ONE lens assembly.
You will need a soldering iron and solder to complete this guide.
What you need
-
-
-
Before you begin, please ensure that the camera lens cap has been slid up to the top of the lens and that the camera is turned off.
 Ask FixBot
-
-
-
Open the protective cover at the back of the camera to prepare for the next step.
-
Remove the memory card (if any) from the camera, then use a Phillips screwdriver to remove the 2.5mm screw located in the center.
-
-
-
Insert the tip of the pry bar into the gap in the casing and slide it around to loosen the latch.
-
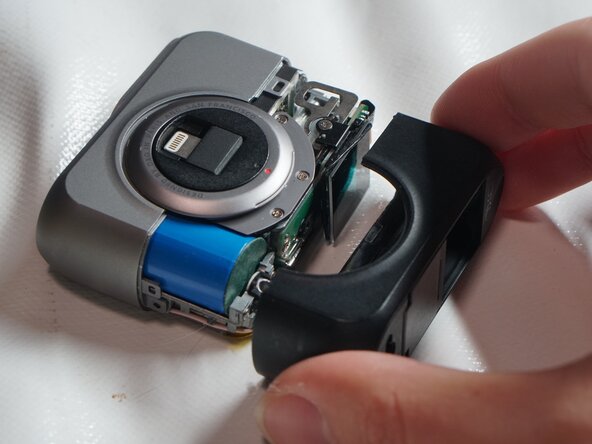
Gently shake the black plastic casing while pulling it backward.
-
Remove the black plastic casing
-
-
-
Use a Phillips screwdriver to remove the 3mm screws from the side bracket of the OLED screen.
-
Raise the OLED screen.
-
Use a plastic pry bar to open the clips securing the ribbon cable.
-
-
-
-
Use tweezers to pull the ribbon cable out of the clip.
-
Remove the two 3mm screws located on the circuit board.
-
Insert the plastic pry bar into the gap shown in the picture to separate the circuit board from the clip below.
-
-
-
Use a plastic pry bar to pry open the clips on the black ribbon cable.
-
Use tweezers to remove the black ribbon cable.
-
Remove the OLED screen
-
-
-
-
-
Following my previous guide, your device should be in this state now.
-
Remove the single 3 mm screw from the top.
-
Gently wiggle and pull the silver housing outward.
-
-
-
Flip the camera over to the circuit board side and remove the three 3 mm screws.
-
-
-
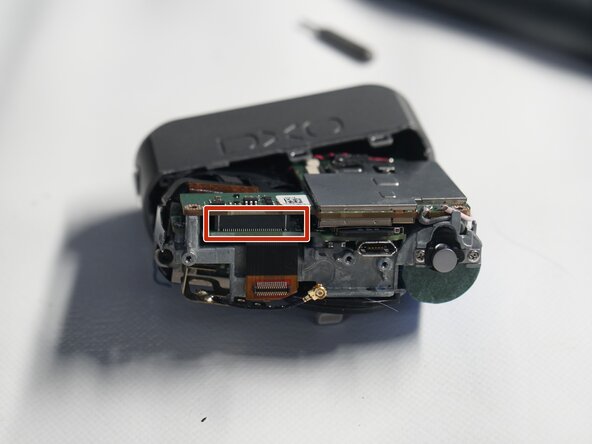
Gently pry up the black plastic flap on the cable connector inside the square, and pull out the cable.
-
Then, pull out the cable inside the circle directly.
-
Flip to the front of the lens assembly and remove one 3mm screw.
-
-
-
Gently pull the circuit board outward, without using too much force, only until the connection terminals between the upper and lower circuit boards are disconnected.
-
Unplug the connection terminal connecting the lens assembly to the circuit board.
-
Remove the lens assembly and the silver-gray housing.
-
-
-
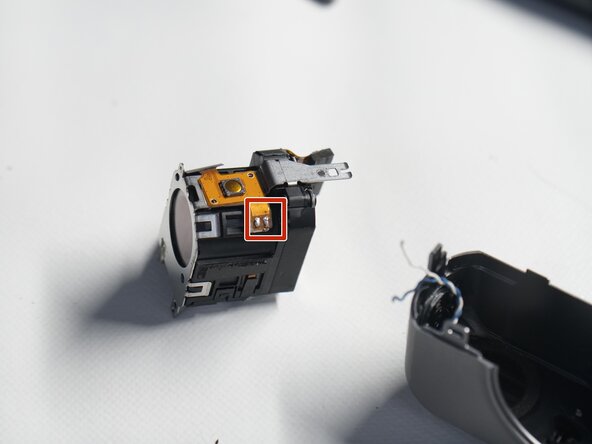
Use a soldering iron to disconnect the silver housing from the lens assembly.
-
Congratulations, you're done!
-
-








Follow these instructions in reverse order for reassembly.

