Introduction
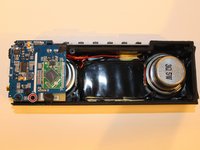
In this guide we will show you a step-by-step replacement guide for the Motherboard. You want to be careful when unplugging the speakers and battery from the board itself in order to not damage any of the wires.
The motherboard contains the following components:
Power Switch
Bluetooth sensor
Auxiliary port
Charging Port
What you need
-
-
Using Blue Plastic opening tool pry the top rubber cover, then using the same tool remove the bottom panel
 Ask FixBot
-
-
-
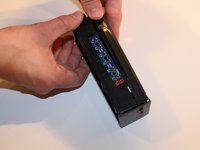
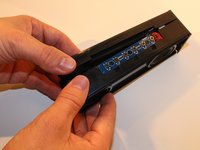
There are four prongs on the grill in the corners, closest to the power button switch. Use the plastic opening tool to release all four prongs from the panel, and then slide the plastic opening tool along the edge of the grill to allow it to easily slide off.
-
-
-
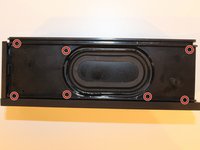
On the back panel (Opposite to the side containing the two speakers), Use the Philips head PH1 to remove all 7 screws (Screws: Head PH1 , Length 7cm).
-
-
-
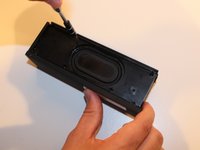
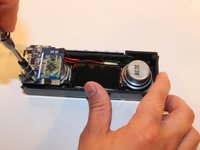
Pull apart the two faces to separate the back panel from the front face plate.
-
-
-
-
Remove the single screw holding the motherboard to the front panel (Screw : Head PH1, Size .5 cm)
-
-
-
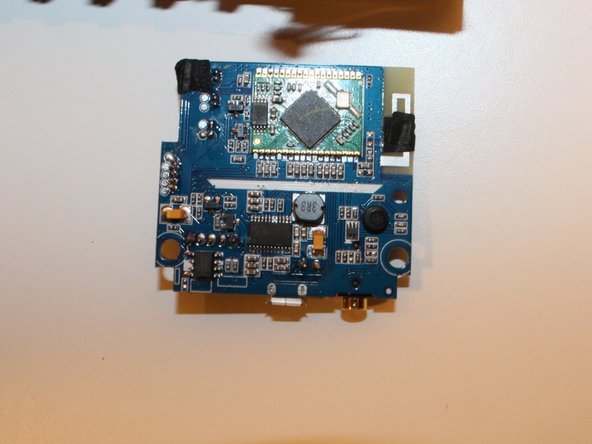
Using your fingers gently pry the motherboard loose from the black insulant adhesive
-
-
-
Disconnect the Button Panel plug (Largest of the Plugs, it can be traced back to the button panel easily)
-
-
Tool used on this step:Tweezers$4.99
-
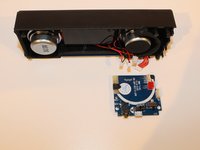
Use the tweezers to push down on the safety prongs on the plastic switch. Then Disconnect the Power Wire plug by hand (Red medium),
-
-
-
Use the tweezers to push down on the two safety prongs on the plastic switch. Then Disconnect the two Speaker plug connections by hand (Two Smaller Plugs)
-


To reassemble your device, follow these instructions in reverse order.
Cancel: I did not complete this guide.
10 other people completed this guide.
Team

USF Tampa, Team 17-1, Blackwell Winter 2016 Member of USF Tampa, Team 17-1, Blackwell Winter 2016
USFT-BLACKWELL-W16S17G1
4 Members
3 Guides authored
21 Guide Comments
Where can I buy a replacement DKnight MagicBox II Motherboard ?
My Charge Port is not working, do I need to replace the Motherboard or is there a fix for the charge port? Verified that the cable is good. It use to work if I wiggled and applied pressure to one side. Verified port is clean.
Where do you get the replacement motherboard?!
I did the steps and the power still won't turn on. The blue light will turn on for a blink then nothing
mine is doing same thing. DKnight said they wont do anything because i bought it off Ebay and not Amazon.