
DJI Mavic Mini Flight Preparation

  1. DJI Mavic Mini Flight Preparation, Remove the camera gimbal cover: step 1, image 1 of 3 DJI Mavic Mini Flight Preparation, Remove the camera gimbal cover: step 1, image 2 of 3 DJI Mavic Mini Flight Preparation, Remove the camera gimbal cover: step 1, image 3 of 3
    • Turn the rotor blades towards the battery compartment.

    • Grasp the cover tab with one finger, gently push it towards the camera and remove the cover.

    • Be careful with the gimbal and the camera as they are very sensitive.

  2. DJI Mavic Mini Flight Preparation, Unfold the front rotor arms: step 2, image 1 of 3 DJI Mavic Mini Flight Preparation, Unfold the front rotor arms: step 2, image 2 of 3 DJI Mavic Mini Flight Preparation, Unfold the front rotor arms: step 2, image 3 of 3
    • Since the front rotor arms block the rear ones, it is absolutely necessary to unfold them first.

    • Hold the drone with one hand and unfold the rotor arm with the other.

    • Fold out the front arms only towards the camera and not up or down.

    • Repeat the process on the other side.

  3. DJI Mavic Mini Flight Preparation, Unfold rear rotor arms: step 3, image 1 of 3 DJI Mavic Mini Flight Preparation, Unfold rear rotor arms: step 3, image 2 of 3 DJI Mavic Mini Flight Preparation, Unfold rear rotor arms: step 3, image 3 of 3
    • Turn the drone onto its back.

    • Fold out the rotor arm in an arc towards the battery compartment.

    • Repeat the process for the other rotor arm.

  4. DJI Mavic Mini Flight Preparation: step 4, image 1 of 2 DJI Mavic Mini Flight Preparation: step 4, image 2 of 2
    • Unfold the phone holder.

    • Take the joysticks out of the holder and screw them in, in a clockwise direction.

  5. DJI Mavic Mini Flight Preparation, Switch on remote control: step 5, image 1 of 3 DJI Mavic Mini Flight Preparation, Switch on remote control: step 5, image 2 of 3 DJI Mavic Mini Flight Preparation, Switch on remote control: step 5, image 3 of 3
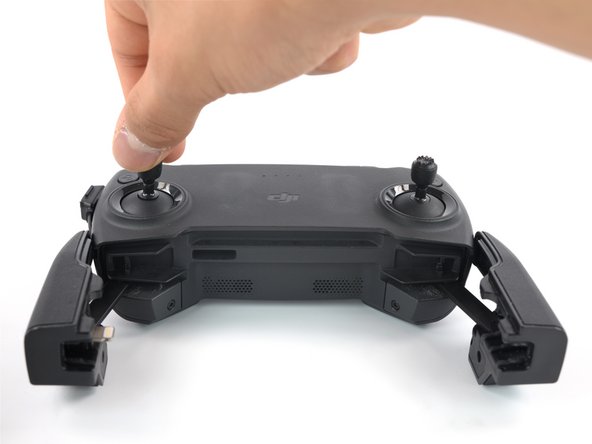
    • Stecke dein Handy in die Halterung und verbinde es per Kabel mit der Fernbedienung.Put your phone in the cradle and connect it to the remote control via cable.

    • Make sure that Bluetooth and Wifi are enabled on your phone.

    • Press the On button once briefly, release it, and then press and hold until you hear a "beep" sound.

    • Always turn on the remote control before the drone.

  6. DJI Mavic Mini Flight Preparation, Turn on drone: step 6, image 1 of 2 DJI Mavic Mini Flight Preparation, Turn on drone: step 6, image 2 of 2
    • Before you turn on the drone, you should slide a fully charged battery into the battery compartment.

    • Press the button on the bottom once briefly, let go, and then hold it down until you hear a "beep". (similar to the remote control).

    • Place the drone on a straight surface where it can take off.

    • Make sure there is a clear flight path above the drone and check your local laws governing drone flights.

  7. DJI Mavic Mini Flight Preparation, Connect to the drone: step 7, image 1 of 2 DJI Mavic Mini Flight Preparation, Connect to the drone: step 7, image 2 of 2
    • With both devices turned on, open the "DJI Fly" app on your phone and wait for your drone to connect, you can tell because the app will show you a live image of your Drone.

    • If this does not happen follow the app's connection tutorial.

    • Now when the drone is connected to the remote control, you can make it go up by pressing the "start" button in the app.

    • Have fun flying!

Conclusion

Work through the steps in reverse order to repack your drone.

2 other people completed this guide.

Special thanks to these translators:

de en

100%

These translators are helping us fix the world! Want to contribute?
Start translating ›

Mael

Member since: 05/05/22

175 Reputation

1 Guide authored

0 Comments

Add Comment

View Statistics:

Past 24 Hours: 0

Past 7 Days: 3

Past 30 Days: 11

All Time: 631