Introduction
If you need to repair anything on the DBPOWER T20 Projector you need to disassemble it first. This guide will show you all the steps necessary to disassemble the device to a point where items can be replaced. It is quite a sturdy device so don't be afraid to use some force removing the top of the device and the wired. However, use caution around the mirrors inside the device.
What you need
-
-
-
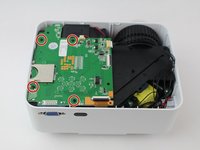
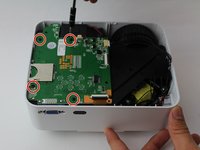
Remove the four (9 mm) screws with a PH2 screwdriver.
-
Remove the two (7 mm) located with a PH2 screwdriver.
-
-
-
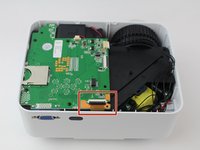
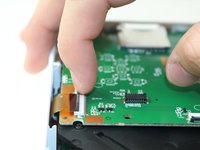
Remove the ribbon cable connecting the motherboard to the button control board by gently pulling it from its connector.
-
-
-
-
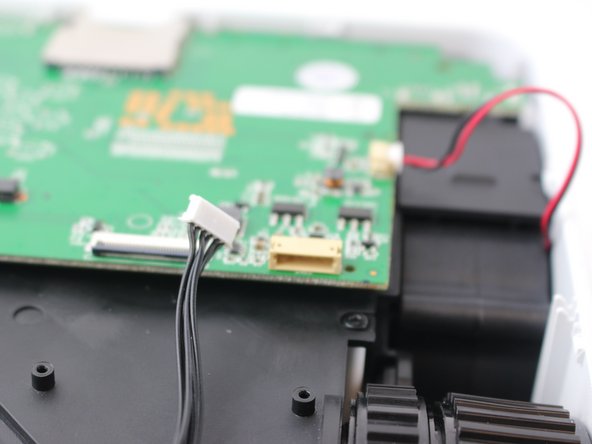
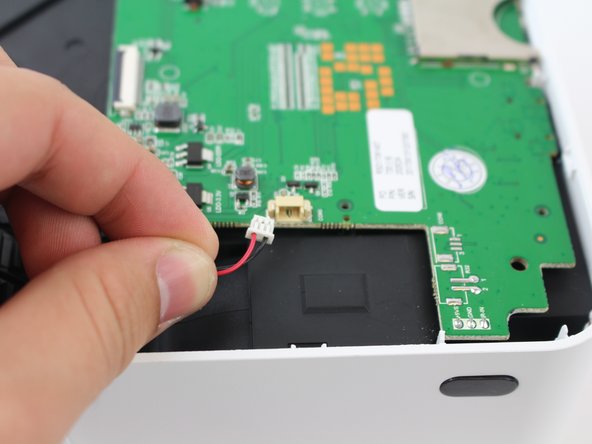
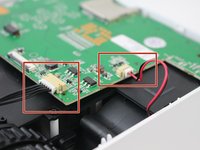
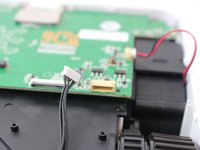
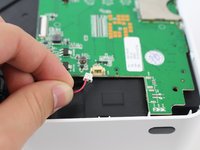
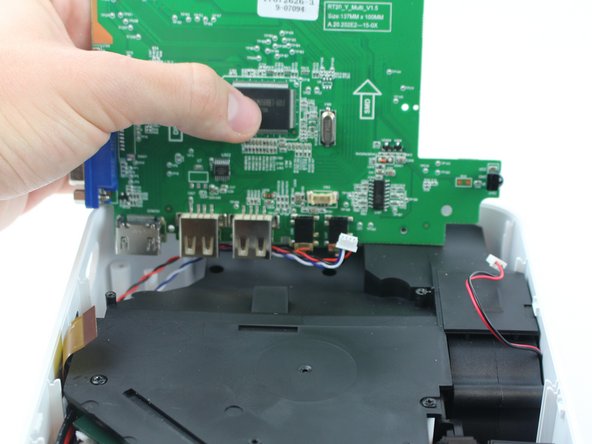
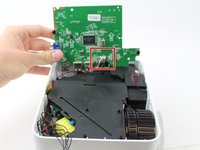
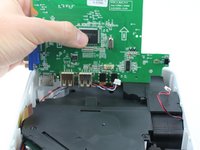
Remove the two cables connected to the motherboard: black power cable and the red/black fan cable.
-
-
-
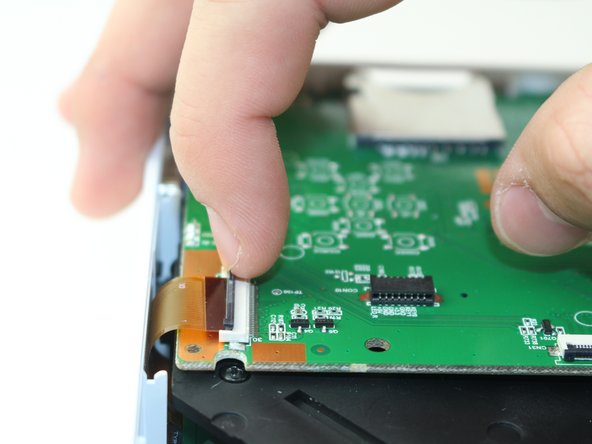
Lift the black latch on the ZIF connector and remove the ribbon cable that attaches the digitizer to the motherboard.
-
-
-
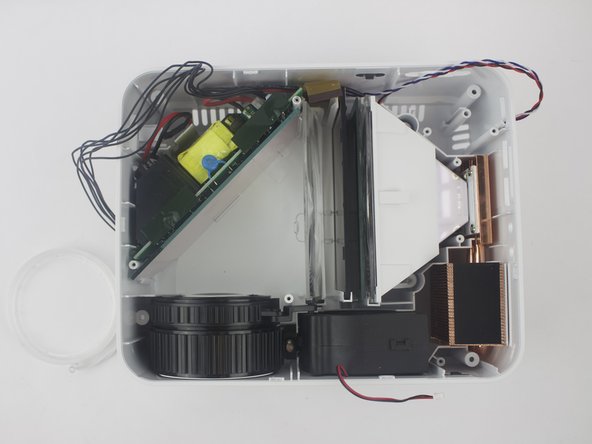
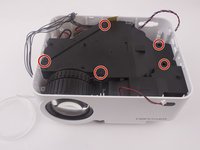
Remove the five screws securing the black plastic cover with a J0 screwdriver.
-
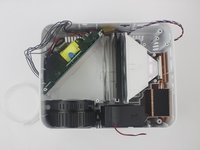
Lift up and out to remove.
-

 Ask FixBot


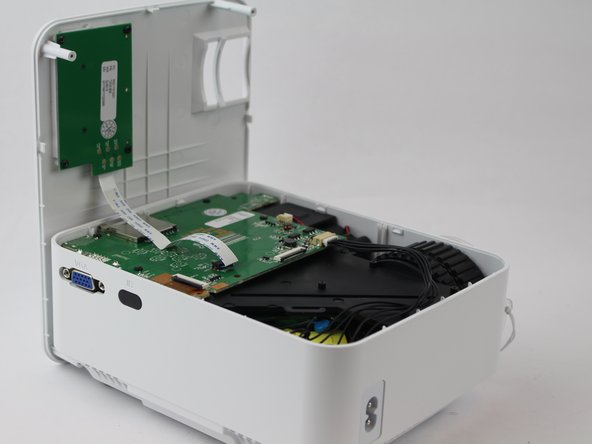
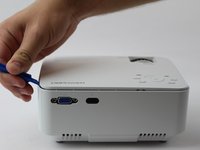
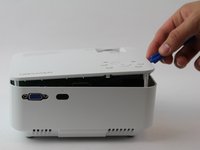







To reassemble your device, follow these instructions in reverse order.
Cancel: I did not complete this guide.
One other person completed this guide.

Team

USF Tampa, Team S16-G2, Boczar Spring 2018 Member of USF Tampa, Team S16-G2, Boczar Spring 2018
USFT-BOCZAR-S18S16G2
5 Members
60 Guides authored
4 Guide Comments
Anyone find a bulb for this thing? And/or know what else (or a quick fix) would fix a dark or burn mark on the image?
haing the same issue tried to call a electronics repair place to see if the could order a new polarizing lens for me and they said they could not unless they were the ones that did the repair
Really? Well, crap
How are the lenses supposed to sit in the hompow t20 mini projector
